
How to Install Solar Panels on a Shed | Solar Powered Rainwater Project
Solar Powered Rainwater Project Series
Follow the full series:
- Start here: Solar Power System Sizing Overview
- Solar Power System Sizing (The Math)
- Grid Tie vs Off-Grid Solar
- Solar Panel Tilt and Mounting
- How To Install Solar Panels On A Shed
- Buying A Great Solar Inverter Charge Controller
- Solar Battery Bank Design and Wiring
- Final Assembly and Testing
- Adding Solar Panels
- Solar water pump for well completed
Quick Start: Solar Panel Installation (What Matters)
- Secure mounting into rafters is critical
- Panel voltage is higher than battery voltage (by design)
- Series wiring increases voltage, not current
- Even overcast conditions produce usable power
- Plan for weight (panels + batteries + structure)
This step of the project covers how to install solar panels on a shed for a small off-grid water pumping system.
After designing the system and ordering parts for the project, the new Renogy 250-watt solar panels arrived very quickly. I was eager to install them, but they were just a bit larger than I could handle safely on the garden shed roof. Fortunately, I didn’t have to wait long, and my neighbor Jason was available a few days later. I had given the mounting some thought, and was ready when he arrived.
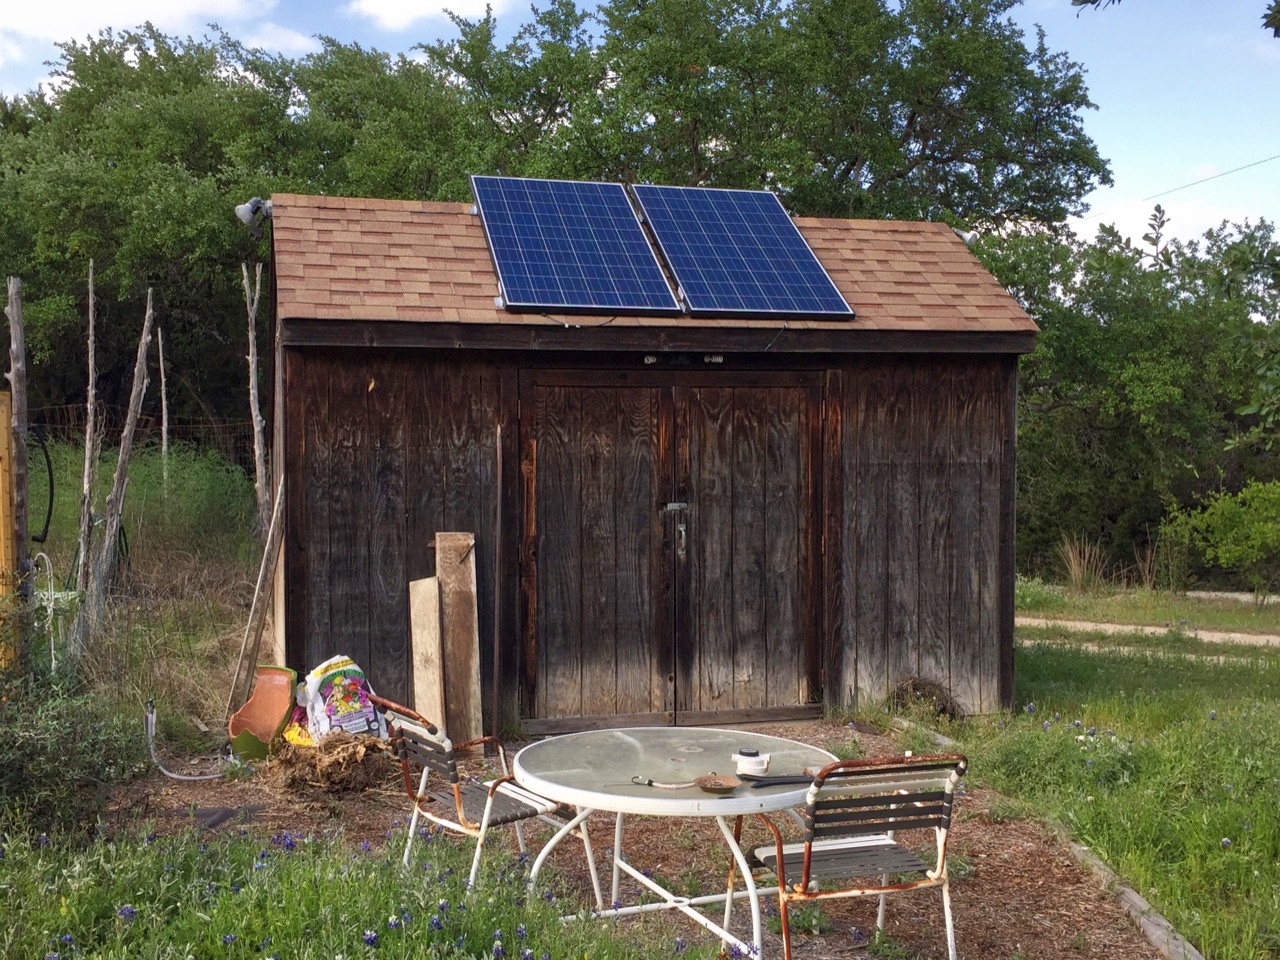
Off-Grid Solar Panel Installation
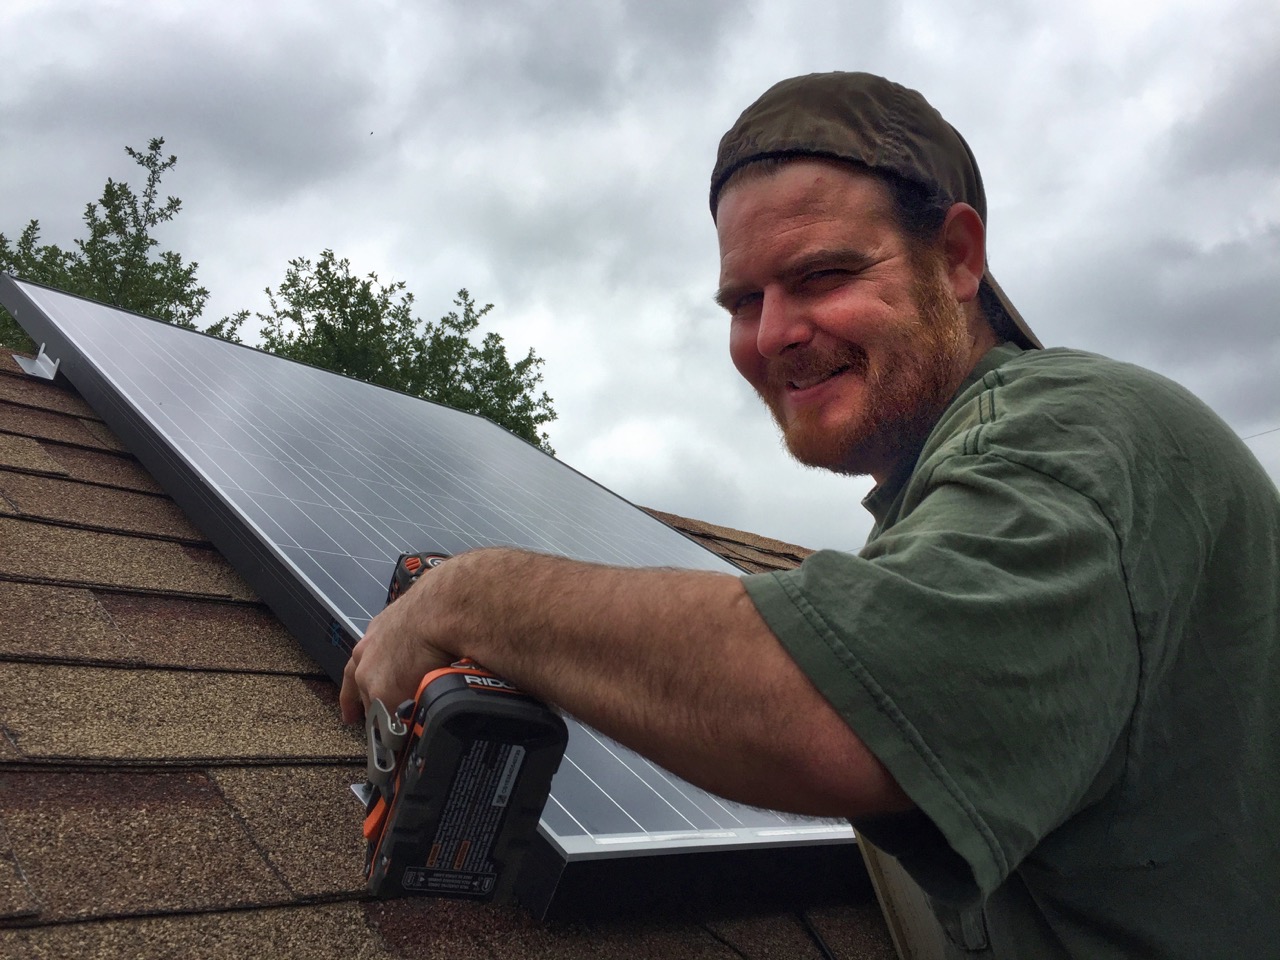
The panels are about 65 by 39 inches, and weigh 40 pounds. The day was overcast, and not too windy (we didn’t want to mount a “sail” on the roof) so the work went quickly. The only hitch? One of the stainless nuts for mounting the aluminum “Z” brackets was SAE instead of metric like the others. We had to re-tap it to the 10 mm metric size. Not a big deal.
Mounting Solar Panels on roof
It was great to have Jason’s help, and we tied the center “Z” mounts into a rafter with 3-inch deck screws. The other mounting brackets didn’t line up with the 16-inch-on-center rafters, so we backed them up with a 2 by 2 making a “sandwich” of the roof decking.

Although the brackets and screws seated tightly on the shingles, I’ll go back later and cover the mounting screws with roofing cement to prevent leaks.
Testing the output
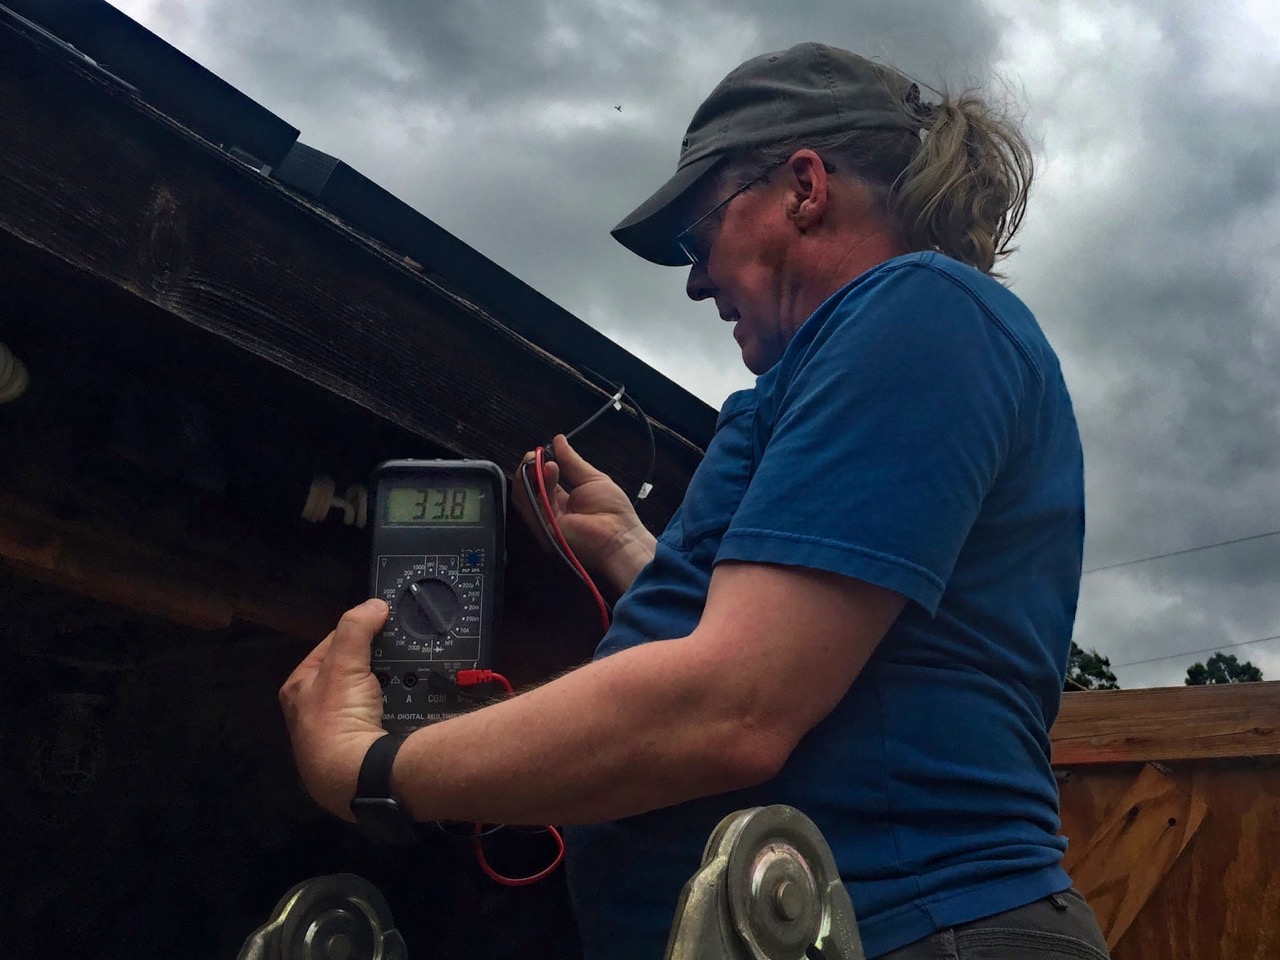
Once mounted, it was time for a test. Although the day was heavily overcast, a multimeter showed the expected unloaded voltage from each panel — between 33 and 34 volts DC. Connected in series like they’ll be used in our system, we measured over 67 volts. This will drop to around 60 volts under load. 500-watts of captured power!
These measurements also highlight an important principle in off-grid solar design: panels are typically configured to produce a higher voltage than the battery system requires. This allows an MPPT charge controller to efficiently convert excess voltage into usable current. In practice, this means better performance in less-than-ideal conditions, including cloudy days like this one.
Batteries and Inverters are next
We’re probably at least a week away from the charge controller/inverter delivery, so I’ll start buying the golf cart batteries. Eight will be needed for the 48-volt system and at around 60 pounds each it might be best to buy a few at a time. I’ll also have to reinforce the shelving in the garden shed to support the weight. Progress! Next: The Inverter
System Shapshot
- 2 × 250W panels (500W total)
- Wired in series (~60V under load)
- Mounted on shed roof with Z-brackets
- Feeding MPPT inverter/charger (coming next)
Solar Resilience Project Series
Follow the evolution of the Roy Creek Ranch solar system:
Phase 1 — Foundational Systems
- Solar Power for the Amateur Radio Station (2015)
- Solar Powered Rainwater Project (2017)
- 2 kW Shop Solar System (2019)
- Build a Handy 12-Volt Solar Generator with LiFePo4 Batteries (2023)
Phase 2 — Expansion & System Upgrades
- Solar Power System Upgrade (2022)
- The Really Big Lithium Battery (2023)
- Solar EV Charging — Ioniq 5 (2024)
- Inverter Upgrade for EV Charging (2025)
- Solar Garage EV Charging (2026)
Pingback:Solar Powered Rainwater Project – The Chinese Connection | Roy Creek Ranch
Pingback:Solar Power Rainwater Project – Panels and Angles | Roy Creek Ranch