Solar Battery Bank Design and Wiring | Solar Powered Rainwater Project
Solar Powered Rainwater Project Series
Follow the full series:
- Start here: Solar Power System Sizing Overview
- Solar Power System Sizing (The Math)
- Grid Tie vs Off-Grid Solar
- Solar Panel Tilt and Mounting
- How To Install Solar Panels On A Shed
- Buying A Great Solar Inverter Charge Controller
- Solar Battery Bank Design and Wiring
- Final Assembly and Testing
- Adding Solar Panels
- Solar water pump for well completed
You may recall from an earlier post that the Solar Powered Rainwater Project requires a solar battery bank. In our original calculations, we decided we would need 15,796 watt/hours of storage to provide three days of autonomy (or days without sun). See the system sizing guide for how we calculated this. We would need 16, 190-amp hour golf cart batteries to reach this goal. This becomes not only a cost issue (about $1800) but also a logistical and space issue. Each battery weighs around 60 pounds. That’s nearly a half ton of lead!
In this post, we’ll look at how to size, configure, and wire a practical solar battery bank for an off-grid system.
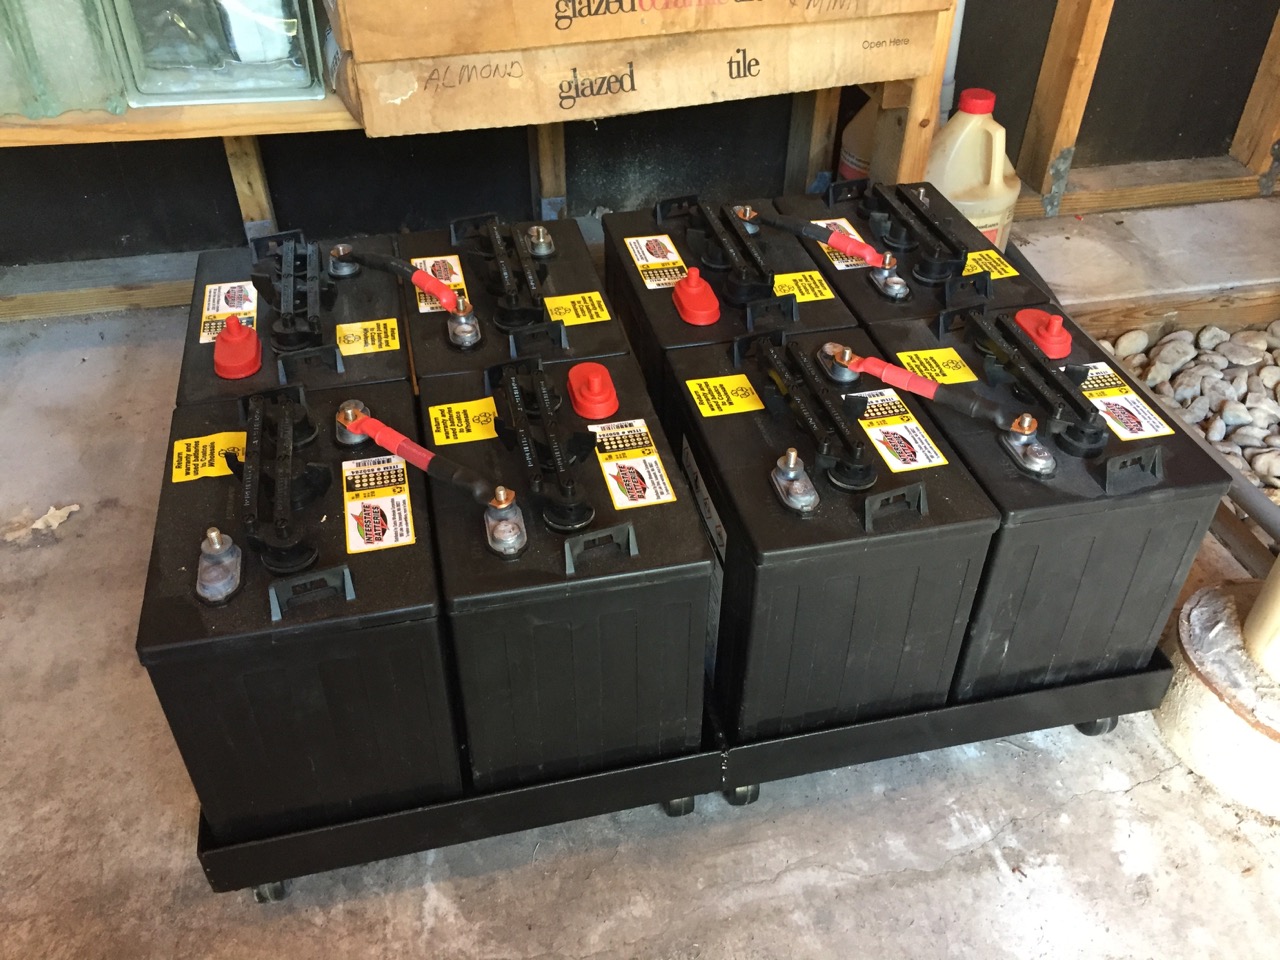
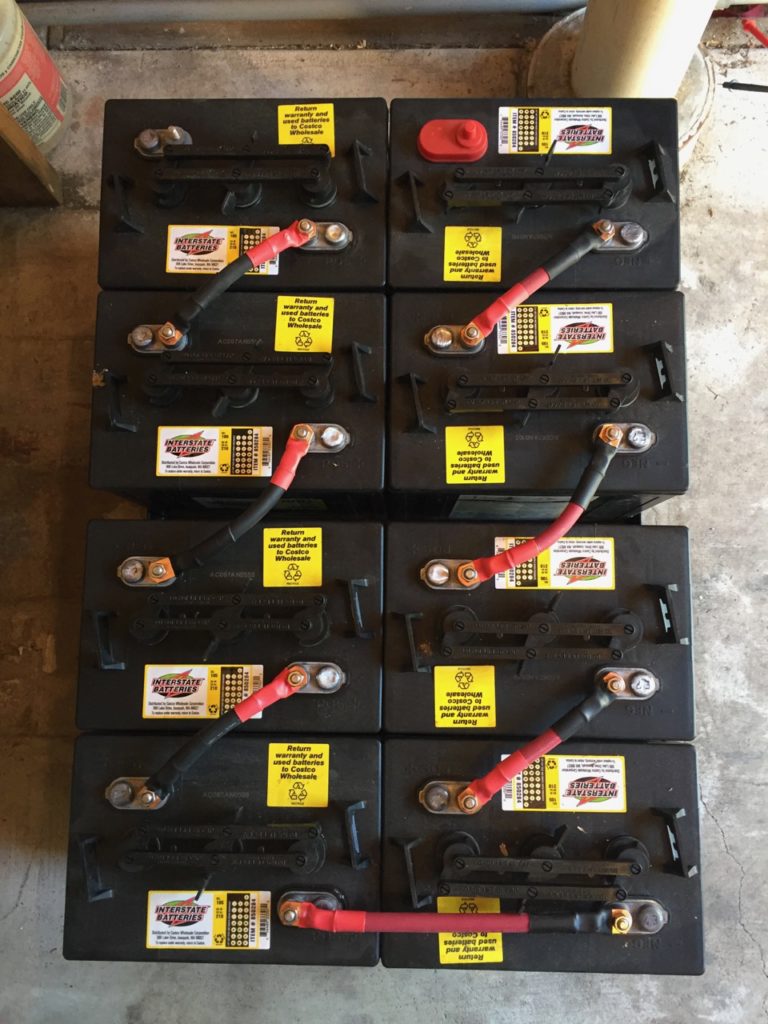
To test my ideas and get the project running more easily, I decided to cut the number back to eight batteries. It turned out that Interstate 6-volt golf cart batteries were available from Costco for $83 each, and were rated at 205 ampere hours. Eight batteries would yield 9840 watt hours of storage at 48 volts — nearly 2/3rds of our original goal. Plenty to get the project started.
Why 48 volts? We chose a 48-volt system to keep current manageable and reduce cable losses.
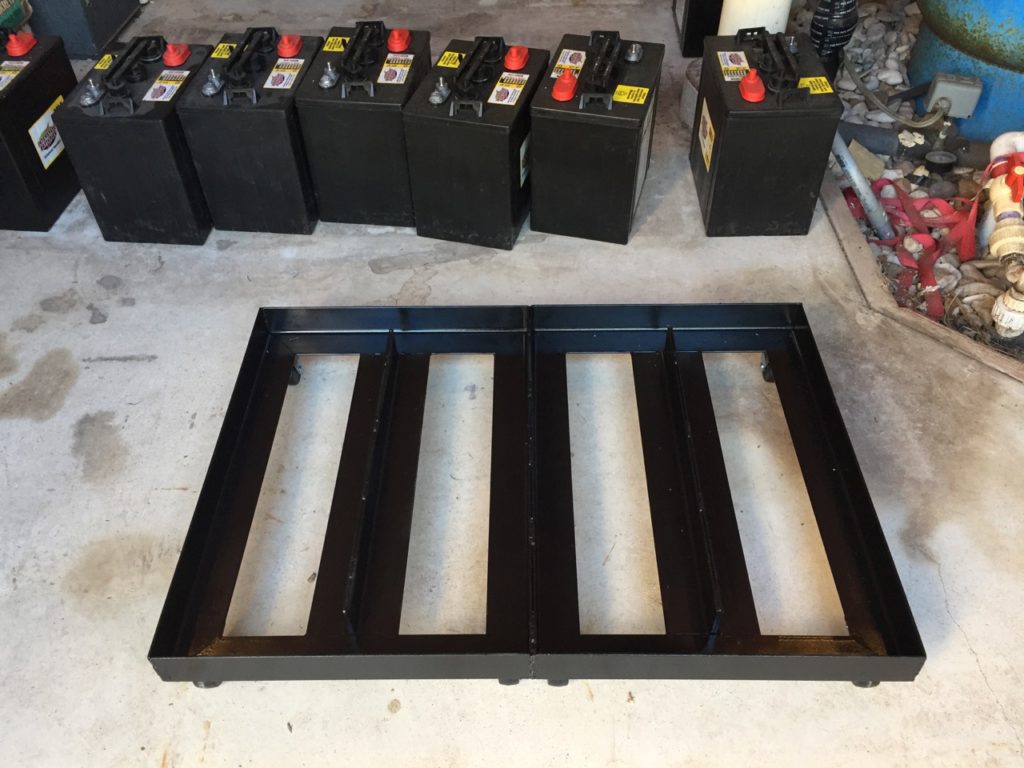
Battery Bank Layout: Storing a 1/2 ton of lead
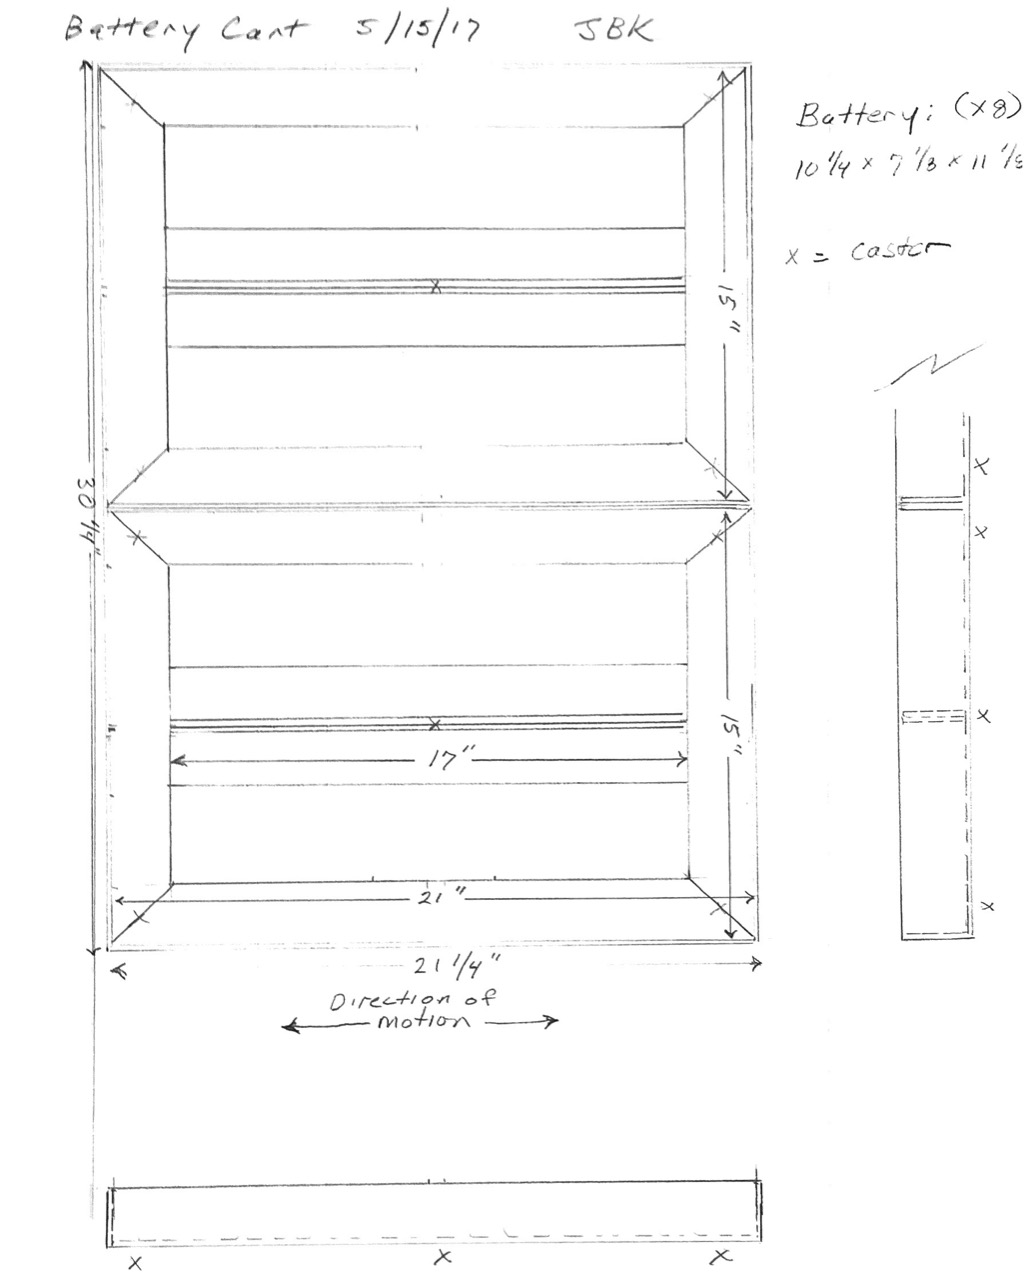
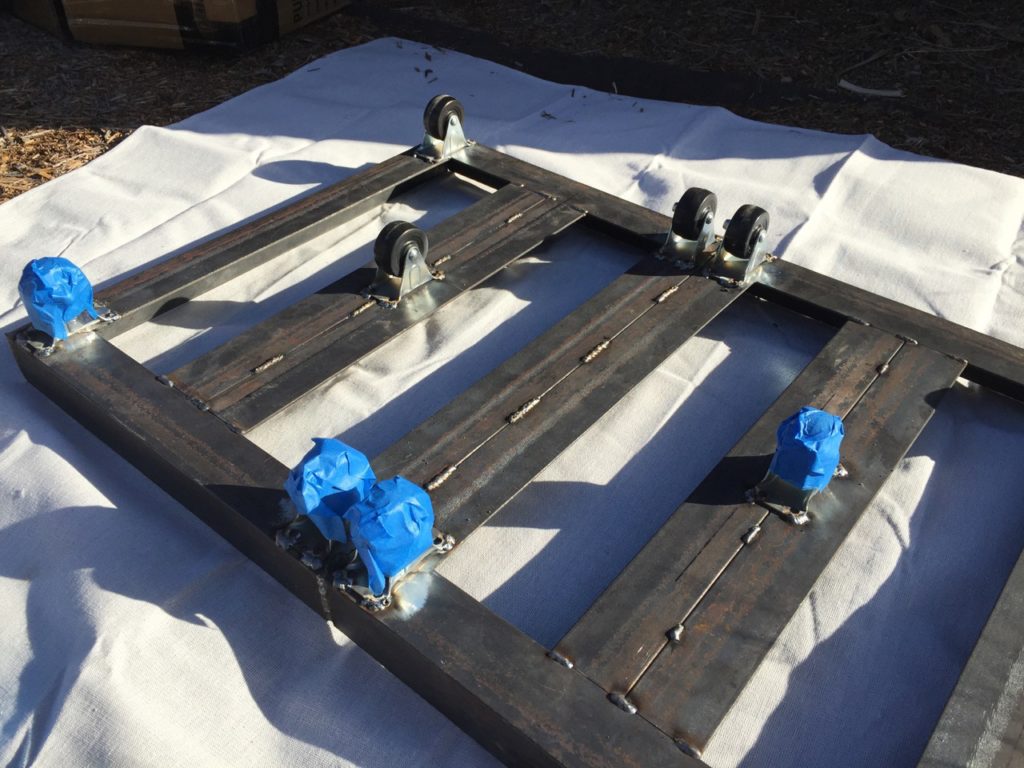
The next problem was, where would they go? The garden shed has a concrete floor, and I realized they would partially fit under shelving located inside. If I had a way to roll them out for easy service, they wouldn’t take too much space. My friends at Vintage Auto agreed to weld up the cart I designed. Storage problem solved for the time being.
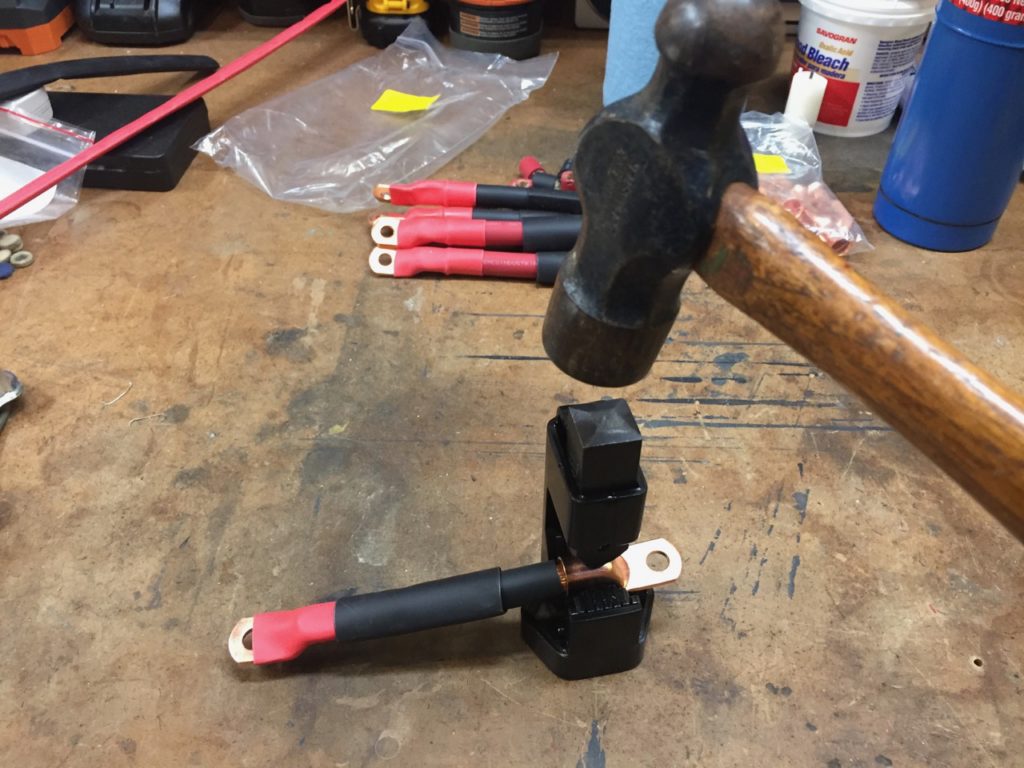
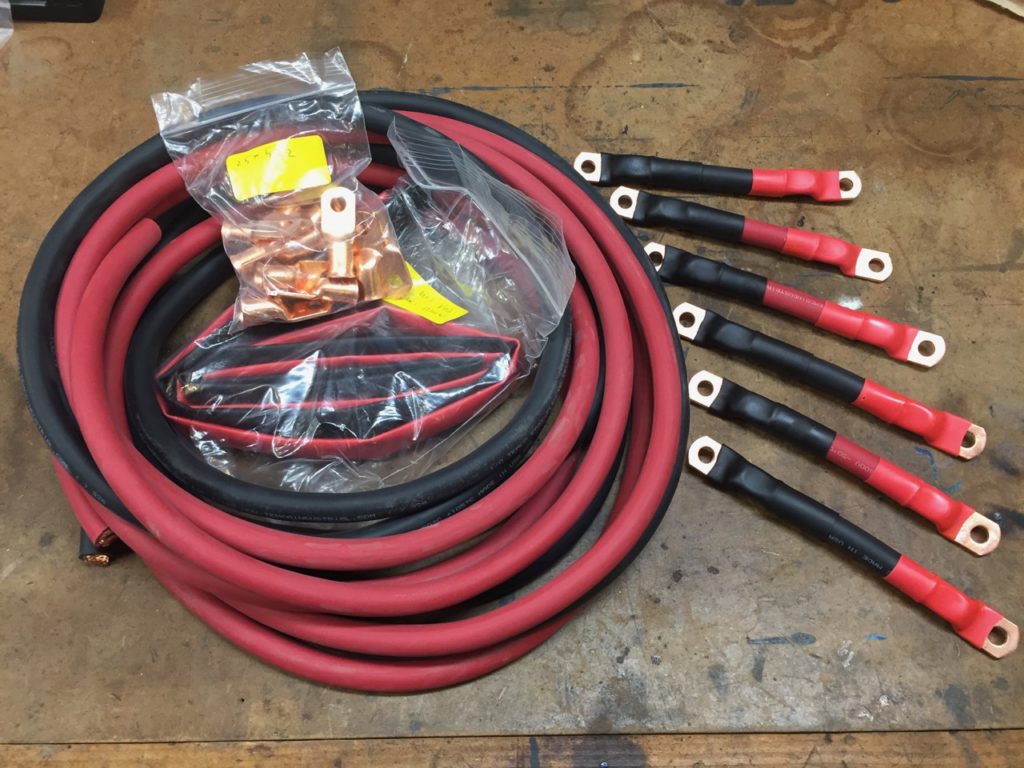
300 Amp Wire
Now on to cabling. The inverter is rated at 4000 watts, and accounting for inverter efficiency and the 48-volt DC supply, we would expect a 95-ampere current drain. The inverter can supply more power though — up to 12,000 watts peak. Brief surges of up to 285 amps could be expected. Just to be safe, I decided on 0/1 rubber-covered welding cable. Perhaps overkill, but I like that. The cables weren’t hard to assemble with the copper terminals and hammer-actuated crimper, and I had the them done in no time. I also added heat-shrink tubing with internal adhesive to prevent corrosion inside the crimp.

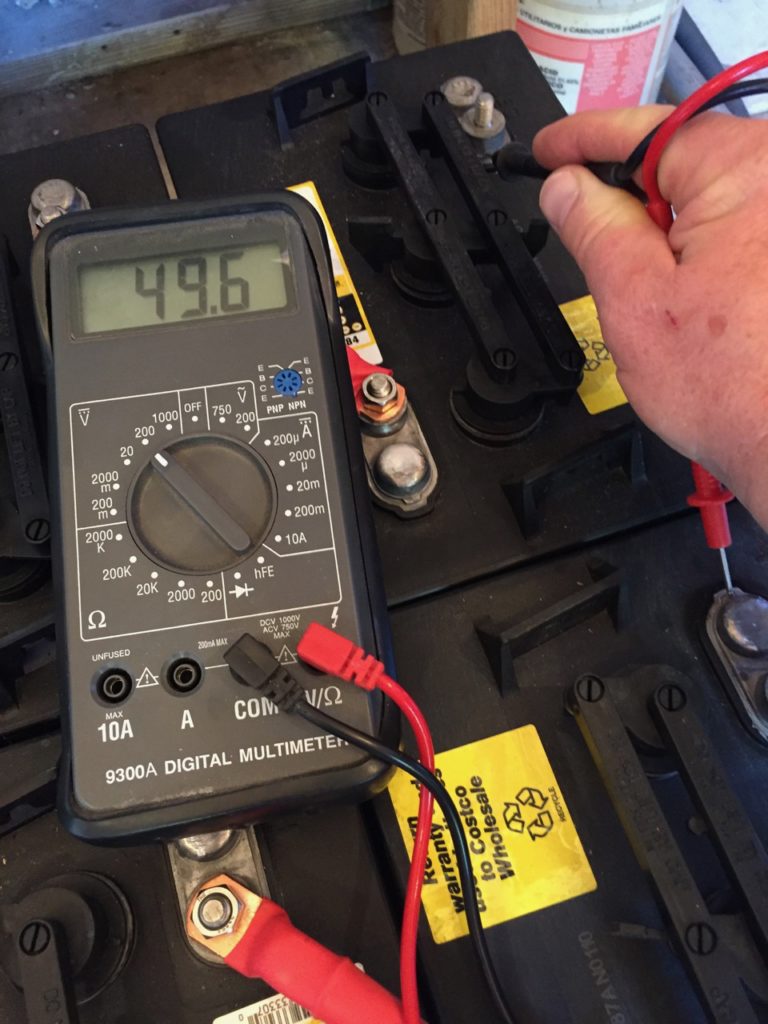
With a shunt for metering installed on the negative lead, and a 200-amp breaker, we were ready to power the inverter!
Designing a solar battery bank is always a balance between capacity, cost, weight, and space. Start with your ideal design, then adjust to what’s practical.
Next: Final Assembly
Solar Resilience Project Series
Follow the evolution of the Roy Creek Ranch solar system:
Phase 1 — Foundational Systems
- Solar Power for the Amateur Radio Station (2015)
- Solar Powered Rainwater Project (2017)
- 2 kW Shop Solar System (2019)
- Build a Handy 12-Volt Solar Generator with LiFePo4 Batteries (2023)
Phase 2 — Expansion & System Upgrades
- Solar Power System Upgrade (2022)
- The Really Big Lithium Battery (2023)
- Solar EV Charging — Ioniq 5 (2024)
- Inverter Upgrade for EV Charging (2025)
- Solar Garage EV Charging (2026)
Pingback:Solar Powered Rainwater Project – Final Assembly | Roy Creek Ranch