Build a Really Big Lithium Ion Solar Battery: The Box
Building the Lithium Ion Solar Battery Box
The first step in building a really big lithium ion solar battery is the enclosure. At a minimum, it will hold 64 of the LiFePo4 cells and support their weight; about 325 lbs. It also occurred to me having some mobility would be nice.
Inspiration from YouTube
Inspiration came from a YouTube channel where a fellow solar explorer was building wooden boxes out of 3/4-inch plywood for his battery project. I’m using different cells, so the finished boxes are a little larger than those shown in his videos. The construction methods are similar though.
The project is a little daunting since he obviously has better wood working skills than I do. But he uses simple tools and describes the process very clearly. I decided to give it a try.
An efficient footprint
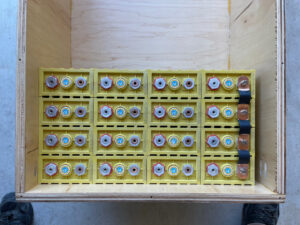
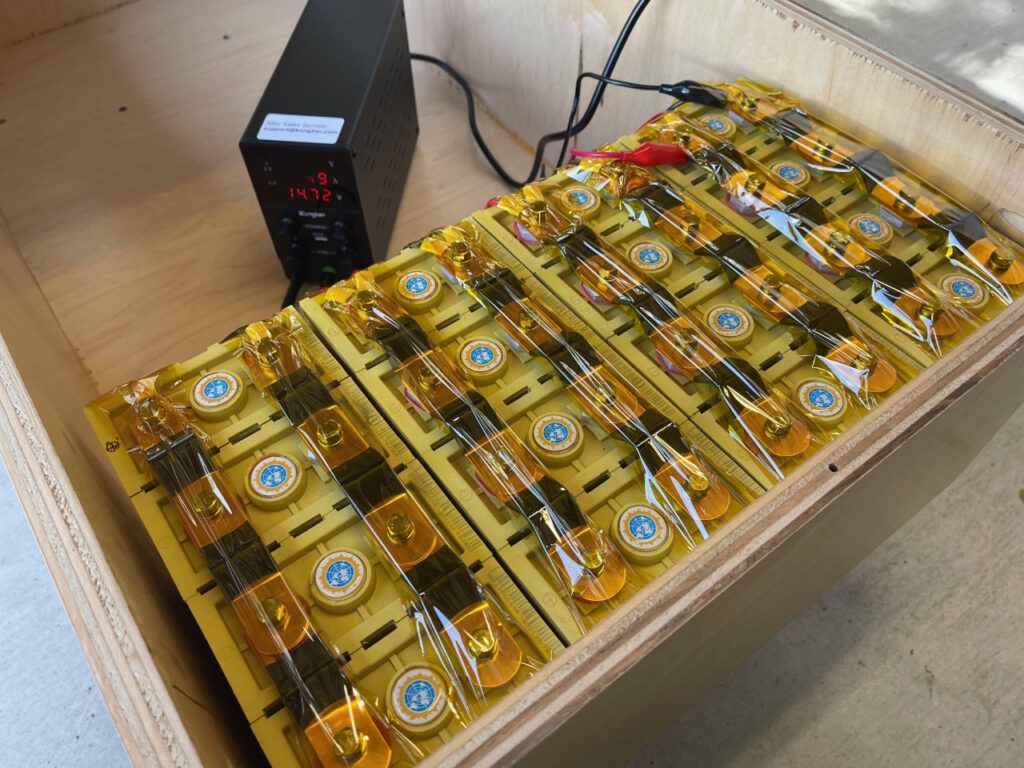
The 64 cells will be arranged in groups of four, and then connected in series to make a “4 parallel, 16 series” (4p, 16s) lithium ion solar battery. The 4-cell sub-assemblies will first be grouped together to make 4p, 4S, 12-volt batteries. Four 12-volt batteries will then be arranged side-by side and connected in series to make the complete 48-volt battery. I would need a box with interior dimensions of 40 1/2-inches by 18 5/8-inches. The external dimension of 41 7/8-inches by 20-inches would also fit nicely where the lead acid batteries were now stored.
Kreg Pocket Hole screws help
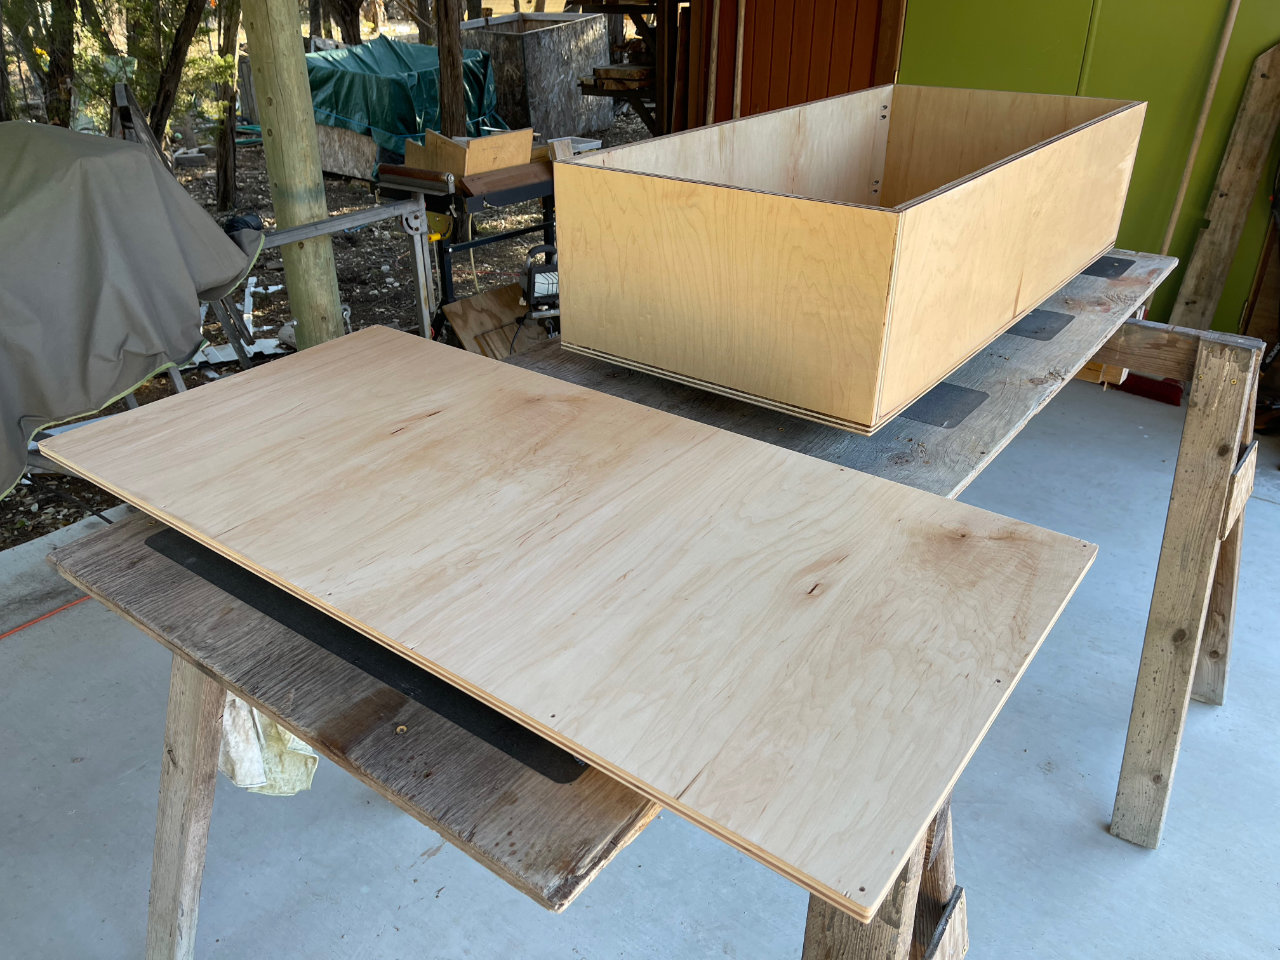
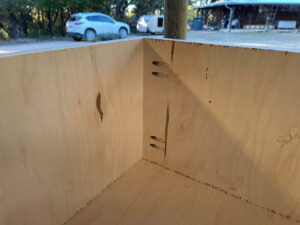
A trip to the home store provided a 4-by-8 sheet of 3/4-inch maple veneer plywood. That cost about $60. No complex joinery was needed since the four sides of the box would be simple butt joints. I planned to glue and screw the joints with Kreg pocket hole screws. I had some experience with that system and the basic tools for the process.
The bottom would be cut to match the footprint of the sides and glued and screwed on. The lid would be treated the same, except without glue. When finished the box should look nice and be very strong.
Cutting a 4-by-8 sheet of plywood
Cutting a full sheet of plywood can be tricky by yourself, but the Kreg Rip-cut Circular Saw Guide makes it a lot easier. I was able to make the cuts by simply setting the plywood on a big work table. Sacrificial boards placed underneath the plywood allowed cutting directly without ruining the work table.
Gluing the box
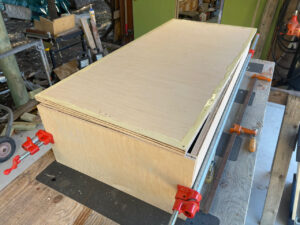
With the pieces cut, I glued, clamped and screwed the sides together to form the basic box. The bottom was attached with glue and screws next. A little sanding to soften the edges, and it was ready for some wood sealer. Several coats of clear latex finish were applied to the outside of the box for protection.
A cheap set of wheels
Now, the mobility part of the lithium ion solar battery. Inexpensive furniture dollies are available in various sizes from Amazon and Harbor Freight. Since the box was 41 7/8-inches by 20-inches, the 30 by 18-inch model they sell for around $18 was perfect. It’s supposed to have a 1000-lb capacity — more than double the capacity needed to support the battery box. Long wood screws were used to attach the dolly to the bottom of the box.
Assembled and ready to roll!
With the cover screwed on, the box is solid and looks great. I planned to assemble the lithium ion solar battery in four sections, and it wasn’t long before I had one segment assembled with the copper bus bars I had purchased on eBay. I would need to make more, but I had a proof of concept. The box would contain the cells conveniently and securely. On to the bus bars!
