Build a Really Big Lithium Ion Solar Battery
The Really Big Lithium Ion Battery
The next upgrade for our Solar Power System was a Really Big Lithium Ion Battery (RBB). When we first installed the system in 2020, I didn’t have a cost-effective solution for Lithium Ion (LiFePo4 chemistry). That came later with the acquisition of a lot of LiFePo4 cells. Since then, I’ve built two small batteries to get used to the technology; one as a portable solar generator, and a slightly larger one to power the ham shack. With those under my belt, it’s time to tackle a 48-volt battery to replace the existing lead acid batteries.
Lead Acid vs. Lithium Ion
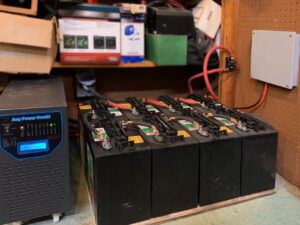
The current battery pack consists of eight 6-volt, lead-acid, golf cart batteries. Together, they have a capacity of 190 amp hours at 52 volts or about 10,000 watt hours.
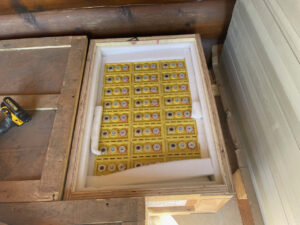
The LiFePo battery will consist of 64 60-amp hour cells, wired in series/parallel to provide 52 volts at 240 amp hours or about 12,500 watt hours.
Lead-acid batteries can only supply 50% of their capacity without damage. Repeated discharge greater than 50% will shorten their life. LiFePo on the other hand, can routinely supply 80% of their capacity without difficulty. This effectively doubles the capacity of the battery system. Instead of a usable 5000 watt hour capacity from the lead acid battery, we’ll have a 10,000 watt hour capacity from the LiFePo battery. A great improvement!
Design considerations
Regular readers of this blog will remember I purchased the LiFePo cells from a buddy’s surplus business. A description of them can be found in the Solar Generator post. Of course, having the cells is just the first step in building the battery. We’ll need a container, bus bars, a Battery Management System (BMS) and other miscellaneous hardware to make a functional 48-volt battery.
Packaging
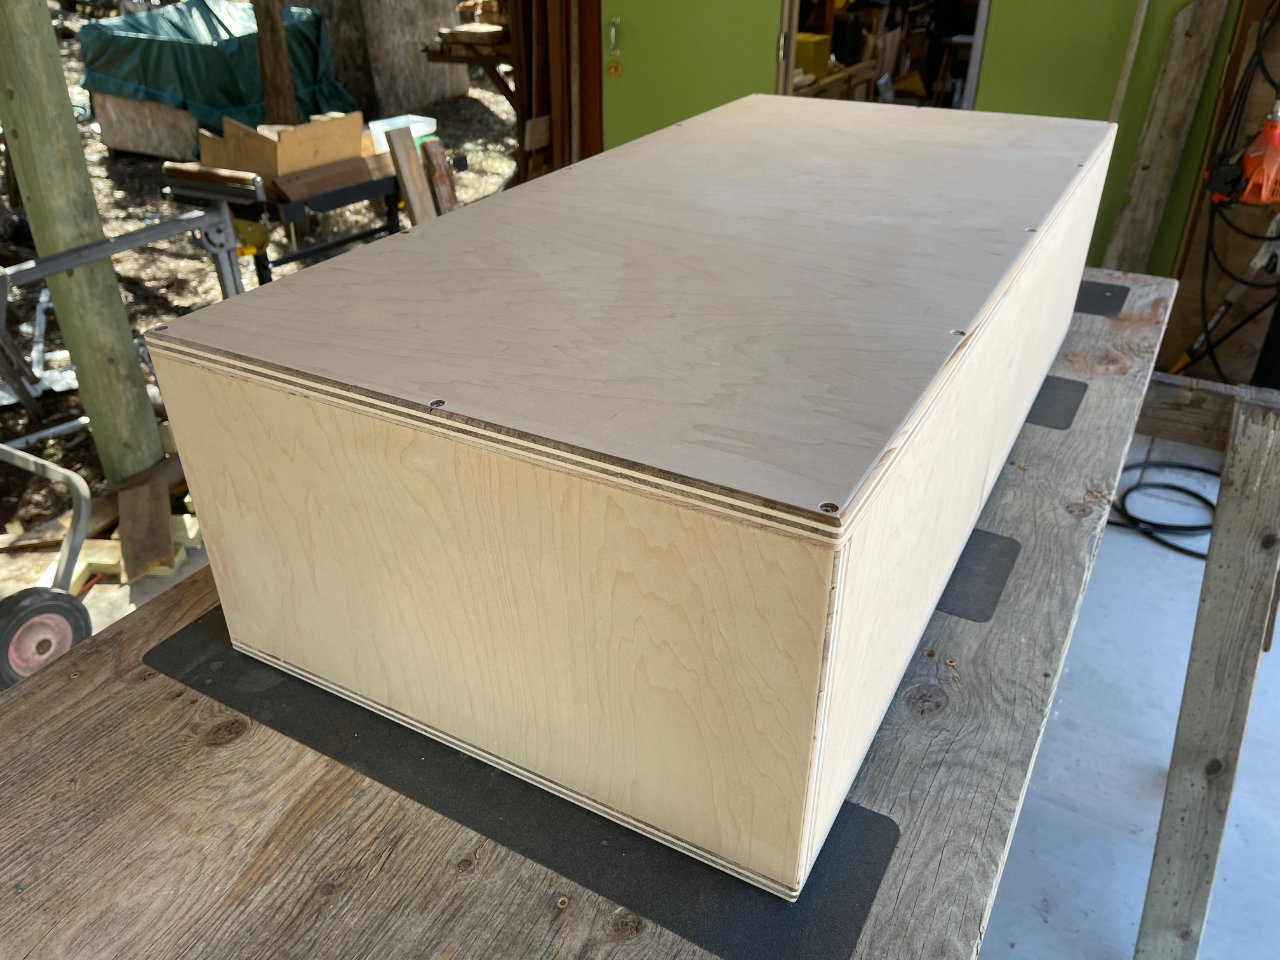
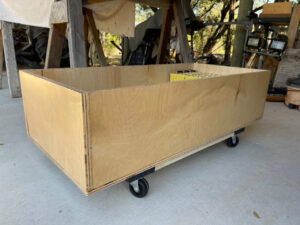
The first question was how to package and move them around? Each cell weighs 2.3 kilograms. With 64 of them in the battery, that’s just over 147 kilos. Nearly 325 pounds! A little browsing the net provided a neat solution. A box made of 3/4-inch plywood would handle the weight, and would not be too hard to build. As for moving them — a furniture dolly supplied by one of the overseas tool suppliers would be perfect. We’ll examine the construction of the box in a future post.
Copper bus bars
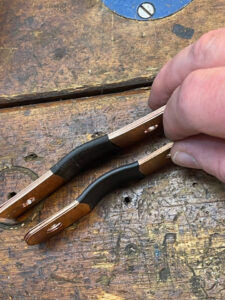
We’ll also need quite a few high-current bus bars to connect the individual cells. A fortunate find on eBay yielded 50 such bus bars, but I had used quite a few of them on the earlier projects, and they weren’t quite big enough to handle the anticipated current. Purchasing copper strap and making my own seemed feasible. This approach would necessitate the purchase of some metal-working tools, but who doesn’t like more tools? This will also be the subject of a future post.
The Battery Management System
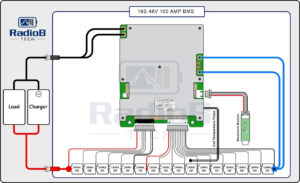
Next, a Battery Management System (BMS). They are rated by number of cells in series, output voltage, and current capacity. Thus, 16 cells connected in series to provide 48 volts (nominal) at 100 amps becomes a 16S 48V 100A BMS. I purchased such a BMS from RadioB for $140. Besides heavy copper wire and copper lugs for the output, I’ll also need a high current connector and circuit breaker/disconnect. A final post will outline the assembly of all the elements to complete the battery.
Project goal and documentation
When completed, the RBB will replace the lead-acid batteries that are now in use. I’ll move them down to the system I built for pumping water to increase its capacity. Since the BMS is limited to 100 amps output, the battery will be capable of a maximum of about 5000 watts output. That’s why I plan to build a second one; that will double the maximum load and storage capacity to 10,000 watts and 20,000 watt-hours respectively. As mentioned earlier, I’ll post follow-ups for the box, bus bar manufacturing and final assembly as they are completed. Watch this space!
