How to Wire a Solar System – Finished
Finishing the System
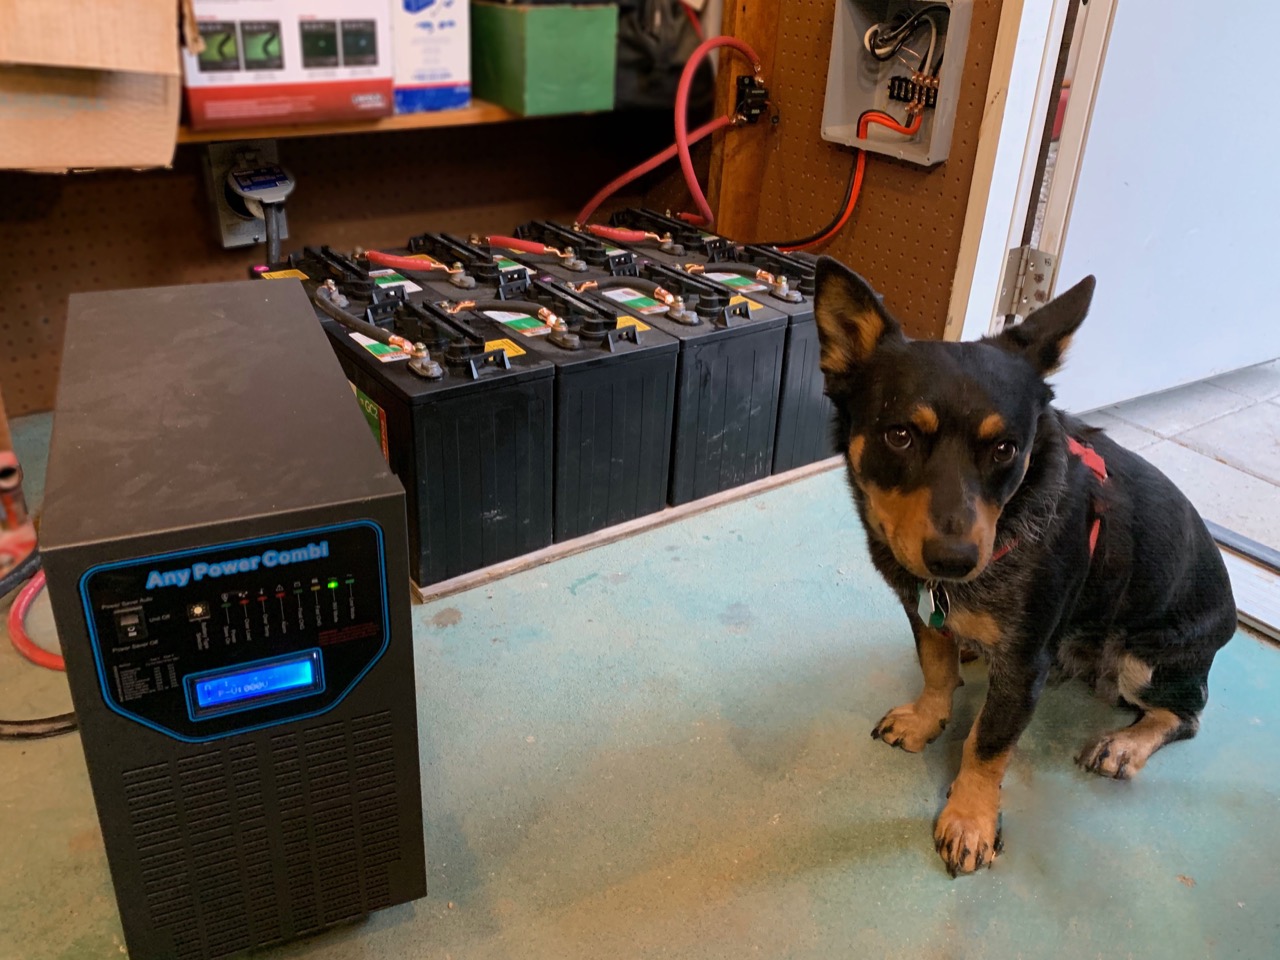
In the last post, I described the DC charge controller and battery wiring for the Shop Solar System. With solar panels and batteries connected, the inverter was functional. A quick test showed the expected 240 VAC at the inverter output, and it was time to connect to the breaker panel in the shop.
Shop Solar Power A/C Connections
The inverter/charge controller is available as a wheel-mounted box about the size of a tower PC. The wheels are very welcome as it weighs much more than any PC I’ve ever used — about 90 pounds! There’s a real chunk of iron inside transforming the inverter output into 240-volt split-phase power. I decided to connect it using a 4-pin generator power inlet box. That way, I can disconnect the inverter/charge controller with relative ease for service. A single run of #10 cable back to the breaker panel, and we were ready to connect.
Generator Power Interlock System Required
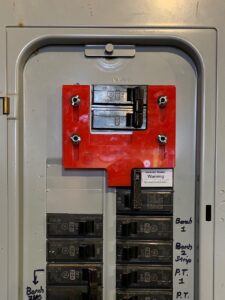
There is a safety consideration however. National Electrical Code requires a fail-safe device to prevent generators from feeding power back onto commercial power lines. Without such a device, the solar inverter could become a shock hazard for power line workers. Therefore, a physical interlock is necessary. Fortunately, such interlocks exist for many standard breaker boxes.
I was able to purchase one from National RAM Electronics that fit my box perfectly. When installed, it allows either the commercial mains or the solar inverter breakers to connect — but not both. That way, power from the solar generator can never accidentally connect to the commercial power lines. Installation is very simple, and the kit even comes with the correct size drill bit. I was done in about 30 minutes.
Monitoring the Power Generated
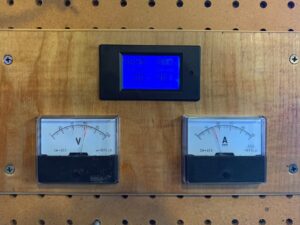
All that was left was the monitoring equipment. In the Solar Rainwater system, I had installed a device that monitors power used from the battery bank, and I planned to do the same with the shop solar system. It didn’t really offer a means of measuring output from the solar panels though, something I wanted. There are more sophisticated monitoring systems that will show power both into and out of the batteries, but simple analog meters are adequate for my purposes and look cool. A kind of retro approach to monitoring solar production.
All that was needed was a shunt in the line from the solar panels to measure current, and meter to measure panel array output voltage. Then, simple math — volts * amps, provides the instantaneous array production in watts. You can even see the “Maximum Power Point Tracking” (MPPT) charge controller adjusting the array load to maximize its production. Shifts in panel voltage and current are visible as each new load is applied until it settles on the best efficiency. A concrete example of an MTTP charge controller doing its job.
Starting the System for the First Time
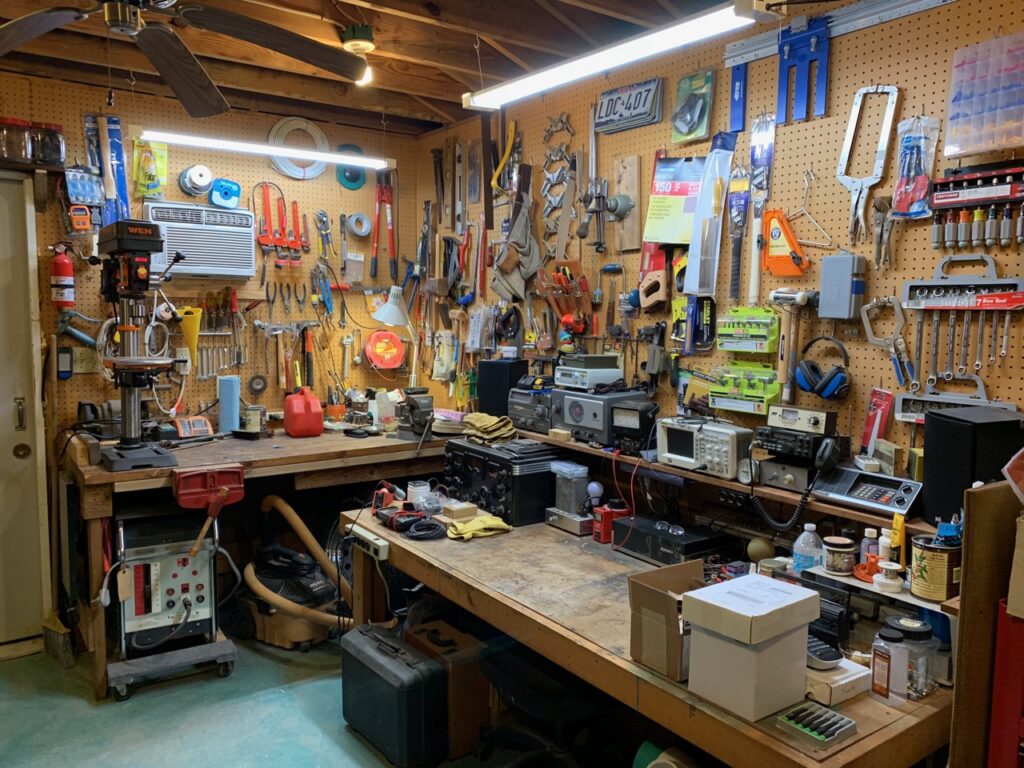
With the main breaker in the box switched off, the shop was disconnected from commercial power, and I was able to move the interlock and switch the inverter power on. The shop was now running on Solar Power! It was about mid-day, when solar production would be at its best, and I experimented with various loads to see how much power it could generate. Lighting was easy — amounting to little more than 150 watts. A drill press added a few hundred watts and the brief start-up surge was even visible on the array ammeter. The air conditioner added about 750 watts.
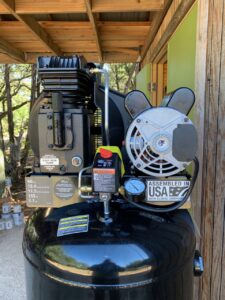
Finally, I decided to try the new air compressor. With a 3.7 HP motor, the inverter indicated a 4000 watt load — about 2/3 of the inverter’s continuous capacity. With a maximum theoretical solar array output of 2160 watts, I was now using stored power from the battery bank. Everything worked fine. The compressor shut off after reaching pressure about 5 minutes later, the fans on the inverter slowed and stopped, and power again flowed from the array into the batteries replacing the power just used. The analog metering indicated a peak solar output of just over 2000 watts during this testing, indicating that the solar array was working well also.
Enjoying Solar Power
I’ve now been using the system for several months and it’s still working fine. The solar panels are partially shaded until about 10 in the morning, and power production is largely over by about 6 in the evening, but I’m happy with the result. A couple more trees will eventually be trimmed, and I would like to double the number of solar panels. As I write this, it’s nearly 100 degrees outside, and the Shop Solar System has been powering the air conditioner since late morning keeping the interior at a cool 76 degrees. The lights are on and I can use other power tools intermittently without a problem. I will be spending a cool, comfortable summer in the Texas heat working on projects in my shop!

Pingback:How to Wire a Solar Power System - DC | Roy Creek Ranch