Really Great Lithium Ion Solar Battery: Copper Bus Bars
Lithium Ion Solar Battery — making the copper bus bars
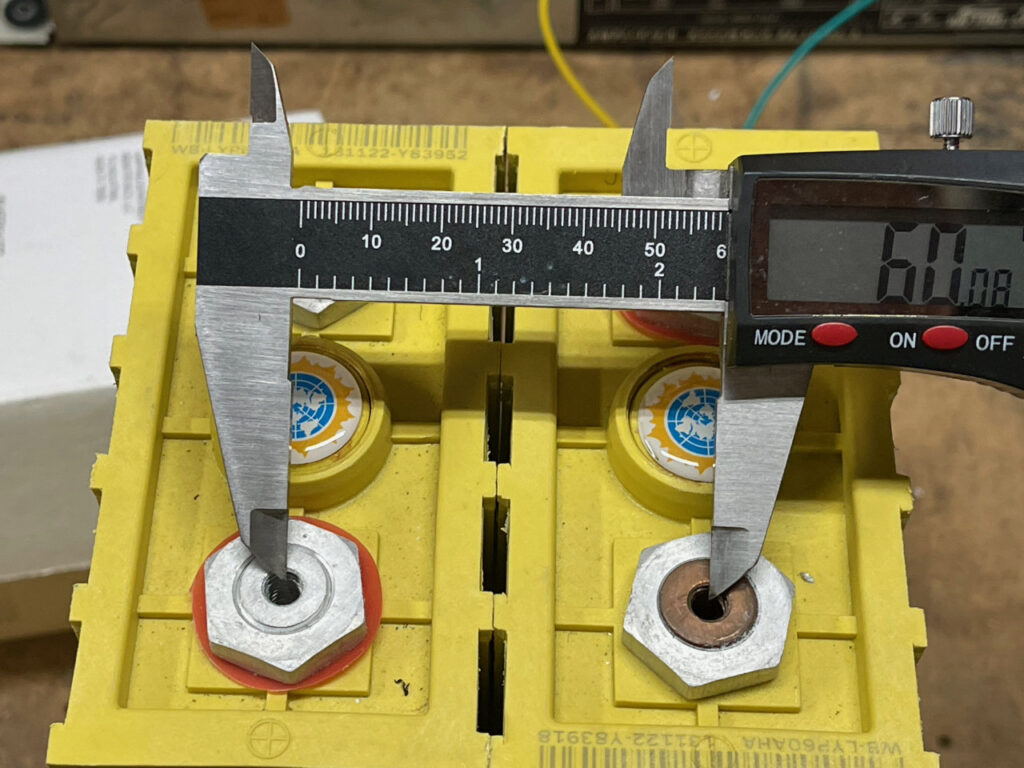
After building a wooden enclosure for the Lithium Ion Solar Battery, it was time to think about copper bus bars to connect all those cells together. This requires a little math, since the bus bars have to be big enough to handle current demand, but not too big — copper is expensive!
With 64 individual cells connected in series/parallel to make a 48-volt, 240-amp hour battery, interconnect currents are substantial. Because of Battery Management System (BMS) limitations though, the maximum current the battery can supply is 100 amps. Nevertheless, I wanted to be really safe with the bus bar sizing
First, a little math
The math is pretty simple: Ampacity for copper, defined as the maximum current a conductor can carry without exceeding its temperature rating, is equal to its cross sectional area in square mm times 1.2. Since I planned to use copper strap that was 1-inch wide (25 mm) by .022-inch thick (.5588 mm), each thickness can safely carry about 17 amps
Cross section area in square mm (width * thickness) * 1.2 — or — (25 mm * .5588 mm) x 1.2 = 16.764 amps
Stacking several straps together yields greater current capacity.
Three different sizes
I planned to make straps with three different capacities:
- 50-amp – 3 layers
- 83-amps – 5 layers
- 134-amps – 8 layers
Each 4-cell sub-assembly would need two 50-amp and four 83-amp straps. 134-amp bus bars would be used for series connections.
The 50-amp straps connect the end cell in parallel to the other three which are connected to each other by 83-amp bus bars. Each 4-cell subassembly connects in series with the others using 134-amp bus bars. In this way, each individual cell is loaded to a maximum of 25 amps when the battery is supplying its rated load of 100 amps. Well below the preferred discharge rate of 30 amps per cell.
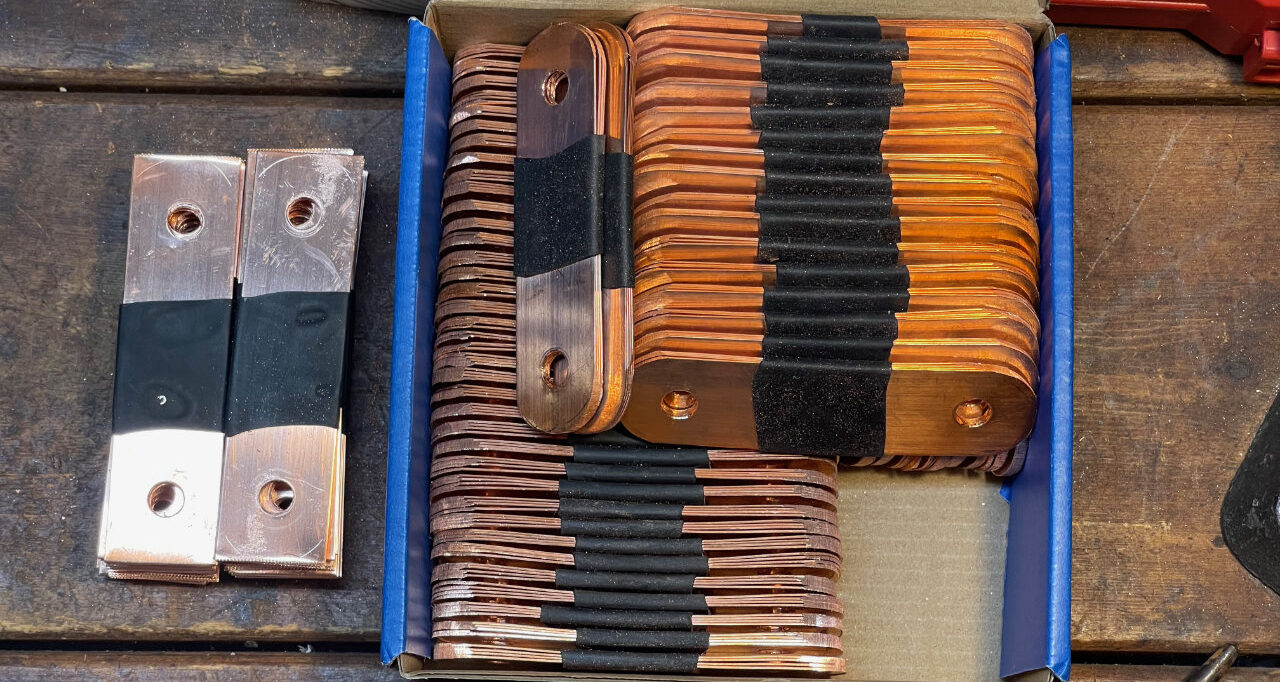
In total, sixteen 50-amp, sixty-four 83-amp and fifteen 134-amp bus bars are needed for the lithium ion solar battery. That’s a total of 95 bus bar assemblies!
Working with copper strap
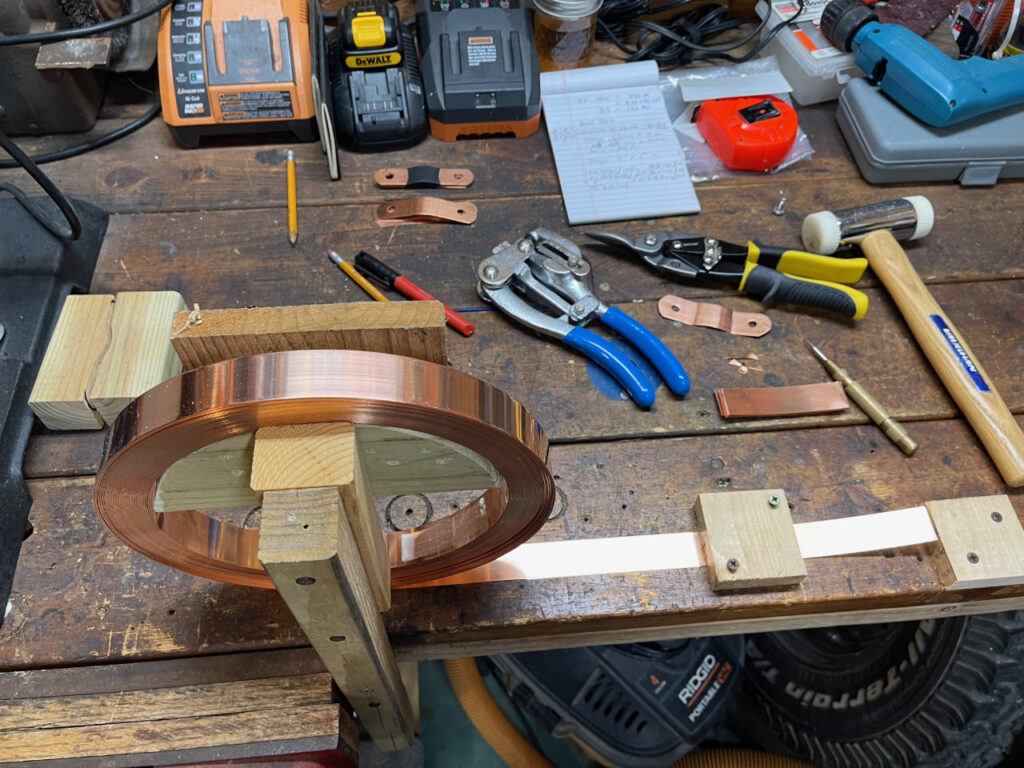
Handling copper strap is a little tricky. It’s heavy, and easily kinked. Also, skin oil hastens the oxidation process, so it’s best to handle it as little as possible. I ended up making a stand and jig to precisely measure each length of strap and cut it into roughly 4-inch “blanks.” I would need 488 blanks in total.
Creating strap bundles
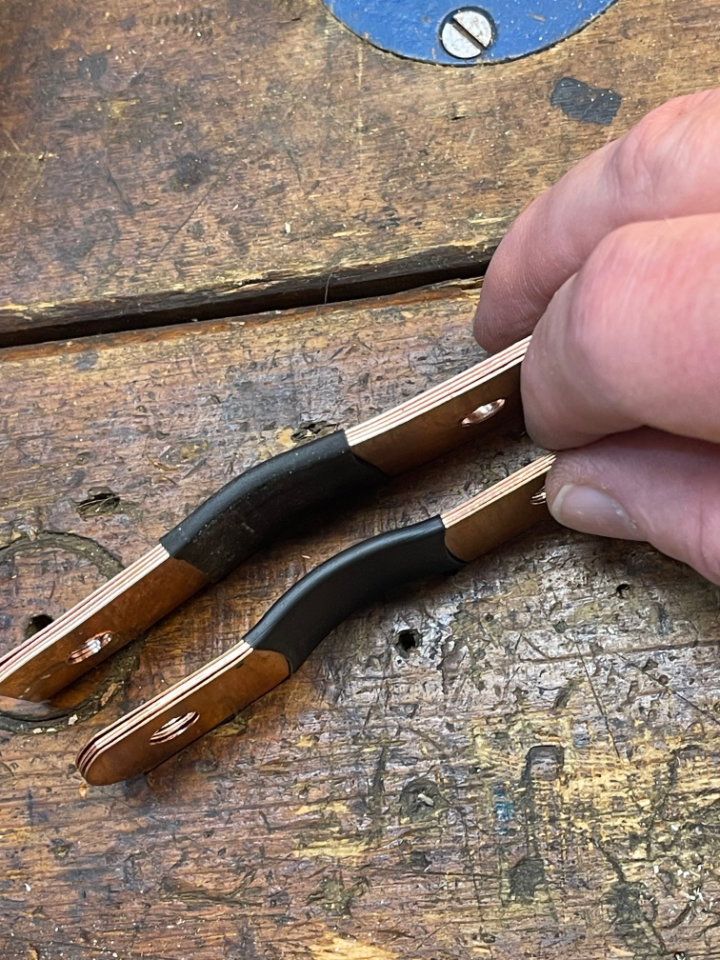
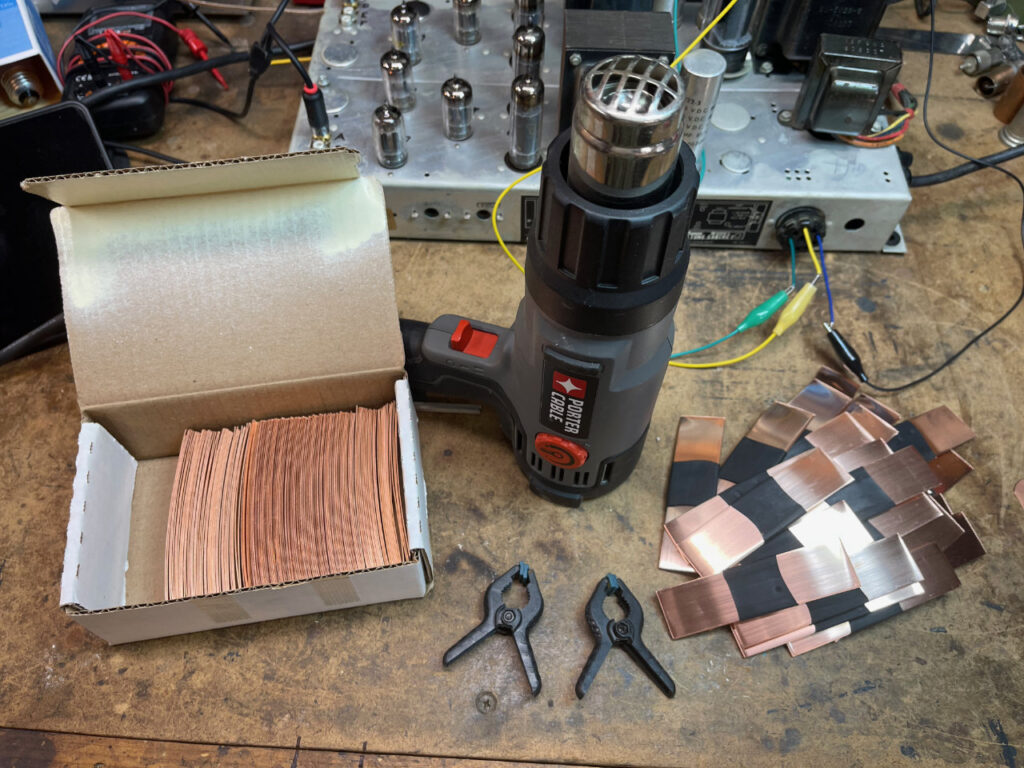
Next, I bundled the blanks into the 3,5 and 8 layer bus bars with short lengths of heat shrink tubing. Using a prototype bus bar as a template, I then marked the outline and hole positions onto each bus bar. This was so I could trim the bar ends to a nice rounded shape and create holes for the battery terminals.
Drilling
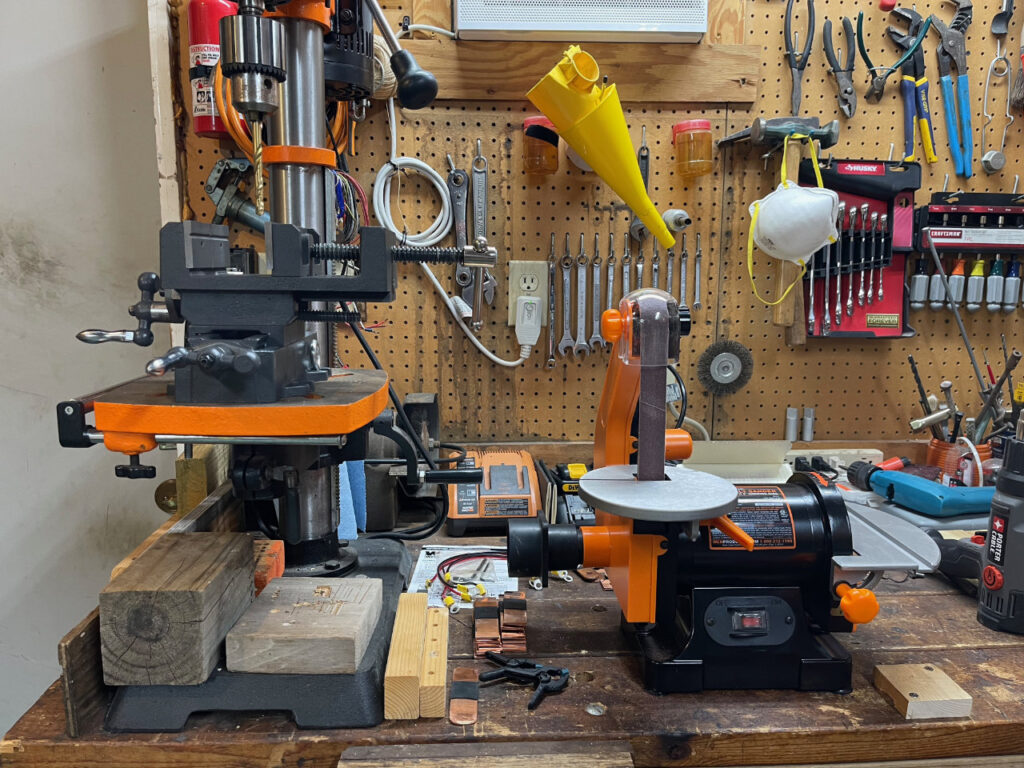
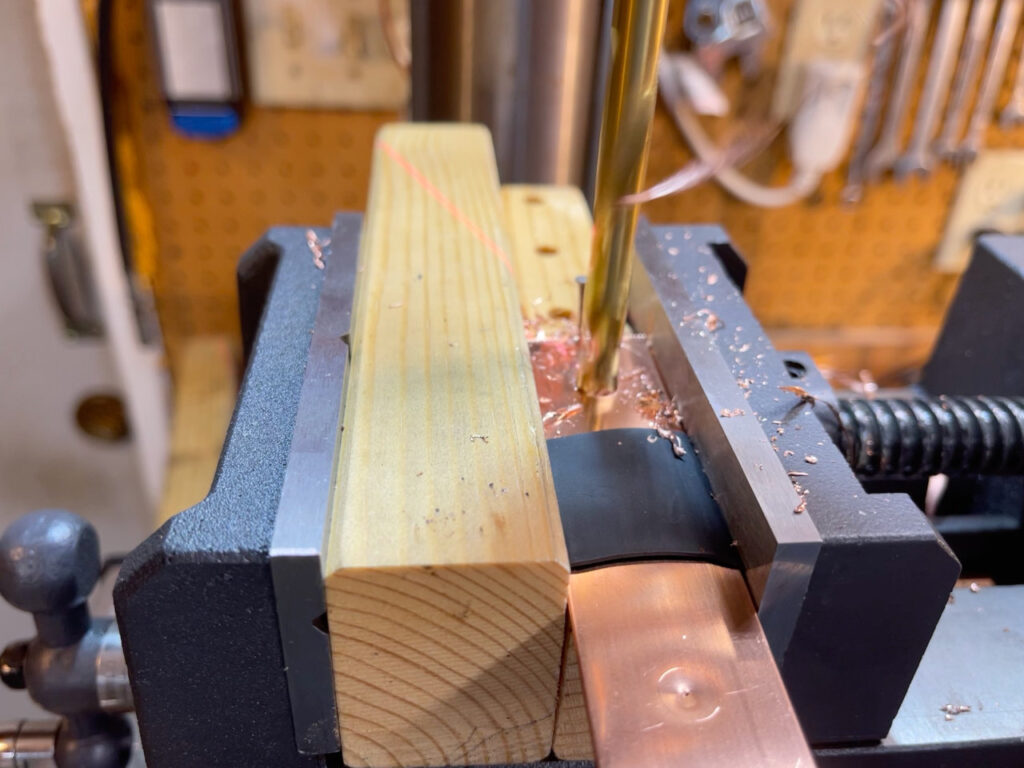
Consistent placement of holes in each bus bar was the next concern. I have a drill press, but holding the copper bundle securely required a vise. I also realized that a model with X – Y adjustments would be helpful. Another trip to the Amazon store and one was on the way. It will be useful for many other shop tasks.
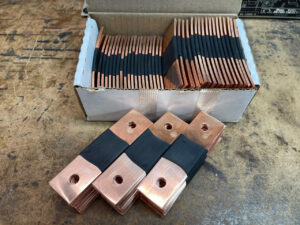
Finishing the ends
I had experimented with a variety of ways to round the ends of the bus bars. Originally, I thought I could use a tin snip to cut the shape inscribed on each blank. It quickly became clear that the results were inconsistent and time consuming.
After pondering the problem, I realized that a belt sander would work. I had been looking for an excuse to buy one, and this was it. There are a lot of models available, but I settled for one that met my needs for a modest cost.
Work, work, work . . .
With design, process and tools in place, I set to work. There’s nothing glamorous about the process. In a series of 2 to 4-hour sessions (about the length of my attention span), I cut the nearly 500 individual blanks, and assembled them into the nearly 100 bus bars. It wasn’t hard and the time goes faster listening to a good audio book or podcast.
Drilling holes in the assembled bus bars wasn’t hard either. Using a template, I used a hole punch to put a dimple in each end of the soft copper. A little wooden jig helped with placement in the X – Y vise on the drill press and the holes were quickly drilled in each end.
Learning about the belt sander
Shaping the ends proved to be a little more problematic. I had purchased a box of 1-inch sanding belts with grits from 60 to 400. After using the bus bar template to mark the curve on each end of the bus bars, I began sanding with a 150 grit belt. All was well at first . . .
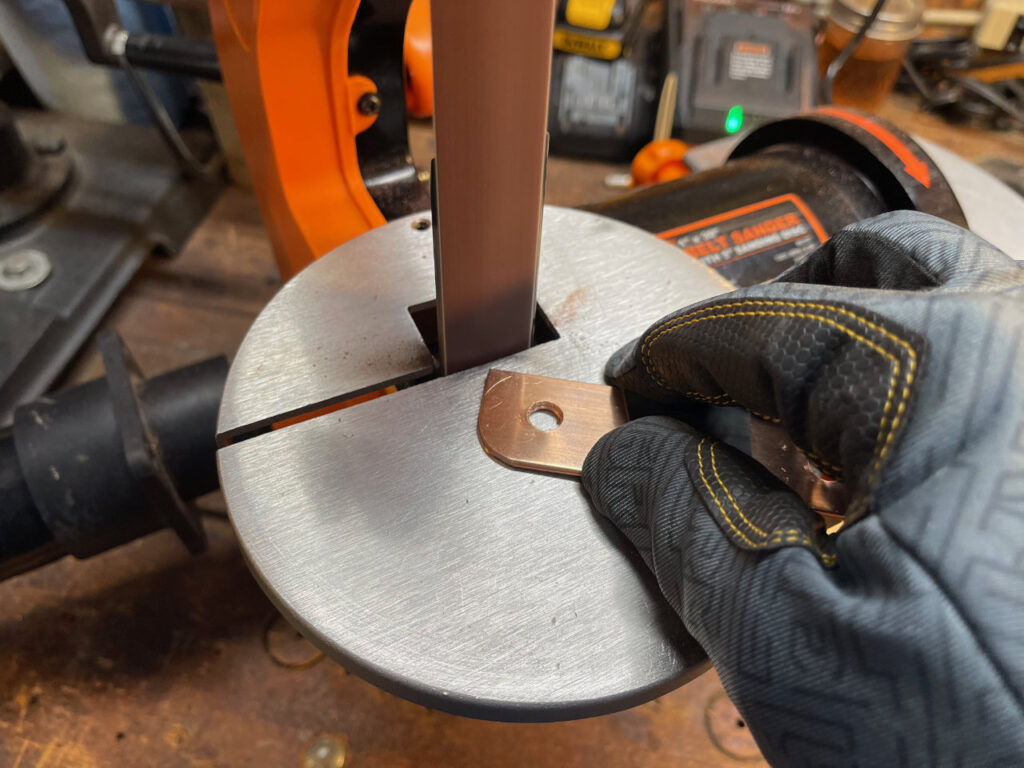
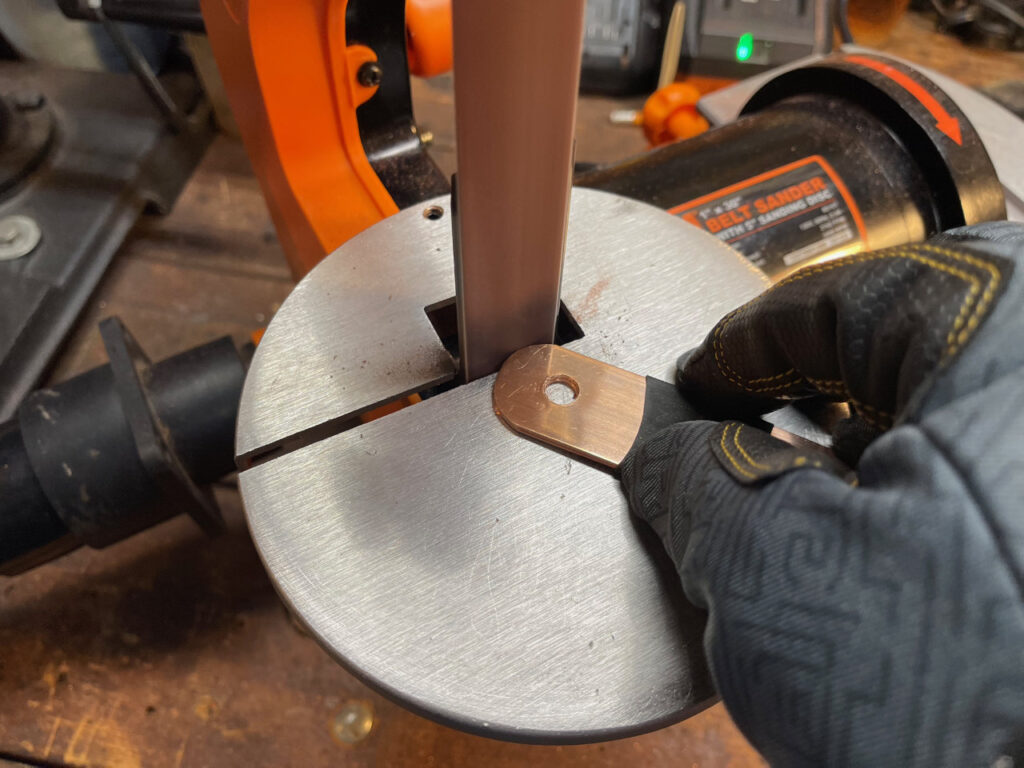
. . . until the belt separated where the loop had been joined with some kind of adhesive tape. Another sanding belt was mounted, and it also didn’t last very long. The belt sander also had a 5-inch disk on one side, So I worked back and forth between them. In the end, it was good I had ordered so many belts because I used more than half of them as belts broke. Next time I’ll try more expensive belts.
From bulk copper strap to 95 finished bus bar assemblies for the lithium ion solar battery. We devised a jig to cut the strap into equal lengths, and layered them to achieve the necessary ampacity. Each assembly was drilled to fit over terminals on the lithium cells, while the ends of each bus bar were sanded to produce a nice, rounded shape. In the next installment, I’ll describe the final assembly of the battery. Onward!
