Building a Great Virtual Pipe Organ — Console Modifications
Back to the Virtual Pipe Organ Project (VPO)
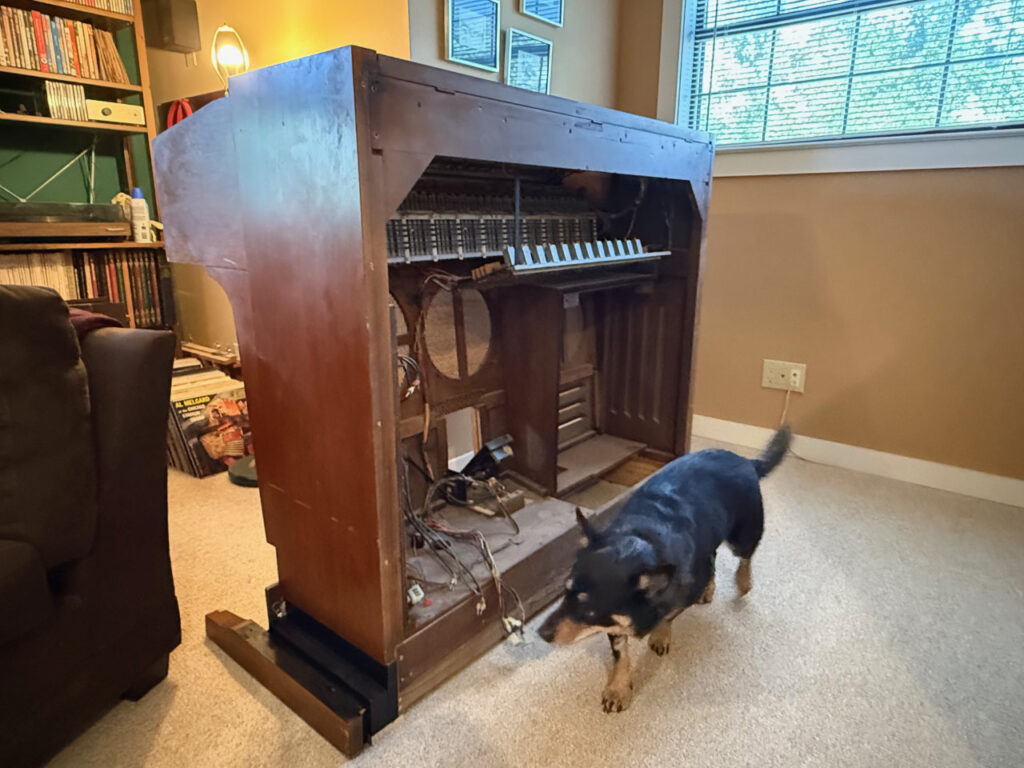
It’s been a while since I worked on the Virtual Pipe Organ (VPO) project, using Hauptwerk software, but it’s not forgotten. Last week, with Marilyn’s son visiting, I had a chance to resurrect the project. Frankly, modifying the heavy console was daunting, and I needed a helper to even get started. It was necessary to lift and reposition the console several times and a second set of hands was essential.
Reed Switches and AGO Pedals
In the last post, I reworked the two-channel tube amplifier which I intend to reuse along with the 12 and 15-inch instrument speakers and Leslie cabinet. In this installment, I modify the base of the console to fit the 32-note American Guild of Organists (AGO)-compliant pedals.
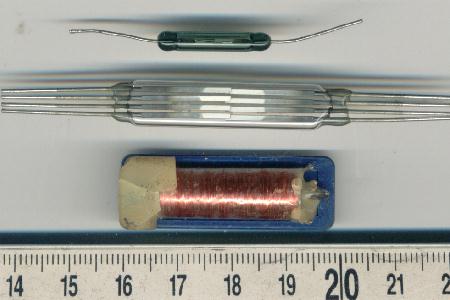
When I purchased this pedal set on eBay, it came with a board containing 32 magnetic reed switches. These are actuated by magnetic strips on the end of each pedal. As a pedal is pressed, the magnetic strips move down to a position adjacent to a reed switch, closing a circuit. I’ll have to make or buy a switch closure to MIDI encoder, but for now I simply wanted to confirm the correct positioning of the board and operation of the reed switches.
Testing and Positioning the Reed Switches
The positioning turned out to be pretty obvious, with a plastic knob on each side of the pedal set holding the reed switch board the correct distance for reliable actuation. The only other question was the height relationship between the pedal set and reed switch board. Once I had those two bits of data, I could determine the new console height.
Console modifications through emergent engineering (cut and try)
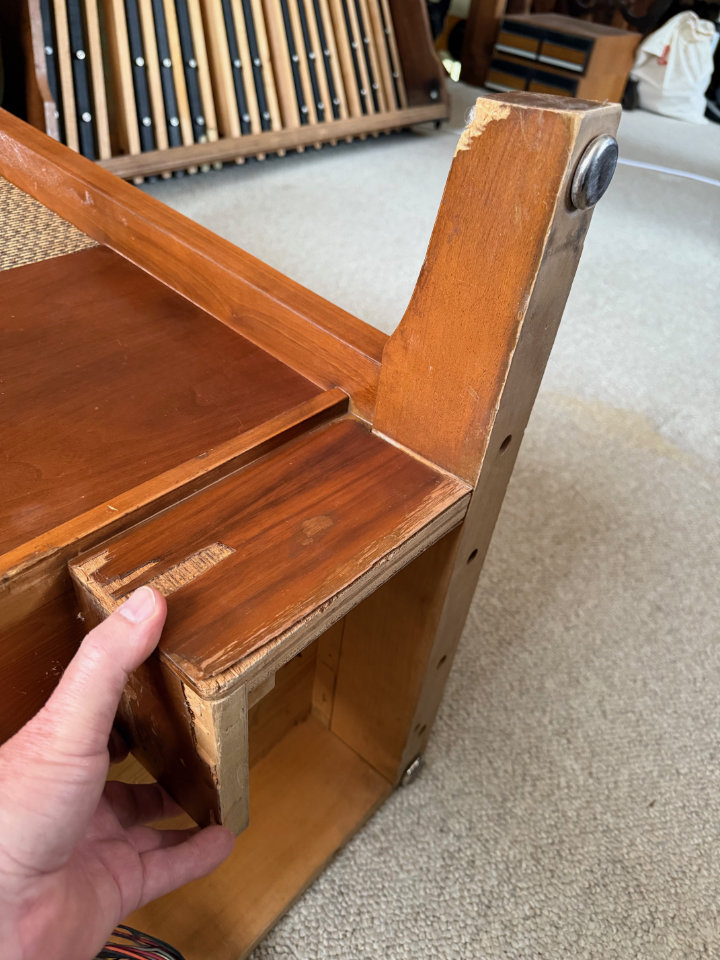
After Jon helped me position the console upside down, I removed the feet and other bits of cabinet that I wouldn’t be using. It turned out I needed to add exactly 2 3/4 inches to the console height. The console is made of cherry hardwood with cherry-veneered panels. After going through my available lumber, I decided to use yellow pine to make the added pieces. It’s dense enough to almost match the hardwood strength and 6 by 2 dimensional pieces could be milled and laminated to created the needed foot extensions.
Foot extensions in place
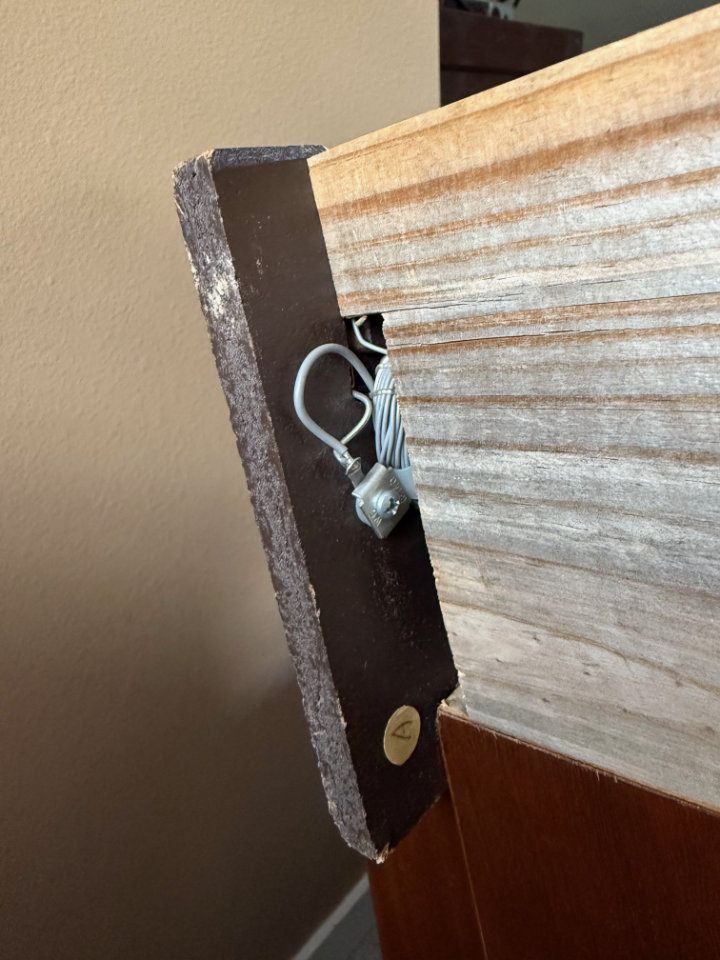
Once the foot extensions were in place. I could see a mounting strategy for the reed switch board. Made of some kind of painted particle board, it had been damaged in either removal or shipment, with a crack from top to bottom on one side. For strength it would need to be supported on all four sides. Adding a furring strip on the bottom of the console aligned with the front edge of the added extensions would provide support on at least three sides. Good enough for now.
I mounted the reed switch board and could see it was going to be longer than the width of the console. It would stick out about an inch or two on each side. Also, parts of the reed switch wiring stood proud of the back of the board, The blocks supporting the organ feet would have to be milled out to clear them.
We’ll need a little extra width too . . .
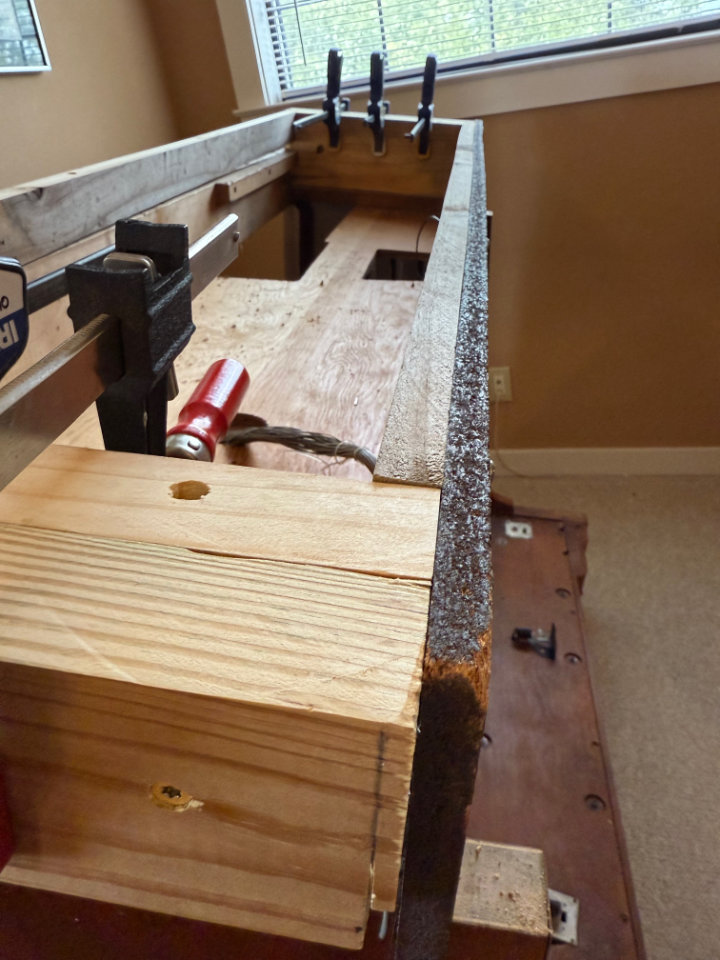
Not only that, the organ feet would have to be relocated outside of the organ console by an extra 1 1/2 inches. to accommodate the pedal width. Instead of the feet attached below extensions as I had originally planned, they would have to be attached to the side of taller extensions and reinforced as “out-riggers.” Not exactly elegant. I would end up adding 6 inches to the overall width of the console.
Screws and Glue
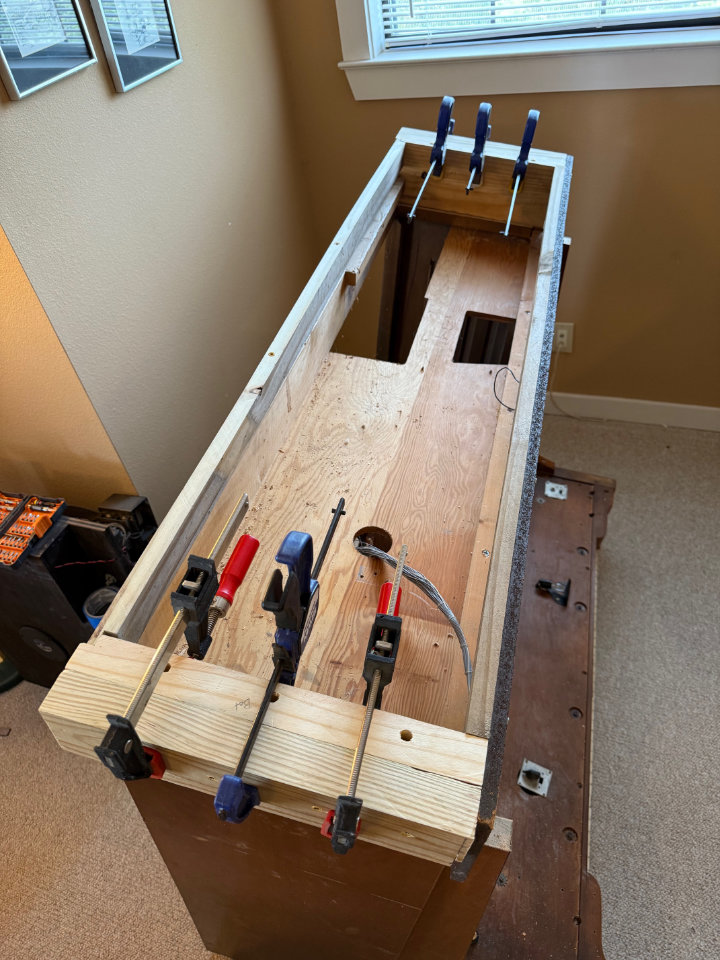
In the end, a 5 by 13 3/4 by 1 1/2 board was screwed to the bottom of each side of the console ends using 5-inch screws. Counter bores were made so the 5-inch screws would grab about 1 1/2-inches of the bottom. A 3 by 13 3/4 by 1 1/2-inch board was glued and screwed to the outside of each of those. Together, they were three inches thick.
The original console feet were then attached to the outside of that using more glue and screws. The only difference is the console feet extended down an extra 3/4-inch to set the final console height and relationship to the pedals. I also added 3/4-inch boards below the extensions to fill in the space on the bottom and provide support should the outrigger feet fail.
Trial fit of the Pedals
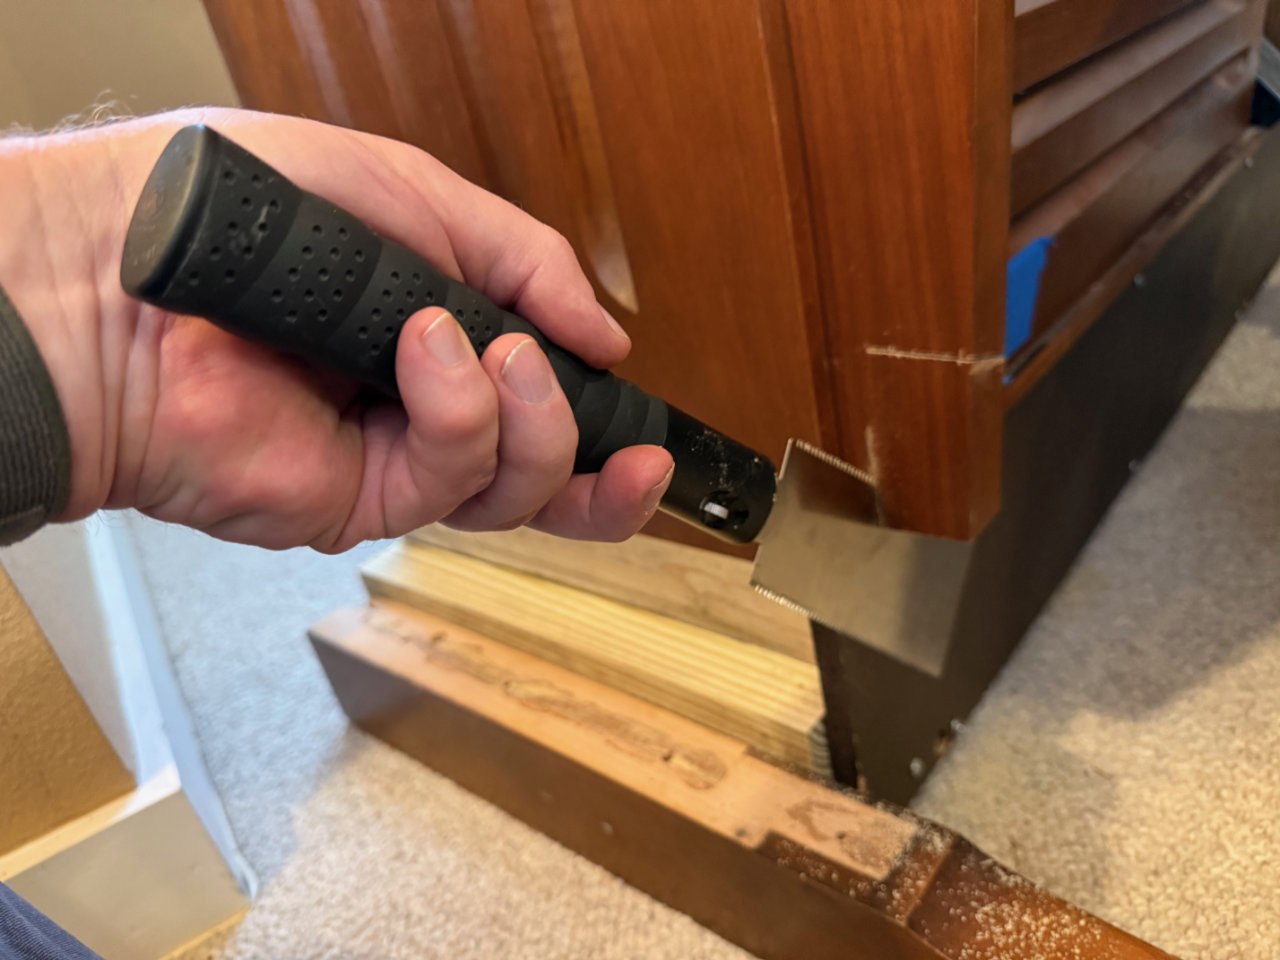
After flipping the console back to its upright position, we slid the pedals toward the console. Some trim on the front of the console was interfering with the “smiling” upper part of the pedal set. AGO pedals are curved, and the upswept ends where they meet the console look like a smile. Those pieces would have to be cut out, and a Japanese pull saw and wood chisel made short work of that.
A decent fit.
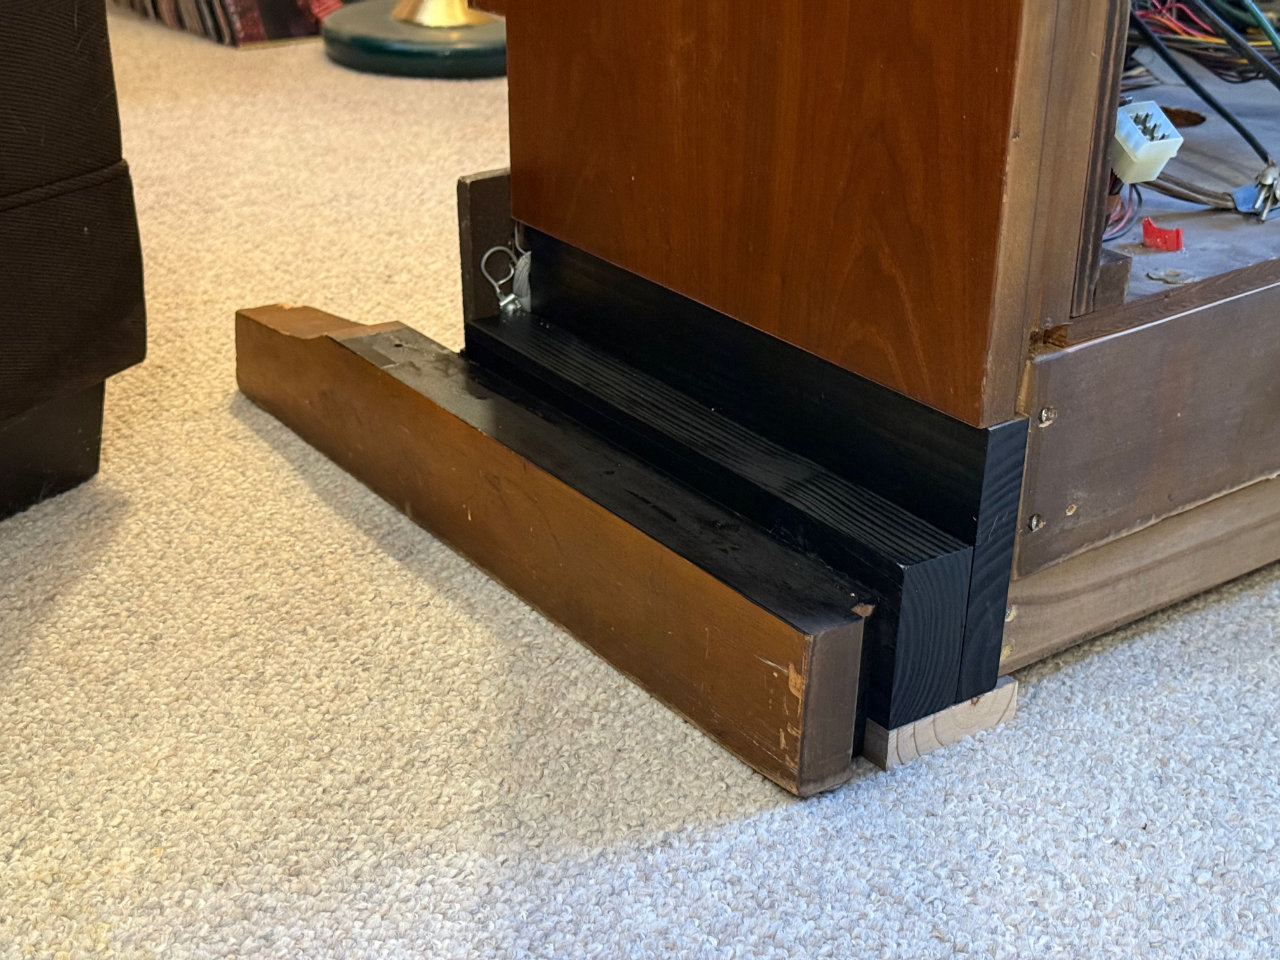
All of that done, the pedals fit exactly aligned with the reed switch board. I did remove the yellow pine additions and paint them a satin black. They are mostly hidden, and there won’t be any unfinished wood to draw attention.
What a relief! This was the part of the organ build I was most dreading, and just like that, it’s finished. Next, I’ll either get or make the MIDI encoder for the pedals, and get it installed. I’ll probably also begin work on a new bench. The old Thomas bench is now too short, and not wide enough to be positioned over the pedals. Onward!