How to Get a PumpSaver for a Water Well
A Dry Well is a Bad Thing
With summer on the way, and an end to our rainy season approaching, I am reminded of the dry summer last year and concerns about the water table here at the ranch. Fortunately, our water well performed during the last year’s drought, but a number of our neighbors had trouble with their wells. Some troubles were resolved by a visit from the well-service company and a replacement part of two, but at least one well’s water level was low — resulting in low or no water output. Groundwater levels seemed to recover later on, but running a deep-well pump that is not fully submersed can lead to a failure — and that’s an expensive repair.
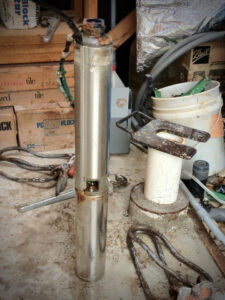
The original well pump at Roy Creek Ranch was replaced in 2011, and it’s a fascinating process. Not only is it expensive, I had to cut a hole in the roof of the well house to accommodate the crane used to remove the pump. Our well is 282 feet deep, so it took nearly an entire day to remove all that pipe, one 20-foot section at a time, replace the pump and then reverse the process. Pumps are only expected to last about 10 years, so I’m due for a replacement again soon. Nevertheless, I hope to get a few more years out of this one and anything I can do to extend its life is welcome.
PumpSaver to the Rescue
What I learned from the experience of my neighbors is my pump needed protection using a “Pump Saver” device. Well service companies recommend and can install them, usually for a few hundred dollars, and well worth it when you consider that replacing a pump several hundred feet underground can be upwards of $2500-$3500. I am a committed do-it-yourselfer though, so I decided to purchase and install one myself. I found the process wasn’t too difficult.
Purchasing a PumpSaver
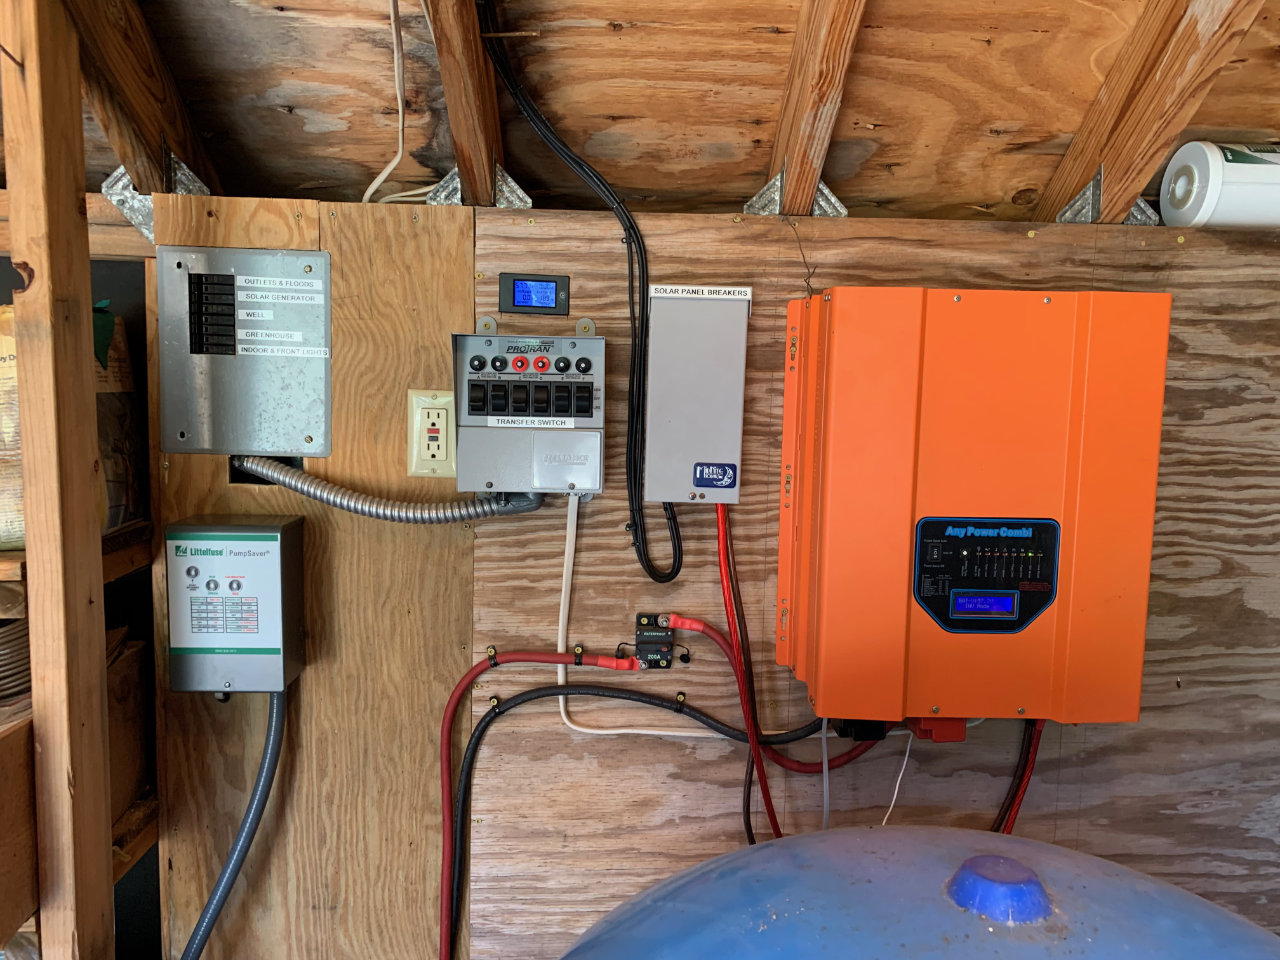
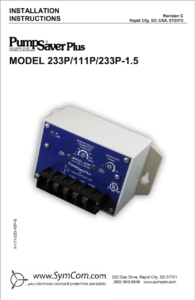
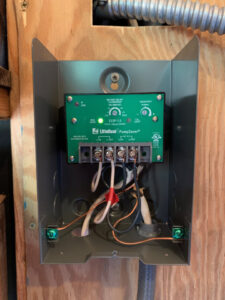
I ended up buying the Littelfuse PumpSaver Plus (model 233P-1.5) costing about $230 from Amazon. It is also available from DigiKey for a little more. Having wired the well pump into a solar generator system some time before, the installation was straightforward. All I needed to do was put the PumpSaver device inline between the breaker panel and the well controller.
Here’s the standard warning/disclaimer: The installation of this device involves working with 240-volt A/C power and can be lethal if not done correctly. If you do not know how to work safely with 240-volt power, then it is best to hire a professional electrician or well-service company to do the installation.
Installation and Use
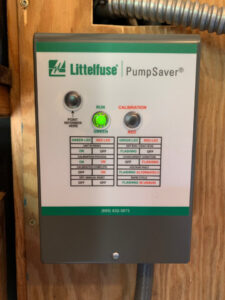
My submersible well pump is a 1 1/2-horse, 240-volt, single-phase model, and the PumpSaver connections are well marked and easy to understand. Once installed, there is a calibration process that takes just a few minutes. It “trains” the PumpSaver to understand normal pump behavior so that if the load changes significantly (as with a low water condition) the PumpSaver can interrupt power to the pump. Besides detecting load changes, the PumpSaver can detect and prevent rapid cycling — another way to damage a pump.
The PumpSaver also records run time and fault history. Using an “Informer,” a diagnostic tool that communicates with the PumpSaver via an infrared sensor, one can read real-time voltage, current and power; dry-well and overcurrent trip points; calibration voltage; last 20 faults; voltage, current and power at the last fault; highest/lowest voltage and current since calibration and the device model number. It is available from either Mouser or Digikey for between $180 and $200.
So far, we’ve been lucky and haven’t had any low-water alarms. But having the PumpSaver installed is pure peace of mind. Well worth it!
