How to Build an Inexpensive Storage Shed
More shop space with a Storage Shed
I’ve been threatening to build a storage shed at the ranch for some time now. After going through everything in the shop and selling, discarding, or giving everything away I could, it was still too crowded to work effectively. I needed more space. A friend had recently mentioned a sale on small buildings at Costco — it was worth a look. The deal wasn’t bad, with an 8-foot by 10-foot shed installed for about $1700, but I wanted something a little bigger.
Eventually, I found a building that suited me at Home Depot — an 8-foot by 12-foot kit for $1100. Of course that price didn’t include installation (or even delivery), or a floor, roofing or finish materials, but it was still appealing. I like building things and adding a few hundred dollars wasn’t too bad. I got online and ordered one.
A Storage Shed Ikea would be proud of
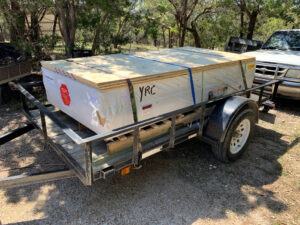
It arrived at the store two weeks later, and my neighbor volunteered his trailer to pick up the 4 by 8 by 2-foot pallet pack. I found it hard to believe that everything needed for the shed was in that bundle. Since the kit didn’t include flooring, I also bought three sheets of tongue and groove plywood.
Before long the trailer was parked near the construction site. At over 500 pounds, I would have to unload the kit piece-by-piece, and set to work inventorying the parts. I didn’t find an assembly manual in the box, but it wasn’t hard to find on the company’s web site. There were a couple of discrepancies, but only with the fasteners, so I called it good.
Site work, foundation and flooring
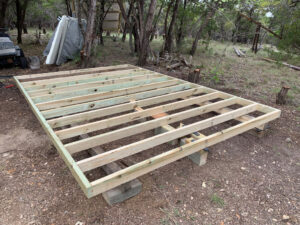
The site is fairly level, and preparation consisted mainly of removing debris and trimming trees that would interfere with the construction. Another neighbor with far more construction experience than me recommended gluing the plywood down to the floor joists to make a solid platform. That way, there would be no squeaking. He came by that weekend and together we put the platform together.
The plans specified treated floor joists every 24 inches, but since I wanted to park my garden tractor in the shed, we decided to double up and have joists every foot. The whole floor assembly was set on two treated 4 by 4 timbers with additional treated lumber cutoffs down the middle to prevent sagging. It was surprisingly hard to fit the tongue and groove flooring together while glueing it down. Some tapping with a 3-pound maul and more than a few choice words helped. It took the afternoon to complete the platform.
Framing the storage shed
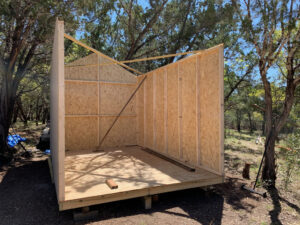
The building itself is mostly framed with 2 by 3 lumber and covered with a 5/8-inch chipboard skin. The chipboard is textured and primed on one side to resemble rough finished wood. The walls are constructed with 2-foot on center studs. For the side walls, the instructions recommended assembling the bottom and top plates with the studs, and then attaching the pre-cut chipboard outer skin.
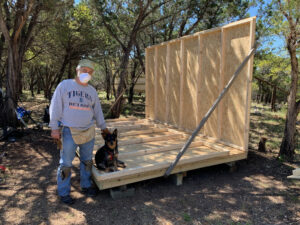
The completed wall is then erected and temporarily attached to the platform while the other wall is completed. Another friend had come over to help, and we quickly completed each wall . I was glad to have his help lifting each section into place. We used several 2 by 2 diagonal braces to temporarily hold them in place.
Tying the walls and floor
The back wall was next. Its framing was a little different with a central 2 by 3 spine that connects two pre-cut sheets of chipboard on either side. Two small chipboard triangles complete the back wall with a couple of additional 2 by 3 boards that attach horizontally. This is clever design, as it makes for both simple construction and efficient shipping of the kit. Everything fits onto the 4-foot by 8-foot pallet.
Gaps were left in the central spine where a small workbench and storage shelf would later attach. We were now ready to couple the back and side walls to the floor assembly to make a free-standing unit.
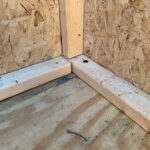
The instructions recommended 12-penny nails for attaching the walls to the floor, but I opted for 4 1/2-inch, spline-drive lag bolts. Easy to put in with an impact driver, the lag bolts helped pull everything into square with a really solid connection.
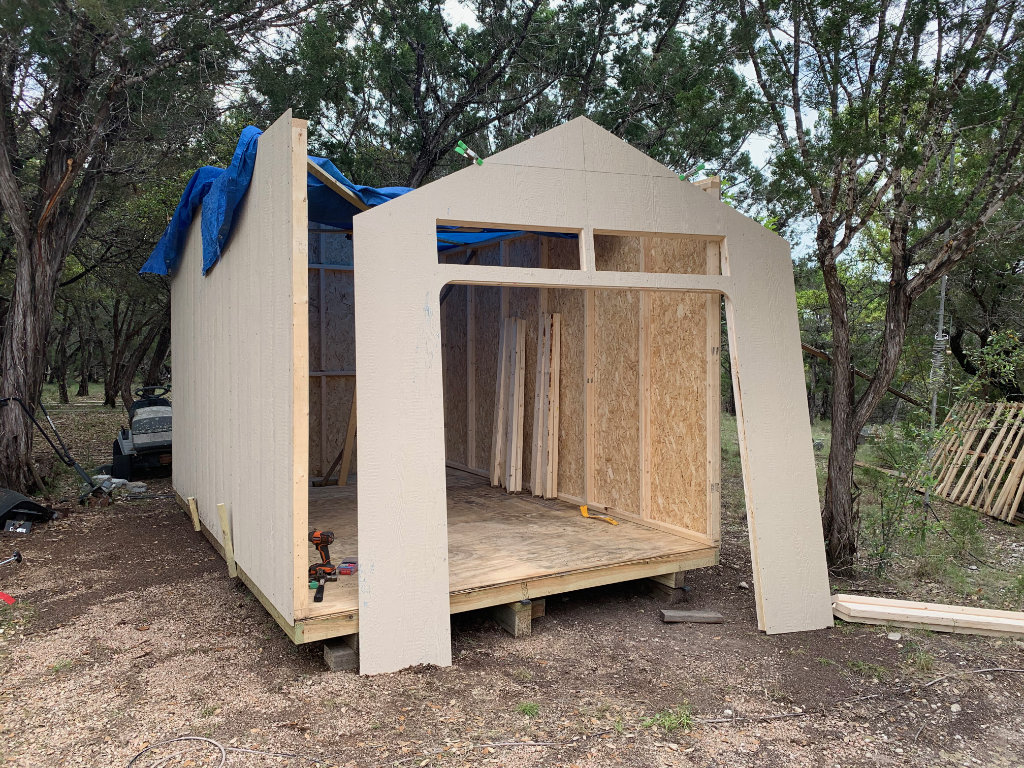
The front wall uses the same stud and skin arrangement except as needed to accommodate door and window openings. 8-penny nails are used to assemble it all. By this time I was working by myself, and I didn’t have much trouble lifting the front wall into place and attaching it to the side walls and floor. Pro tip: quick release clamps are really helpful for this operation.
Interior framing
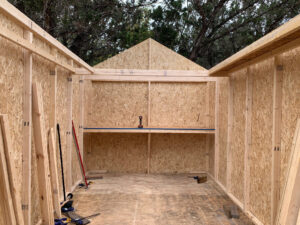
With the walls in place, it was time to add the interior framing. The storage shed is supposed to survive a 65 MPH wind, and I have no doubt that the interior framing provides the needed stiffness. It includes a small bench that runs across the back, a 4-foot deep overhead shelf that is also in the back, and 1-foot deep overhead shelves down each side. These are all constructed using 2 by 3 and 2 by 4 lumber for support and 5/8-inch chipboard for shelf surfaces.
It’s worth noting that the side walls are only 7-feet high, so the shelves are at a convenient height. There is also a diagonal brace in the center of the bench, making it a stout work surface.
To the Roof!
Now it was time to frame the roof. The rafters are made from 2 by 4 lumber joined in the center with 5/8-inch chipboard gussets glued and nailed on each side. The five rafters are spaced to match the side studs since the outer rafters will be 2 by 4’s attached to the front and back walls. With the rafters in place, it was time for decking. Again, sheets of 5/8-inch chipboard were used.
Collar ties were added to the three central rafters and it was time for roofing felt. I wanted to use metal roofing, and my friend Jason came by to help. Metal drip rail was attached around the perimeter and then 1 by 4 roof battens were then added over the roofing felt. I had metal panels from McCoys, and after cutting them to length, we attached them to the roof battens with self-tapping metal screws. Ridge trim completed the metal roof.
Doors, windows, finish and a little insurance
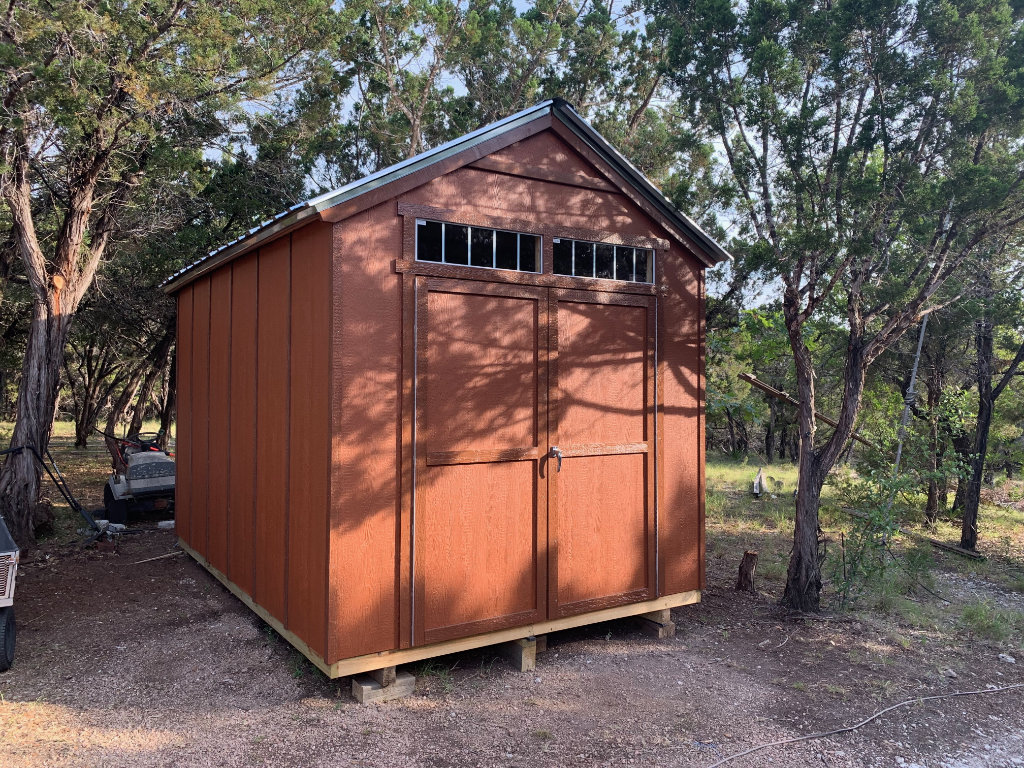
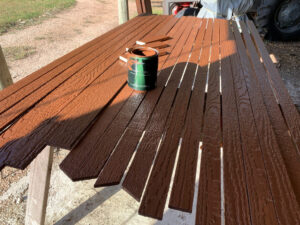 The doors come preassembled with piano hinges and install easily. The two windows are set with a bead of clear silicon caulk and then attached with screws. Paint was last. I chose a two-tone scheme — a cinnamon color for the walls and a dark brown for the vertical battens. I did paint the battens before installing them so save a lot of time and effort masking them. The overall effect is striking, and a nice complement to our dark brown log home.
The building is surprisingly solid in spite of using 2 by 3 studs and 5/8-inch siding. Nevertheless, I wanted to up the game a little by adding hurricane hardware to the top and bottom of each stud so they were tied more solidly to the top and bottom plates.
How is it?
I would have to say I’m pleased. The total cost was around $2000. I’ll be adding improvements next fall, but for now, it meets my needs for more storage. I plan to add masonite coverings for the interior shelves and storage deck, as well as insulation and peg board for interior walls. I plan to also insulate the roof, and then hide the insulation with a curved piece of Luanne placed overhead. I’ll probably also add a single 240-volt circuit tied to the shop power supply. But for now, I’d say it turned out well!
