How to Mount a Solar Panel Array – Framing
In a previous post, we selected a site, cleared trees and installed foundations. Now we were ready for framing. There were four 8-inch concrete piers defining the four corners of the array. The plan was to mount two 10-foot 4-by-4 posts on the north piers and two 2-foot posts on the south piers to produce a platform that slants from north to south. First I had to adjust for the unevenness of the ground. After finding the lowest pier, I would shorten the other three posts by the amount needed to make the mount level from east to west while sloping evenly from north to south.
Finding Level on the Concrete Pads
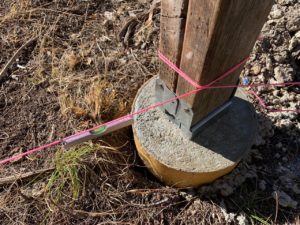
I started by mounting two 2-by-4 scraps into one of the Strong-Tie metal mounts that would support each post. This assembly was temporarily attached to the lowest pier. Then, I attached a mason’s line with a string level to each of the other three pillars, one at a time, right next to the pier. The other end of the line was attached to the scrap post so as to make the string level. Last, I marked each position on the scrap post. These marks would tell how much to shorten each post. It was time make some sawdust.
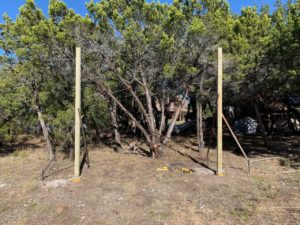
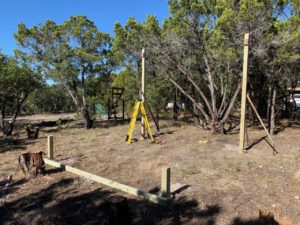
Two 12-foot 4-by-4’s were then cut to match my measurements. After cutting, I temporarily attached a Strong-Tie mount to the anchor bolt on lowest pier. The 10-foot post was then attached to a Strong-Tie mount and temporarily supported on two sides by wooden stringers connected to metal concrete form stakes driven into the ground. In this way, I was able to support the post in a perfectly vertical position. The second long post, a few inches shorter than the first was positioned and supported in the same way. The two shorter posts, both slightly shorter than two feet were simply attached with the steel mounts.
Horizontal Supports for the Solar Panel Array
With the posts mounted, it was time for the horizontal cross pieces. Wanting to get the high and therefore difficult one done first, I attached two scraps of 2-by-6 to the tall posts to support the 2-by-6 cross piece once it was lifted into place. I was working by myself, so with the help of a ladder, some wood clamps, and a couple of partial lifts, I was able to get the piece in place on top of the supporting blocks. Three Torx-drive deck screws on each side completed the installation. A similar process was used for the lower cross piece, although it was much easier at only about two feet off the ground.
Adding the Sloping Side Supports
A “bird’s mouth” was then cut near each end of the diagonal 2-by-4’s that would span the higher and lower horizontals. My friend’s sketch was a little unclear on how the diagonal spans would be constructed, and I initially misunderstood. After an trial fit (or un-fit as it happened) I attached a second 14-foot 2-by-4 to form an “L” shape and recut the bird’s mouths. They fit much better and were very stout. They were attached to the upper and lower horizontals with 4 1/2-inch HeadLok Fasteners.
Cross Pieces to Attach the Solar Panels
The next step was more horizontal cross pieces to support the solar panels. I cut 2-by-4’s to match the width of the panel mount and then laminated 2-by-2’s with screws to the back to add stiffness. Five of them were needed to support the four rows of solar panels. As we discovered later, this didn’t provide enough support for the weight of the panels, and we had to add additional supports when they were installed. A more permanent solution will be to add an additional 2-by-4 across each horizontal support attached to the diagonals with joist hangers.
Attaching the Solar Panels
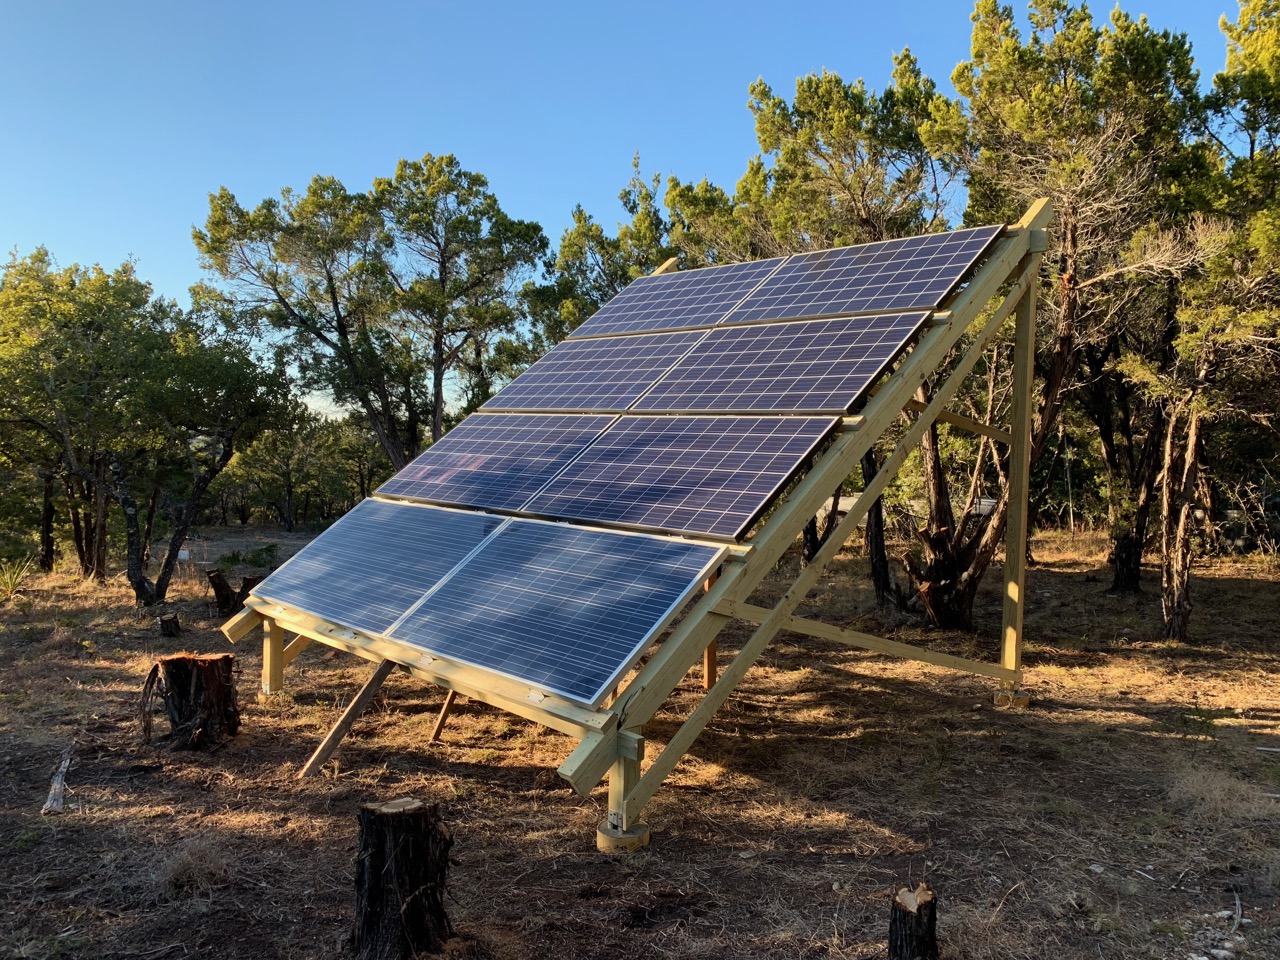
A few days later, I got some help from my neighbor Jason. Because of their height and weight, I couldn’t safely mount the two remaining horizontal supports. I also needed help with the Renogy 270-watt solar panels. At 65 by 39 inches and about 42 pounds each, it was a two-man job. Each panel has four Z-shaped mounting brackets, and they are screwed directly into the front of each horizontal support. This was easy for the two lower rows, but by the third row, it was clear that the mounting screws closest to the center of the array would be difficult to reach. Jason ended up going “over the top” to attach the second panel on both the third and fourth rows. Not ideal, but the panels were able to support enough of his weight for him to reach. In the next post, we’ll discuss wiring the array.


