Solar Power Rainwater System – More Panels!
The solar-powered rainwater system was complete — except for more panels, and a cable to isolate the rainwater power from the rest of the system. Construction on the rainwater system began in 2002, when I trenched the various wires and pipes into the ground. I needed power for the rainwater system, and tapped into an underground wire originally intended to supply power to the well. I figured it was heavy enough to power an additional pump for the rainwater system. The arrangement has worked well until now, but there was no way to isolate the rainwater pump from the well pump. I needed one more cable — underground — of course.
I’m a little slow . . .
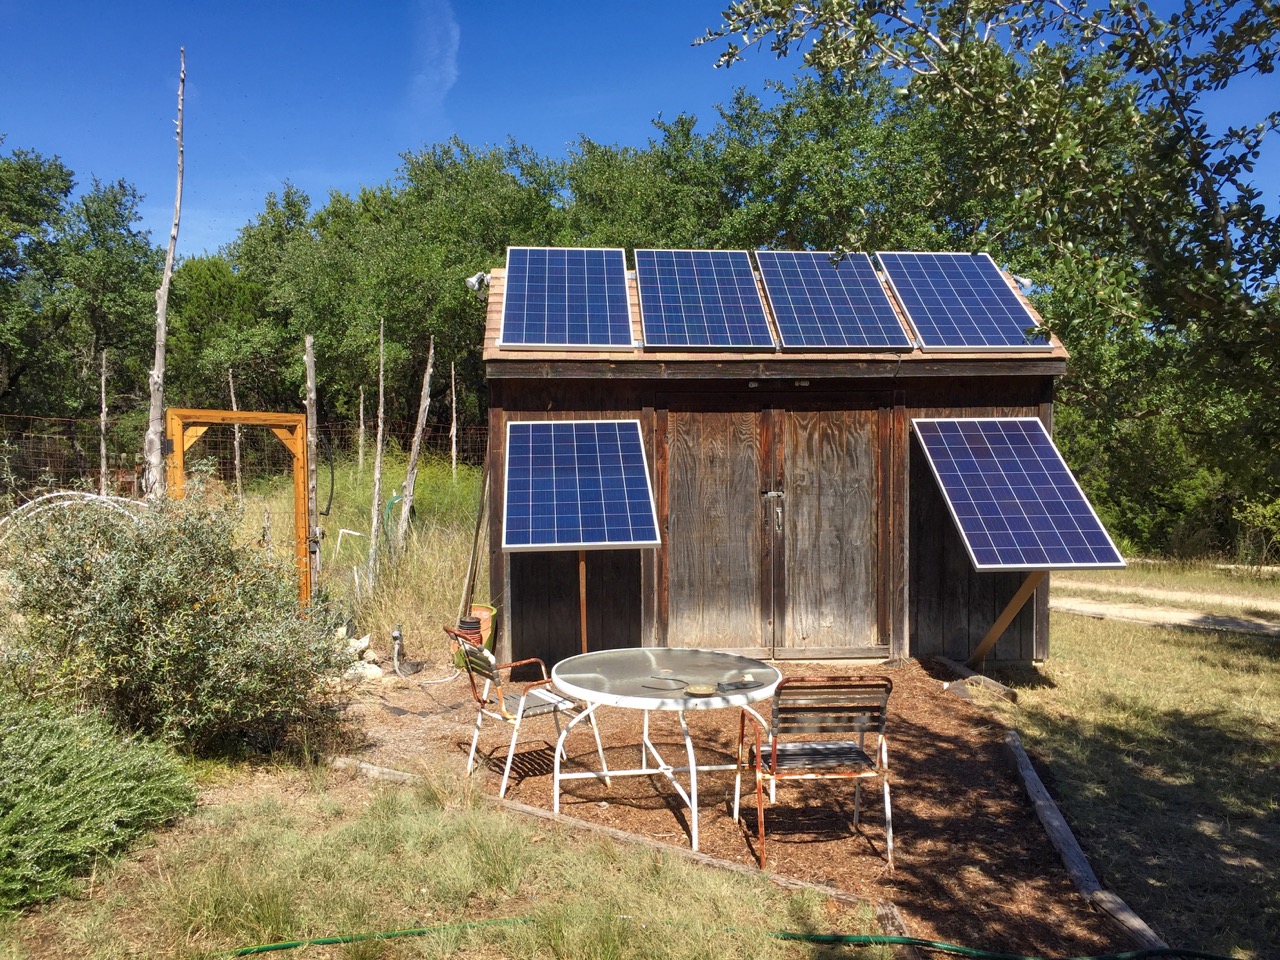
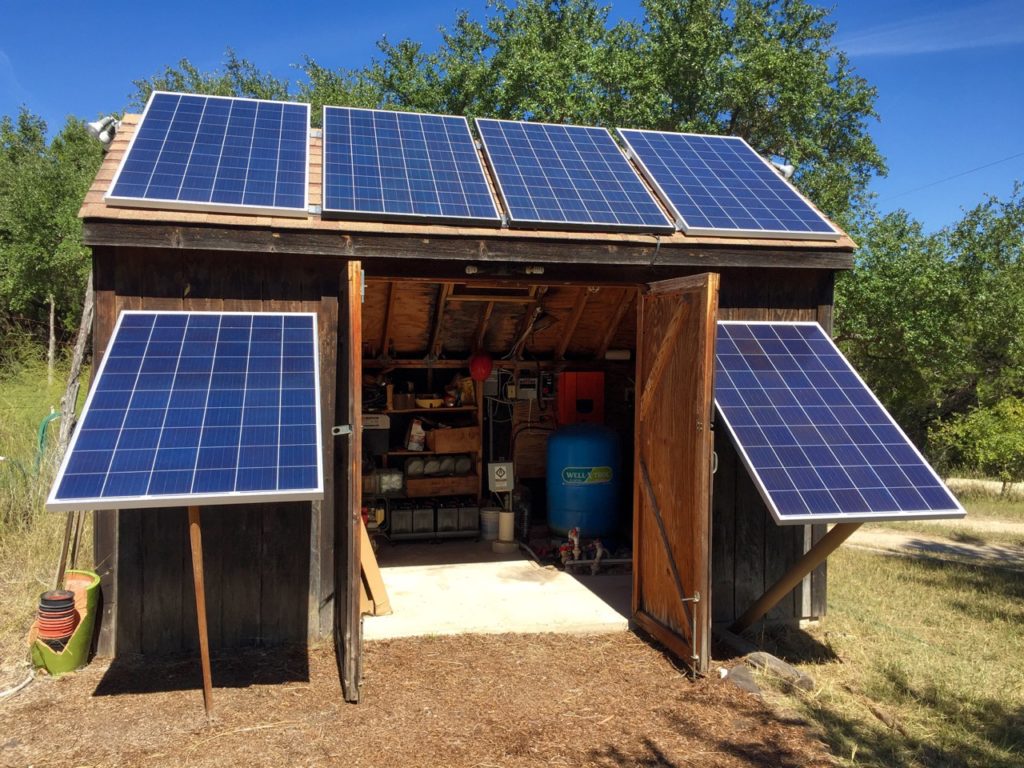
I had already installed two more panels on the garden shed roof while I pondered where to put the remaining two panels. None of the options seemed good since they were either shaded by trees or other plantings or would make an unsightly mess on the ground. I was stumped until I finally realized that the front of the garden shed had two blank walls on either side of the double doors. Facing south. Big enough to each hold one panel. Isn’t it amazing that sometimes we can’t see what is in plain sight? With two more panels, the system would have a total of 1580 watts of solar capacity.
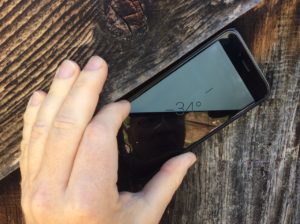
Vertical orientation was not best for capturing the sun. I could mount a frame that would hold them at the same angle as the roof — about 34% — but I thought, why not hinge them? That way I could adjust their angle seasonally and even store them against the building during extreme weather. My well-stocked junk-box provided all the necessary materials: sections of 2-by-4 pressure-treated wood, salvaged exterior door hinges, and deck screws.
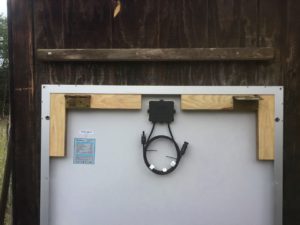
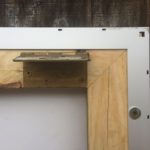
I fabricated frames that would form the panel/hinge interface. They were made by ripping sections of pressure-treated 2-by-4 to fit snuggly into the interior of the aluminum frame. Two pieces were cut at 45˚angles, and joined with a biscuit and wood glue to make each corner. Two frame “corners” were secured to each panel with a screw, and the hinges attached to them. The other side of the hinges attached to a horizontal 2-by-2 attached to the front of the shed. Once installed, each panel could be raised or lowered to any position from almost horizontal to perfectly vertical, and anywhere in between.
I haven’t made the adjustable support pieces for the panel bottoms yet, and they are currently supported by sections of heavy cardboard tube and an old shovel handle. I want to make the panels easily adjustable and haven’t arrived at the perfect solution yet. Having them fixed with a temporary support is fine for now.
Trenching for fun and profit –
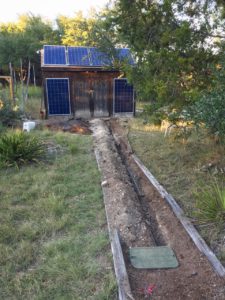
Digging trenches is no fun, and I’ve been putting it off — but couldn’t any longer. I got out the cinch bar and trenching shovel and set to work. Did I mention that the “soil” here is caliche? It’s a soft rock-like substance that is much harder than dirt, but not as hard as rock. Diggable, but only just. It took several hours to fully enjoy opening the trench, but I finally had a clear path from the underground junction box to the breaker panel in the garden shed. I wired a new, 50-foot section of 12-2 NM direct-bury cable, and the worst part of the job was done. Testing the new cable, I was now able to power the rainwater pump from the solar generator, and it worked fine.
The batteries now charge much more rapidly but have a new problem: the voltage is rising over 60 volts at peak sun when it should cut off at no more than 59. Be careful what you wish for! I’ll share what may be the solution in the next article but for now, we have plenty of power!
Pingback:Solar Powered Rainwater Project – Final Assembly | Roy Creek Ranch