Weber Piano Action Rebuild – Key Leveling and Key Weights
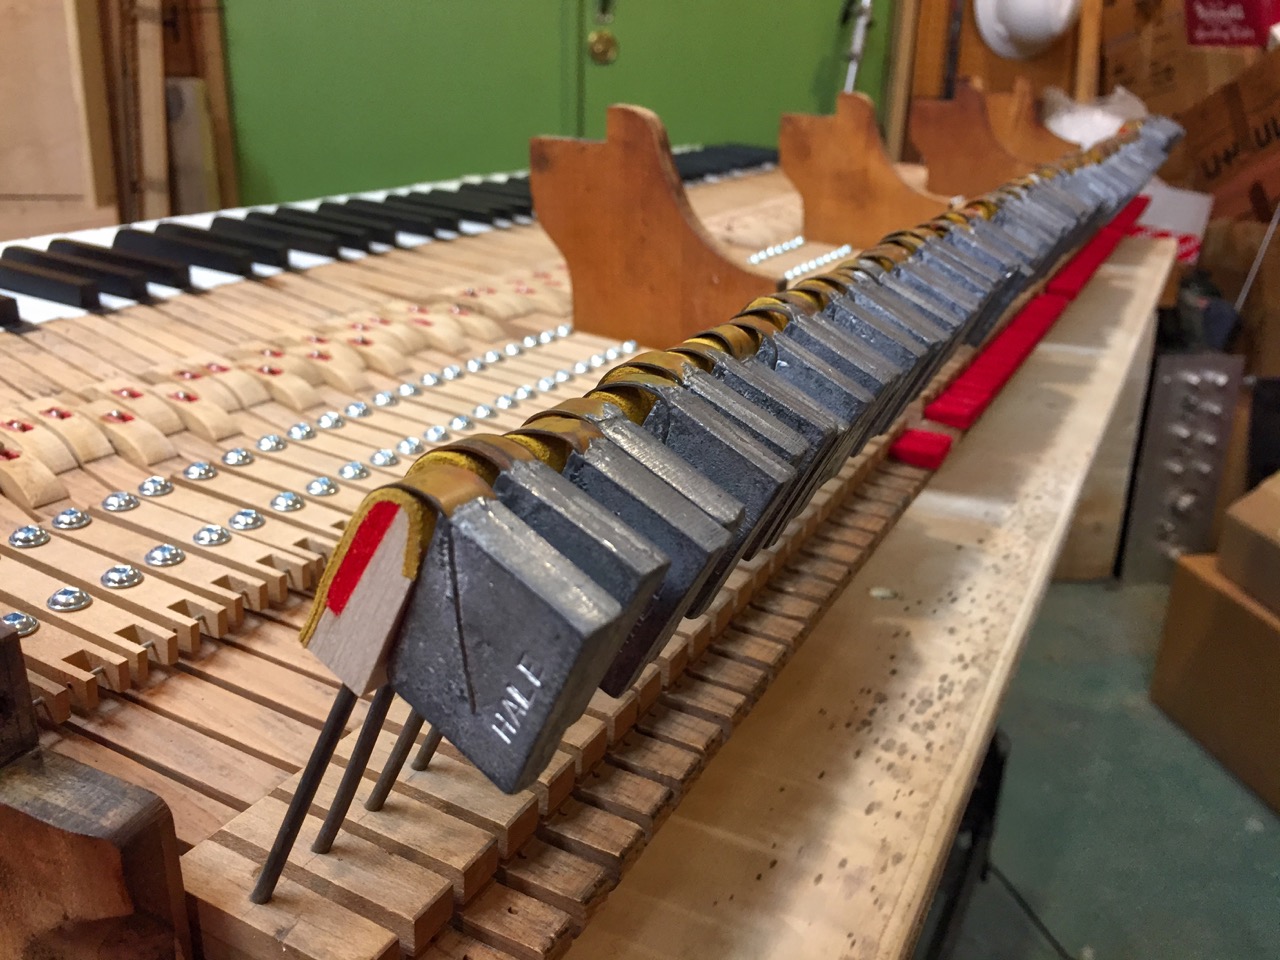
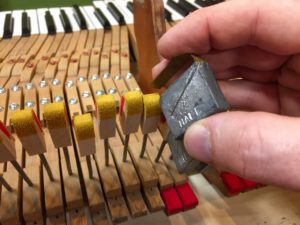
Back on track with the sharps refinish, let-off buttons and hammer rest repairs, I was looking forward to the last bits before reassembling the action: key leveling and key weights. In order to address key leveling, I had to first place a lead weight on each back check to simulate the presence of the rest of the action — with the ivory end forced up.
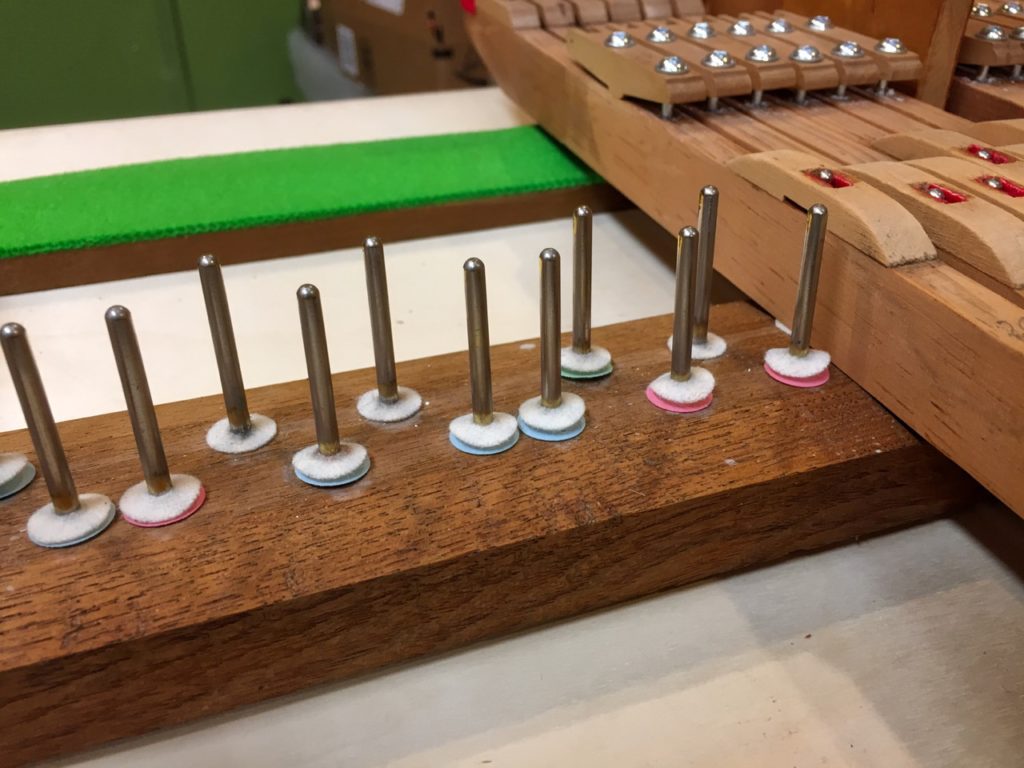
Since the action is almost entirely made of wood, 120 years of wear had affected the height of each individual key. When viewed on edge, certain keys were a bit lower or higher than the average. I had already placed a felt punching under each key on the balance rail, and now it was time to make them exactly even. This is done by placing paper punchings as needed under each key.
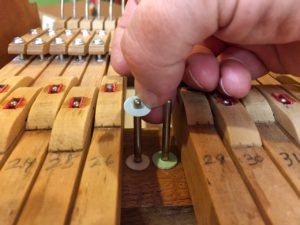
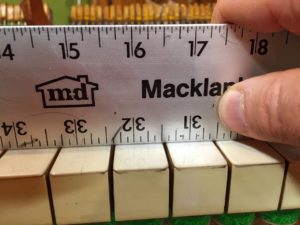
The punchings are supplied in various thicknesses from 3 (white) to 15 (cardboard) thousandths inches. By adding one or more of the paper punchings, each key can be set to a specific height. It’s a simple but time-consuming task. Using the tallest keys as a reference, you simply add punchings to the balance rail of each lower key until they all match. A long straight edge shows which keys are lower. Not surprisingly, I used some of each thickness of punching. The key heights were all over the place, although none was out by more than 15 thousandths.
A Weighty Puzzle
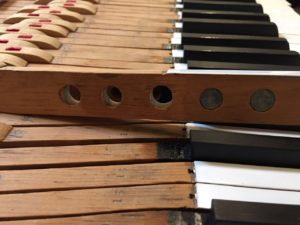
Each piano key has one or more small lead weights embedded near the ivory end. This is to balance the weight of the whippens and hammers on the other end of the balance rail, reducing the effort needed to actuate that key. For some reason, a previous technician had removed about half of these weights from each key — a fact that puzzled Bernard.
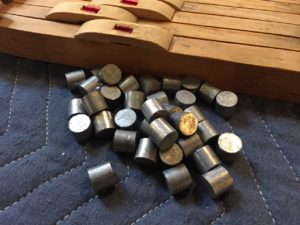
It looked like they had been gone for decades judging by the dis-coloration of the wood inside the holes. He was confident they would have been present when the piano was new and would need to be replaced. Fortunately, he had a supply in the right size.
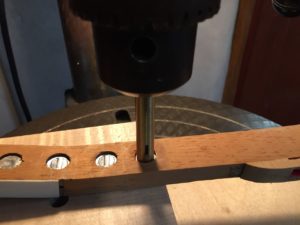
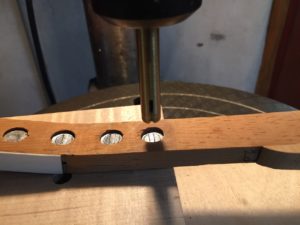
Using the handy custom jig he had made for installing key weights, I went to work. This required more effort than I expected, since each weight had to be “swedged” or flattened until it was wedged inside of the hole. Even though the weights are made of lead, a soft metal, it took some effort on the press to change their shape.
I started on the bass end where there are as many as 7 weights per key, and it looked like a long process. To my relief, the number of weights per key decreases going up the keyboard, ending with just one or none on the top keys. I ran through the entire supply of weights with several keys to go, but a trip to the junk box provided the few more that were needed. Once again, a salute to the careful preservation of important odds and ends (aka packrats)!
It was time to reassemble the action into the keyframe and begin regulation.
Pingback:Weber Piano Action Rebuild – Sharps, Cushions, and Buttons Roundup | Roy Creek Ranch