Weber Piano Action Rebuild – Sharps, Cushions, and Buttons Roundup
This far into the action rebuild, and I confess to a little project fatigue. After so many months, the end seemed to be receding into the distance. After the excitement of receiving new hammers, I lost a month to a California trip and other things around the ranch that needed attention, and it was a little hard to get my head back into the game. Some of the tasks I had been putting off — not my favorite things to do.
Just Gotta Get My Mind Right . . .
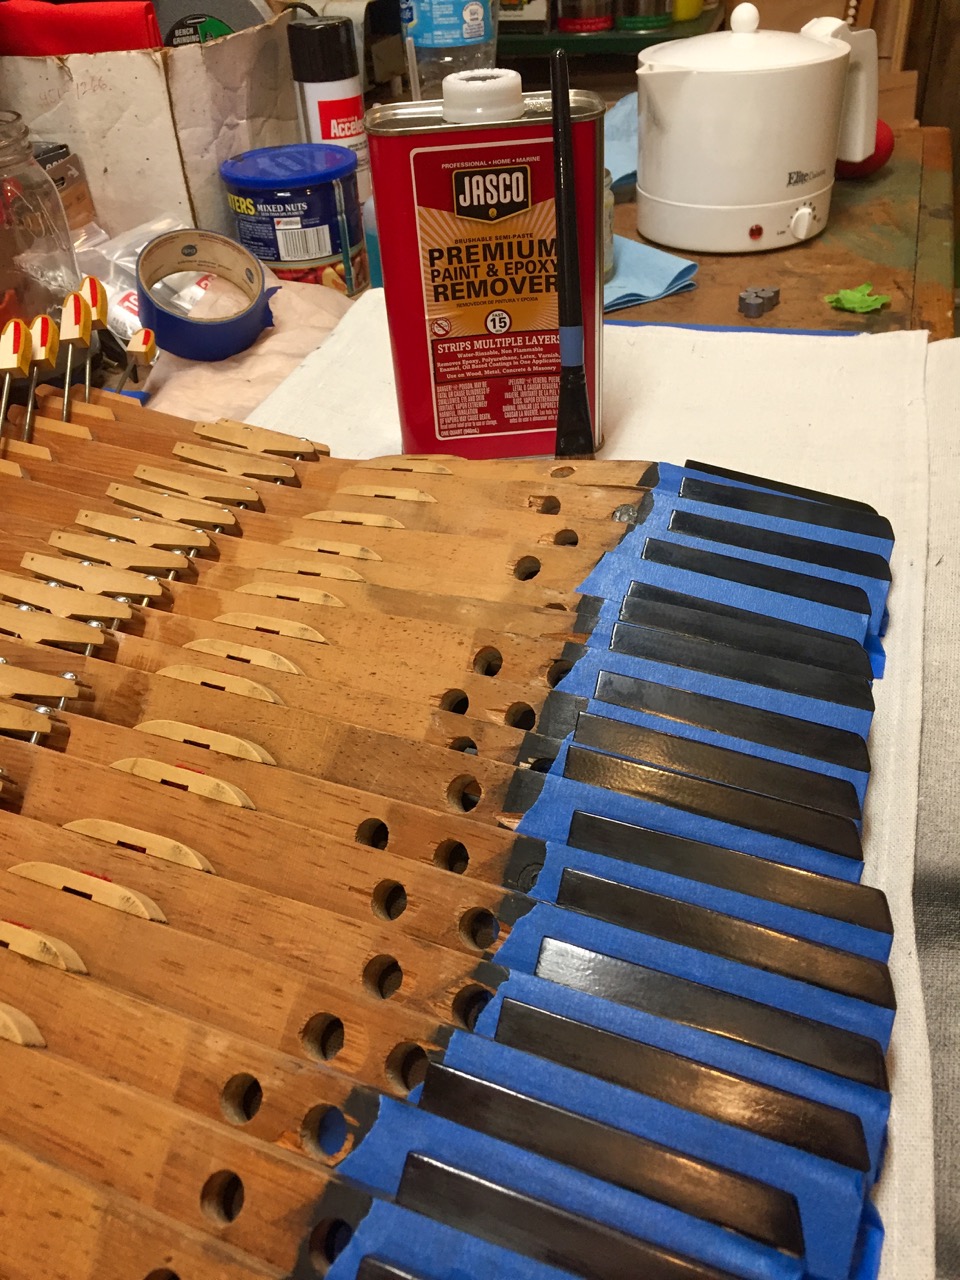
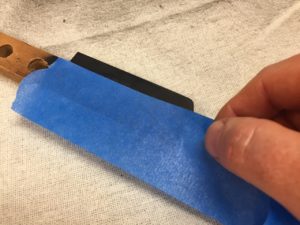
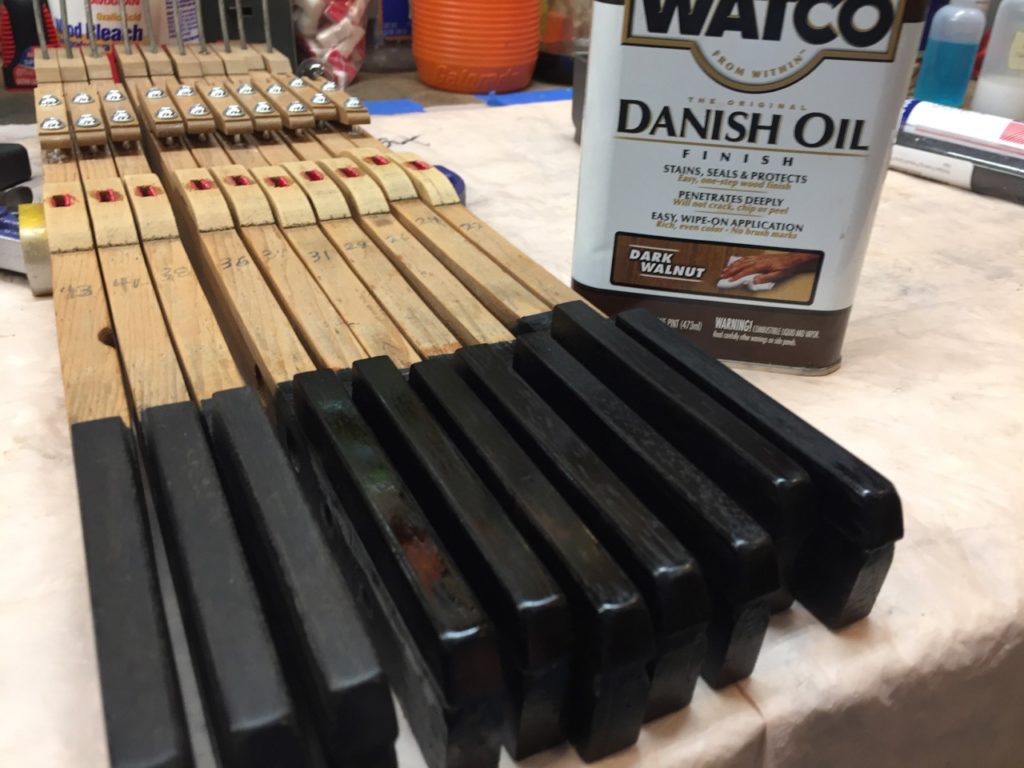
I decided to tackle my least favorite task first. Refinishing the sharps. It had been on the list since May, and I couldn’t put if off any longer. A previous rebuilder had lacquered them, and the coating was worn in spots. Also, many pianists don’t like a slick lacquer finish and prefer natural wood — myself included. The sharps on the Weber are real ebony attached to the softer wood of the key so they were good candidates for an oil finish. I began by masking the keys with the ebony wood exposed. Then, an application of Jasco Paint and Epoxy Remover softened the lacquer so it could be scraped off. It doesn’t take long. Jasco should be used with adequate ventilation however, so I had to open the shop up to the summer heat. In the end, it took two applications of the finish remover to clean the sharps, followed by wiping them with mineral spirits to remove residue. A light sanding with 220 grit finished the cleanup process.
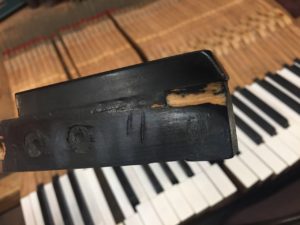
Some pianists play very aggressively and their fingernails can dig out the softer wood below the ebony leaving a divot of unfinished wood. An application of Mohawk Epoxy Putty to the divot and then sanding it flat makes a great repair. The putty is tinted, but not perfectly black, so a final application of a black marker effectively hides the repair. Stripping and repairs done, two applications of Watco Danish Oil produces the final finish. Beautiful!
There’s a Bug.
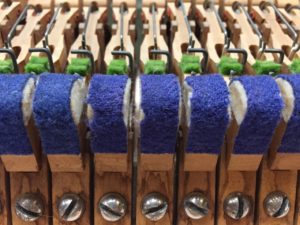
The hammer cushions were next. Several of them had insect damage. Moths like wool felt! I didn’t want to replace all of them, but finding a wool fabric in a matching royal blue color had proven difficult. I spent a full day hunting for something similar online and in every fabric store in Austin. No luck. Finally in desperation I asked Bernard and Celeste about it. Naturally, they had a small scrap of a blue fabric that was a reasonable match. Let’s hear it for the “pack rats” of the world who save small bits of this and that!
After removing the damaged cushion covers from the keyboard, I cut strips of the precious cloth and attached them with animal glue. Not a perfect match, but good enough. From a distance, you can’t tell the difference.
The next task was both easier and more fun. Earlier I had removed the old felt buttons from the let-off adjusters on the hammer rail. A bag of new felt buttons, a little hide glue, and the replacements were installed. It took less than an hour.
It felt good to complete these lingering tasks. By the time everything dried overnight, it would be time to level the keys.




Pingback:Weber Piano Action Rebuild – New Hammers! | Roy Creek Ranch
Pingback:Weber Piano Action Rebuild – Key Leveling and Key Weights | Roy Creek Ranch