
Weber Piano Action Rebuild – New Hammers!
We got back from the Red Power Roundup and it was time to catch up on the Weber project. Bernard texted me (with pictures!) that the hammers had arrived from Renner, and I was eager to see them. I went to his shop a few days later.
The New Hammers
Hammers get progressively smaller from bass to treble, but telling them apart can be tricky since the size difference between nearby hammers is small. A few minutes numbering them with a pencil solves the problem. Next, we wanted to mock-up a few hammers to confirm operation and clearances, so I installed eight of them at various positions in the action. With the wippens reconnected on the same keys, we were ready to test operation.
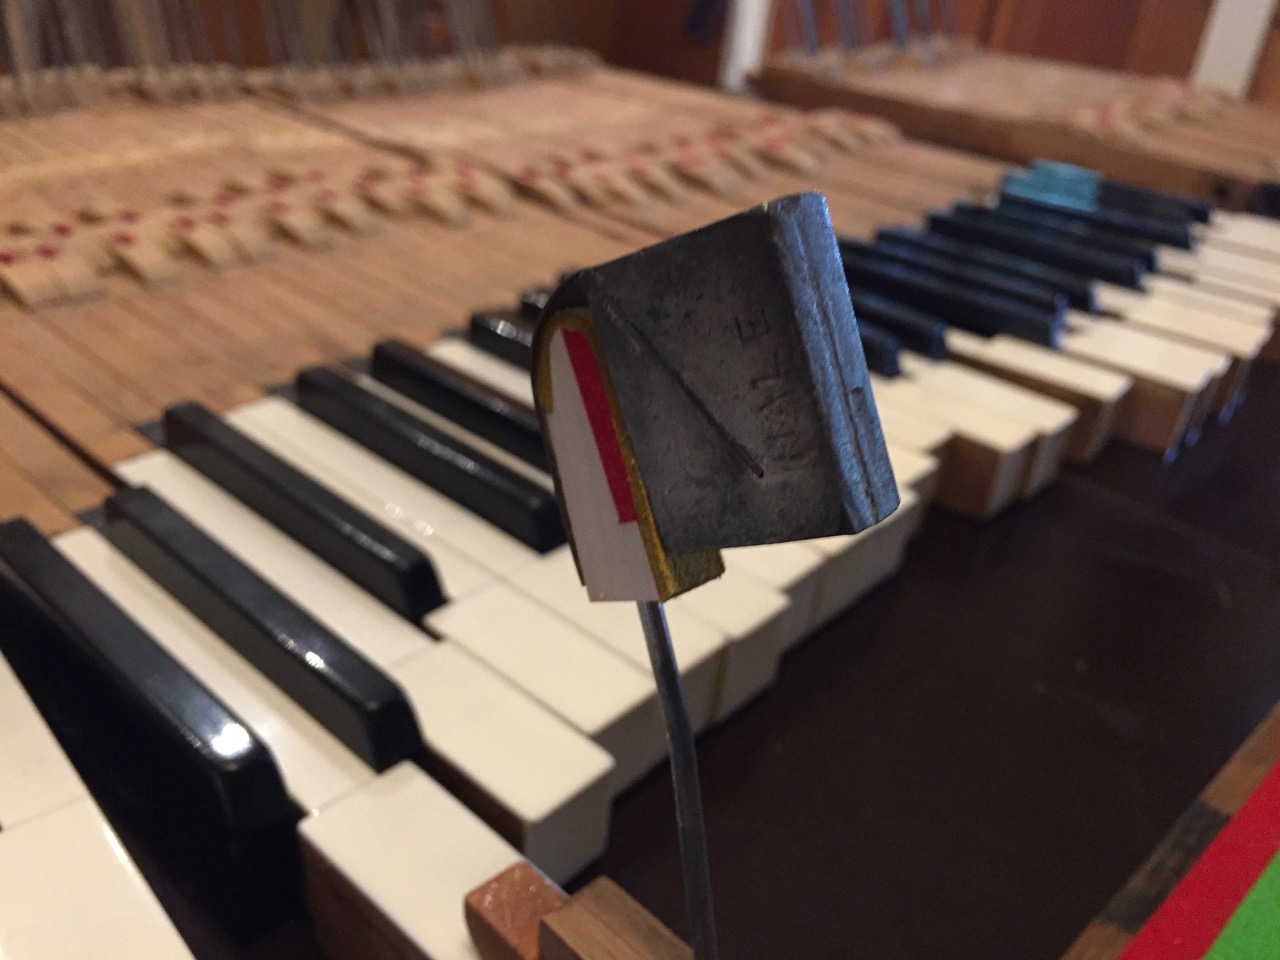
An Initial Test
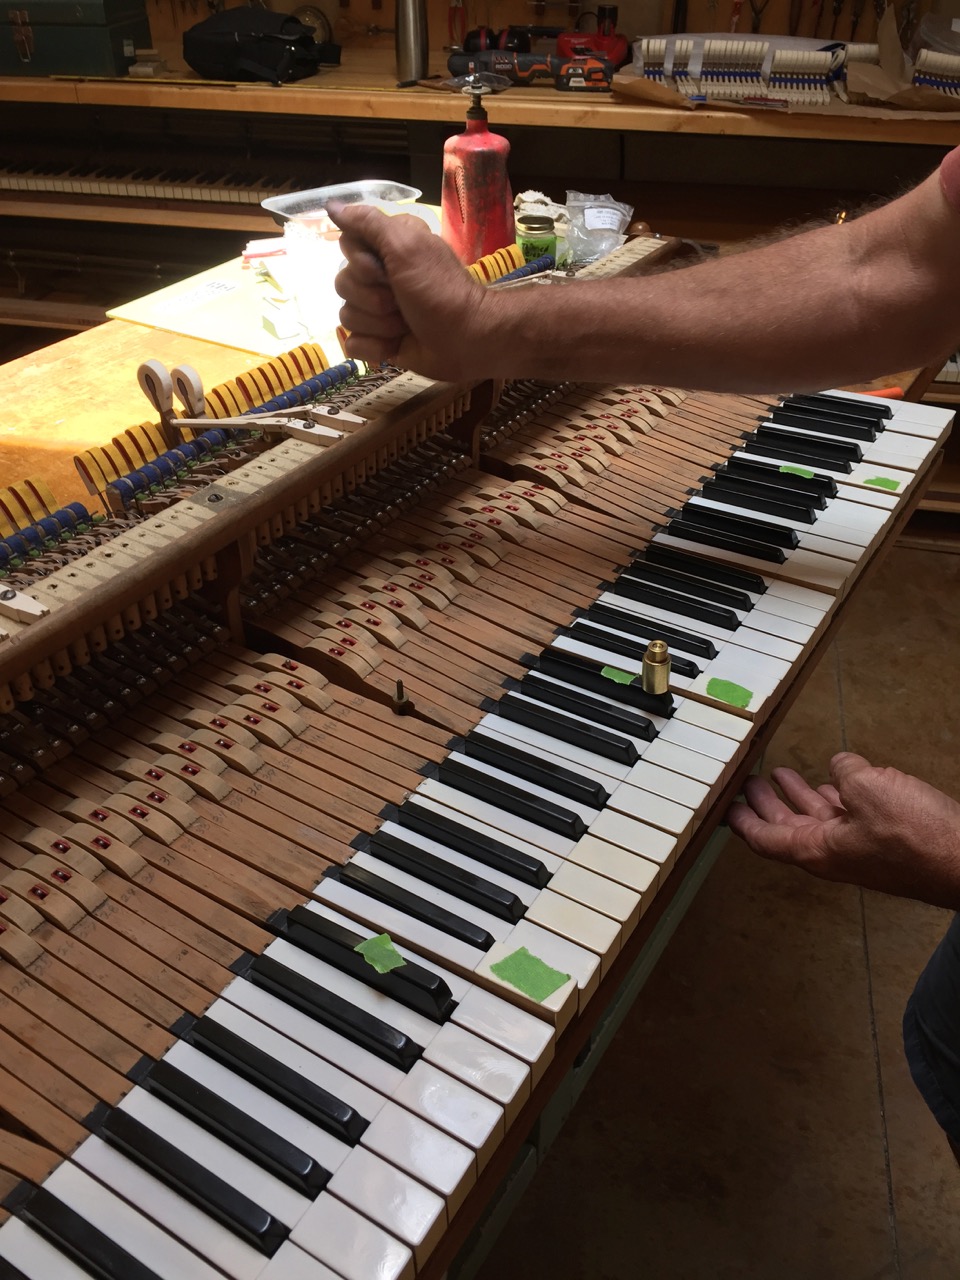
Testing hammer actuation
Bernard explained we were striving for a consistent response to a 56-gram weight placed at the end of each key. He produced an elegant wooden box containing progressively-sized brass weights and proceeded to test each of the installed hammers and keys. They were a little stiff, requiring as much as 60 grams to actuate, but certainly within the expected range of reconditioned keys with new bushings. Some “easing” would be required, the next task in my home shop.
Easy now . . .
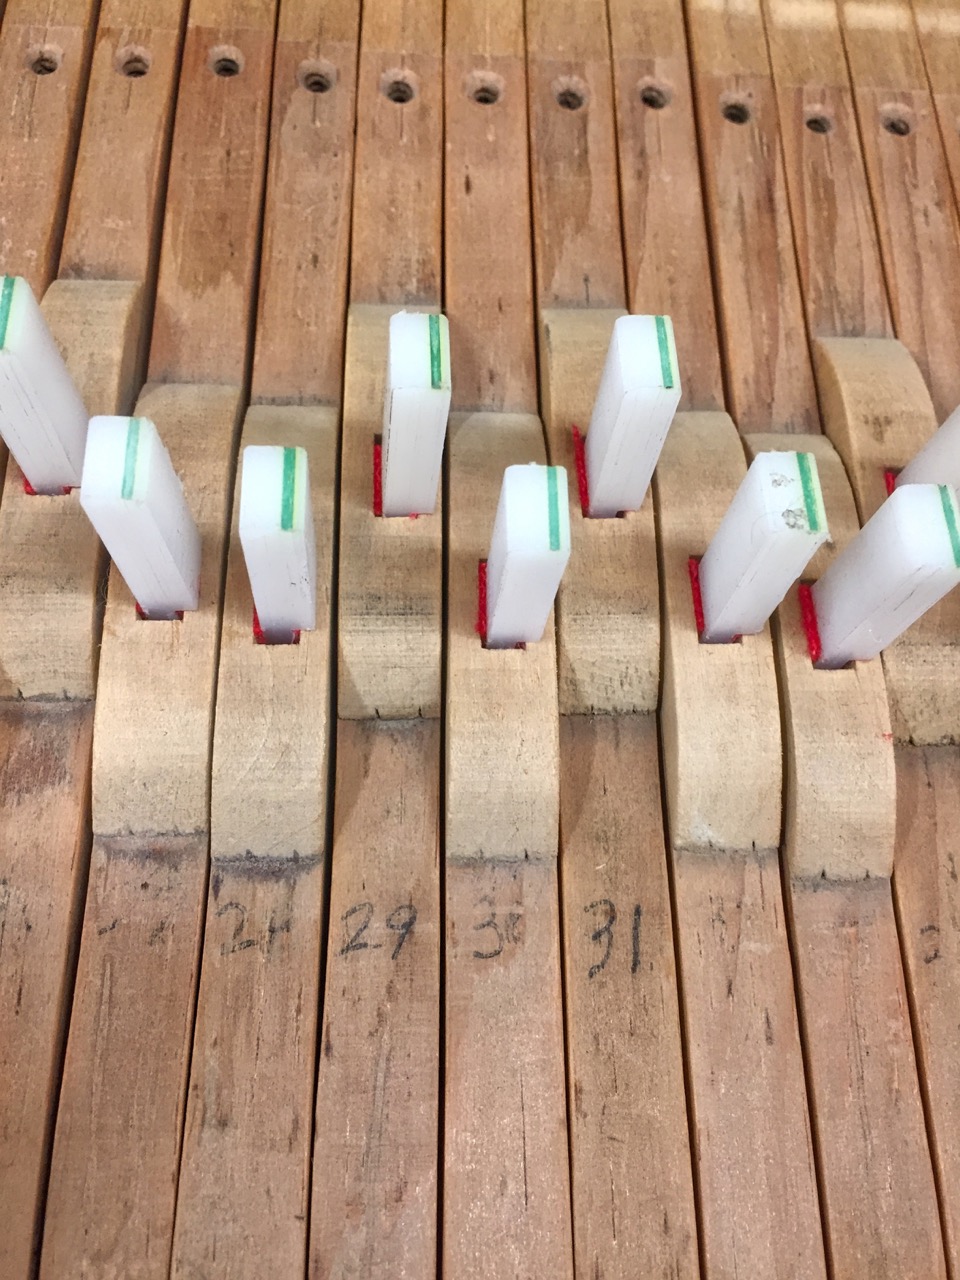
Mortises with bushings and cauls
The easing process involves a product called “Profelt,” applied a drop at a time to each pair of bushings and then “ironed” with a plastic caul. The process is similar to installing the bushings in the first place, with the goal of forming the felt to a specific thickness that will glide on the key pins with as little friction as possible. With a supply of Profelt and a box of cauls, I could look forward to a quiet afternoon of easing the bushings.
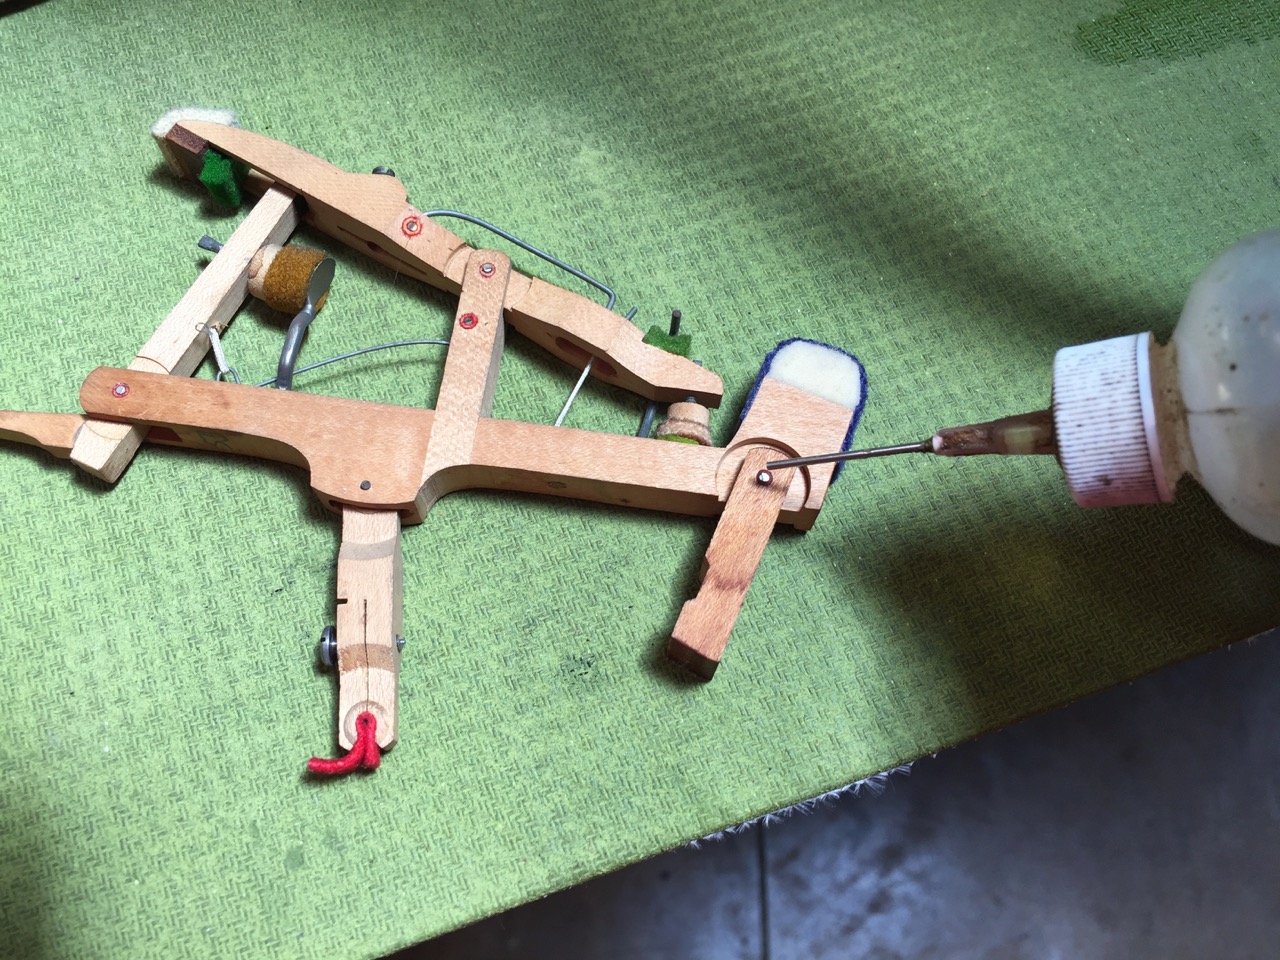
A Bit of a Sticky Wippen
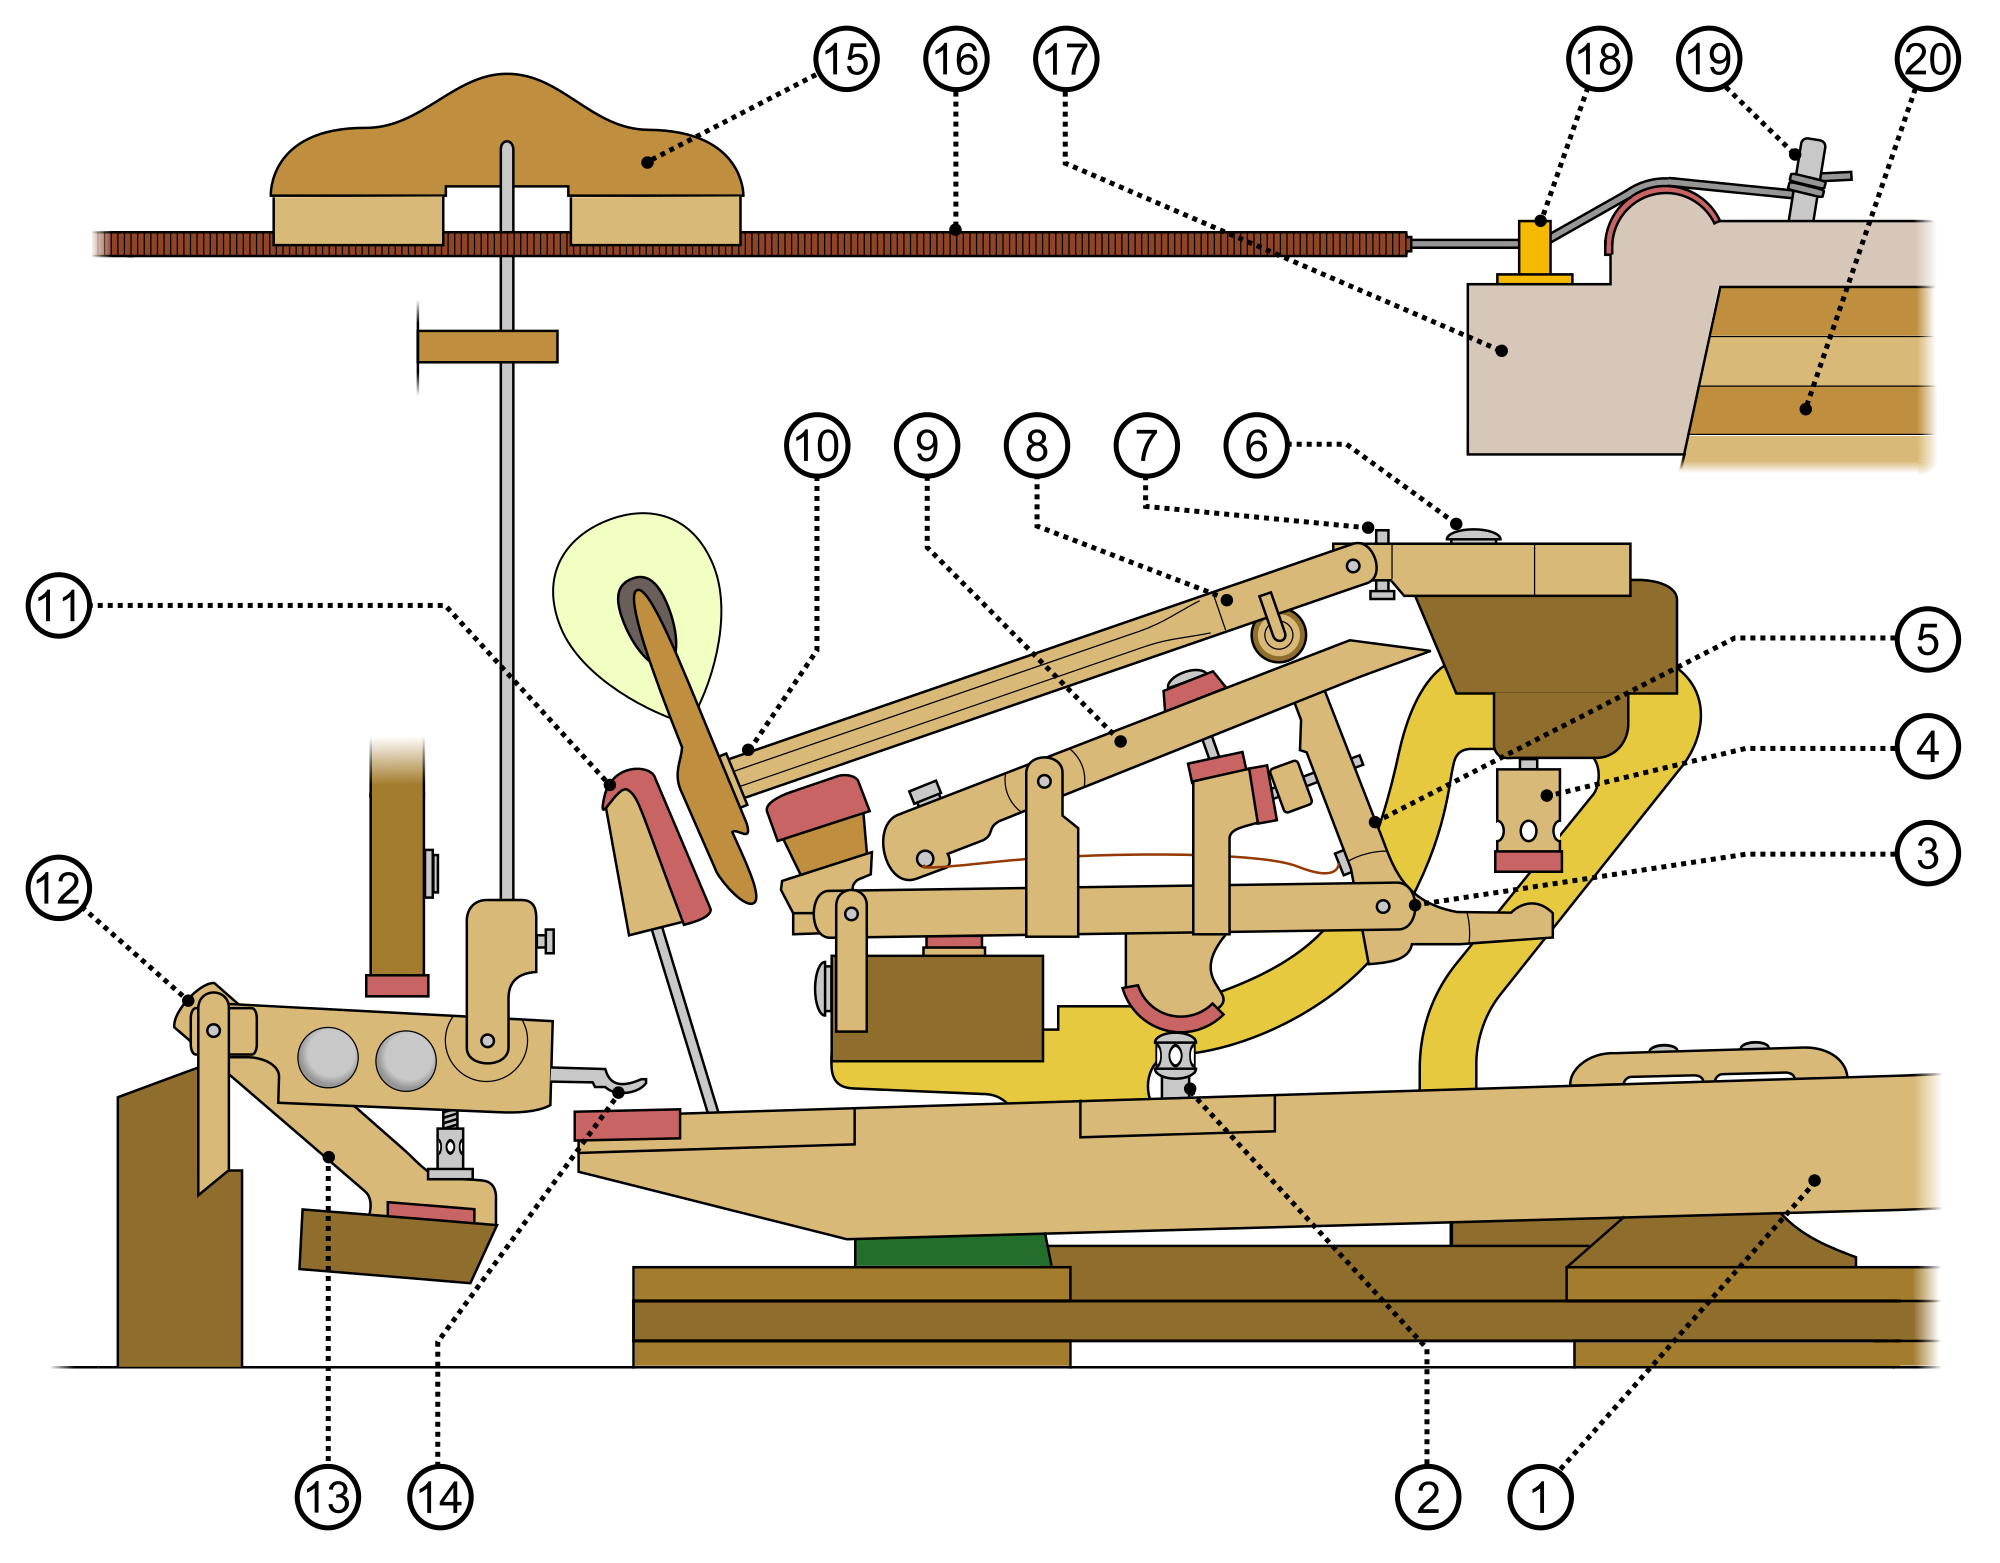
Grand Piano Action showing the back and balance rails
The wippens could also be a source of friction. By applying a second chemical — simallarly-named “Protek” — to the three pinned bushings in the wippens, we could remove that friction. I began applying Protek to the balancier (aka repetition lever #9 in the diagram), jack (#5) and action center pins. The liquid is applied to several pins, and then treated with a heat gun — hot, but not the point of burning the wooden parts. This activates the chemical. After the process, the wippens seemed to move more easily around the action centers.
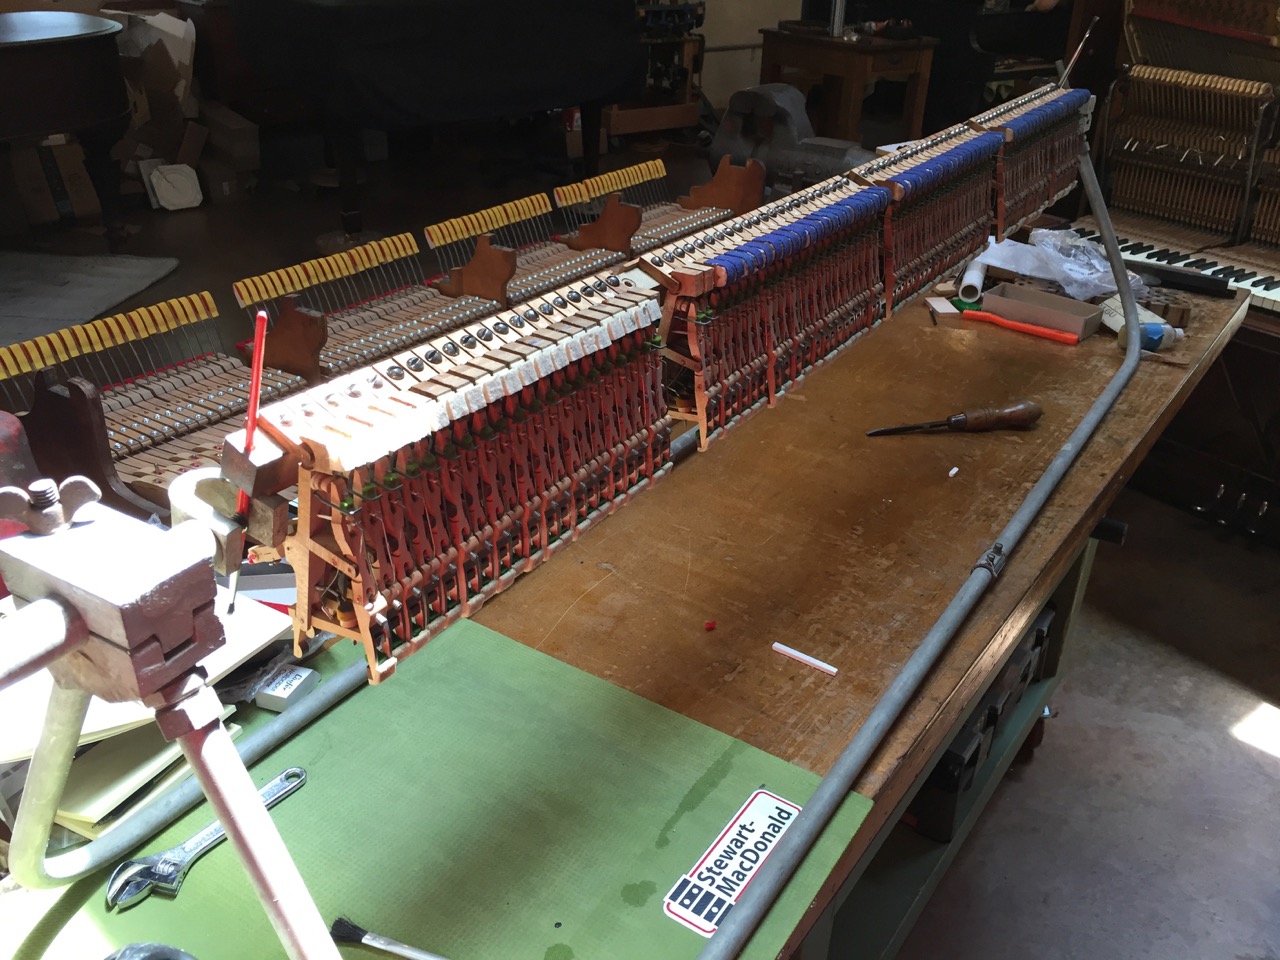
Wippens rail suspended in a Jarrus Piano Cradle
There were still differences from wippens to wippens though. We suspended the wippens rail into a “Jarrus Upright Piano Action Cradle” so that they could be compared easily and I could mark any slow action centers with white chalk. A second application of Pro-Tech on these more stubborn wippens seemed to do the trick.
By the end of the day, I had several tasks queued up:
- Profelt the key bushings (as mentioned earlier)
- replace the let-off buttons
- install the new hammers
- replace the damaged hammer cushions
- begin the process of key leveling
Key weight
During an earlier visit to Bernard’s shop, I got two boxes of lead weights that are hung on the back checks (#11 in the diagram) to simulate the resting key position with the rest of rest of the wippens and hammer stack. With them in place, a straight edge is placed on the key tops (and later sharps) to check for key level. The goal is to make all the keys exactly the same height by adding paper punchings to the key frame balance rail.
With these tasks (and refinishing the sharps) done, we will be ready for reassembly of the entire action to begin the regulation process. I can’t wait!
Applying Protek to an action center
Pingback:Weber Piano Action Rebuild – Sharps, Cushions, and Buttons Roundup | Roy Creek Ranch
Pingback:Weber Piano Action Rebuild – On to the Whippens! | Roy Creek Ranch