Weber Piano Action Rebuild – On to the Wippens!
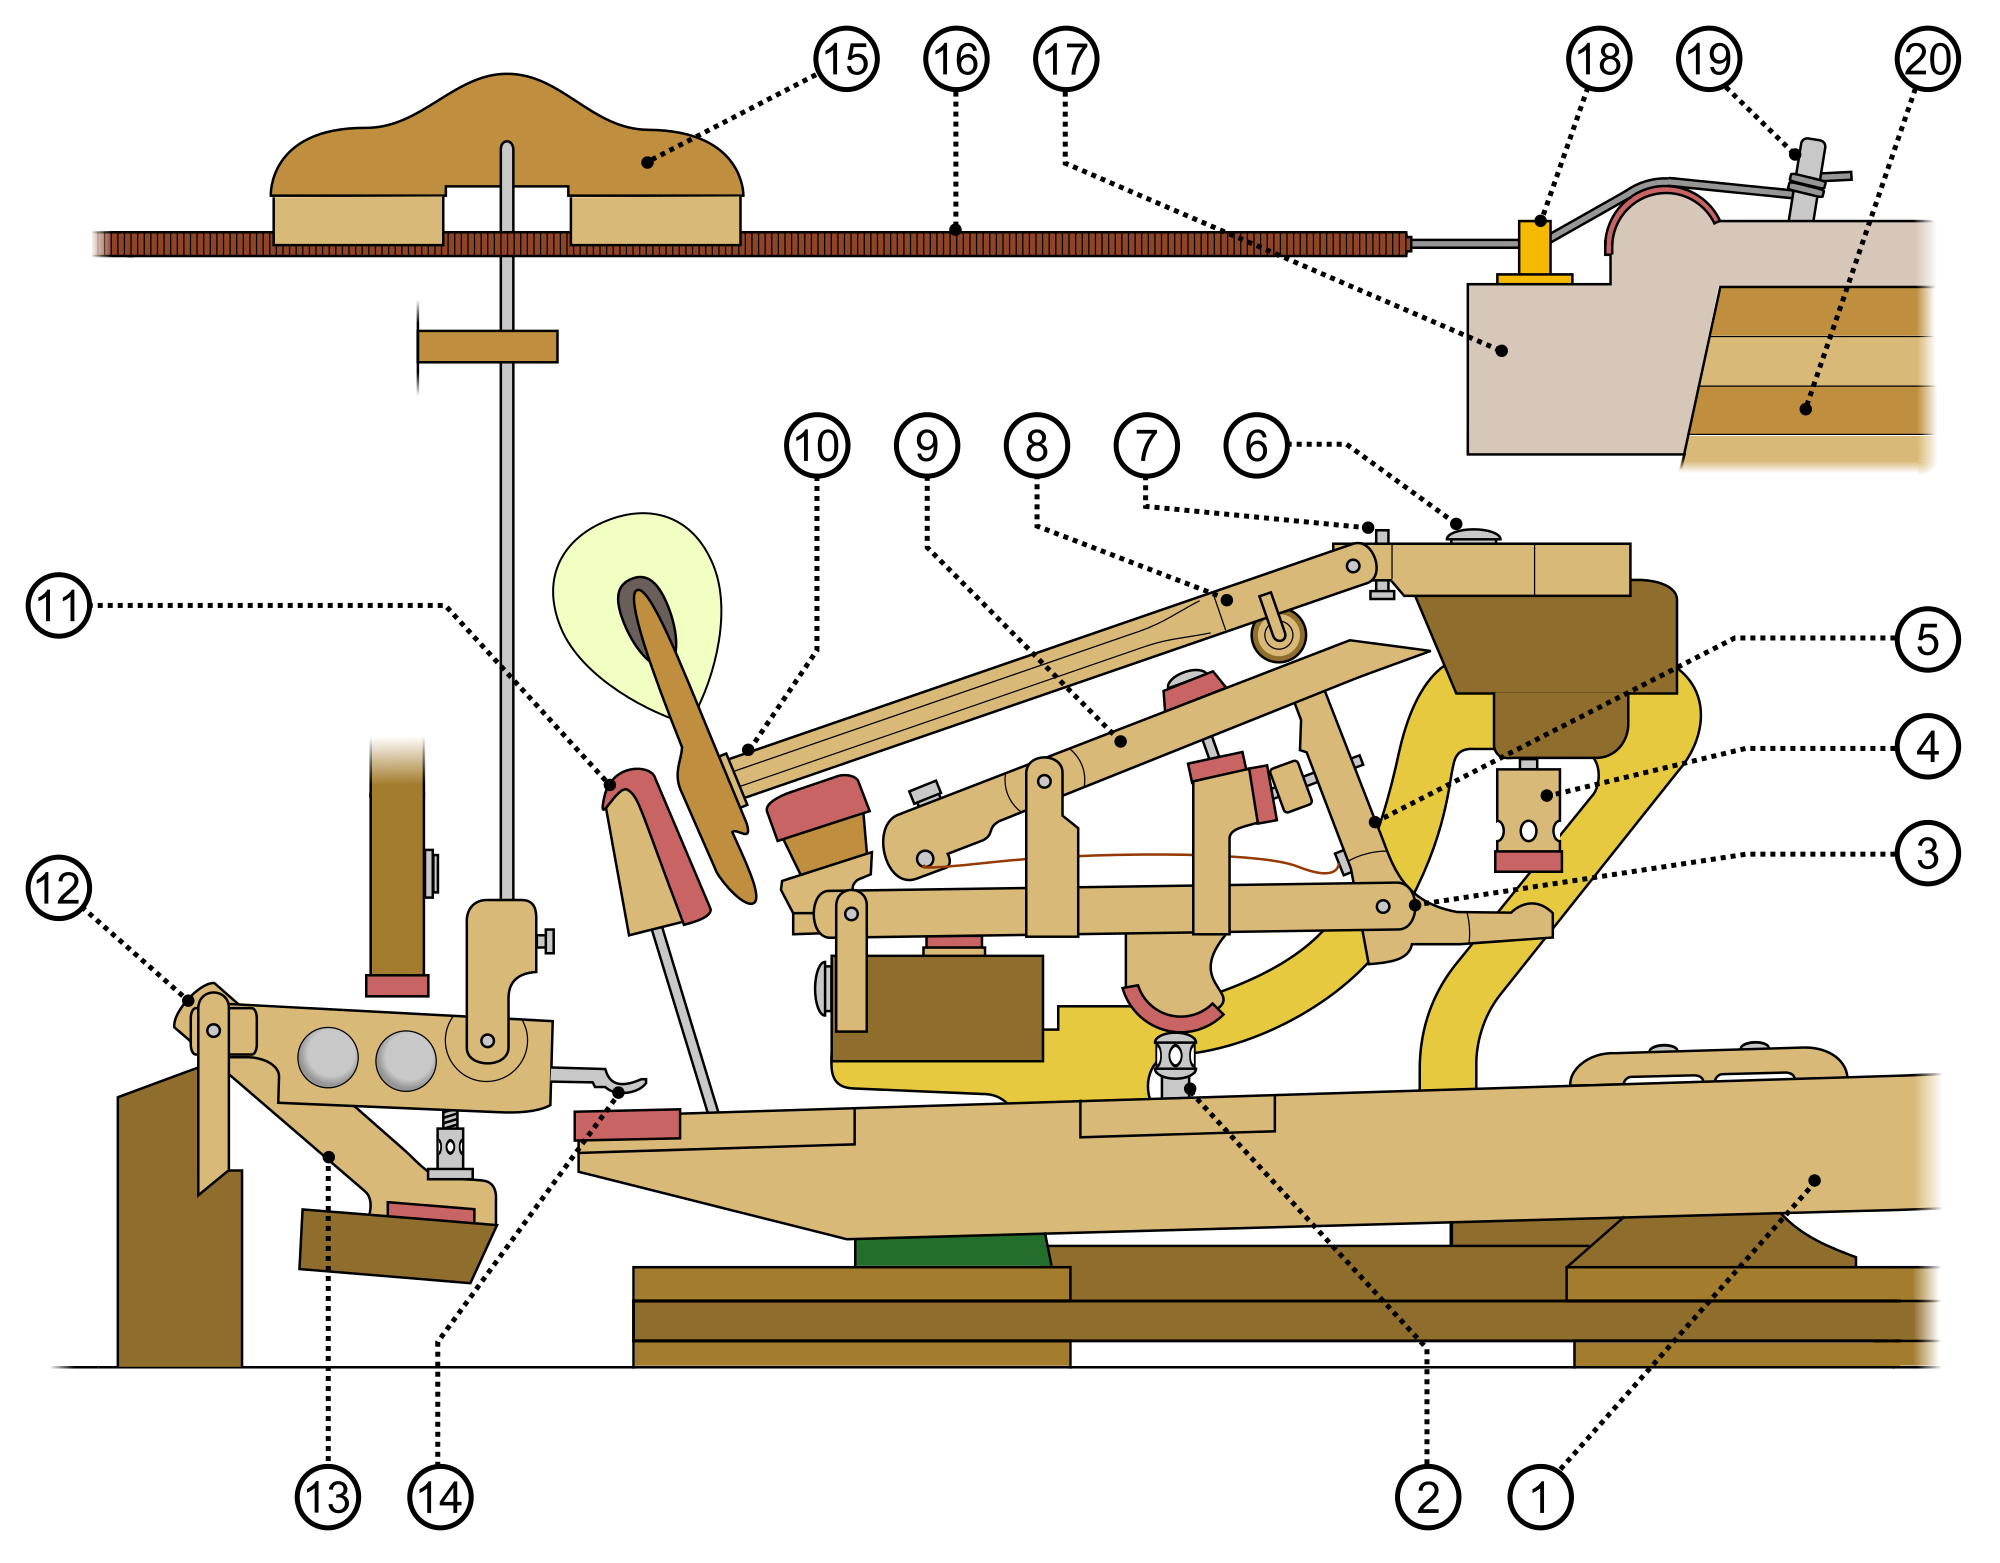
Another trip to Bernard’s piano shop and another list of tasks. I installed most of the rocker capstans (#2 in the diagram above) with the new square-drive screws at home, and used a little wax softened with mineral spirits to avoid damaging the keys. It took about an hour at the shop to finish them.
Now it was time to cut the key end felt to size (shown below #14 in the diagram above). It comes as a long strip of felt about 2-tenths of an inch thick and has to be trimmed to the correct width. Because it is relatively thick, scissors are not an effective tool — they would distort the felt too much. Instead, we trimmed the felt along its length using a band saw.
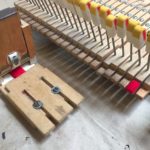
Now the long strip of felt must be cut into individual pieces using a tiny little guillotine. This trims the felt strip into rectangular pieces that fit each key from side-to-side. Just to complicate matters a little, the keys are not all the same width. Celeste told me it was sometimes necessary to make felt pieces in three different widths. The Weber needed only two widths, and I’ll install them with hide glue at home in my shop.
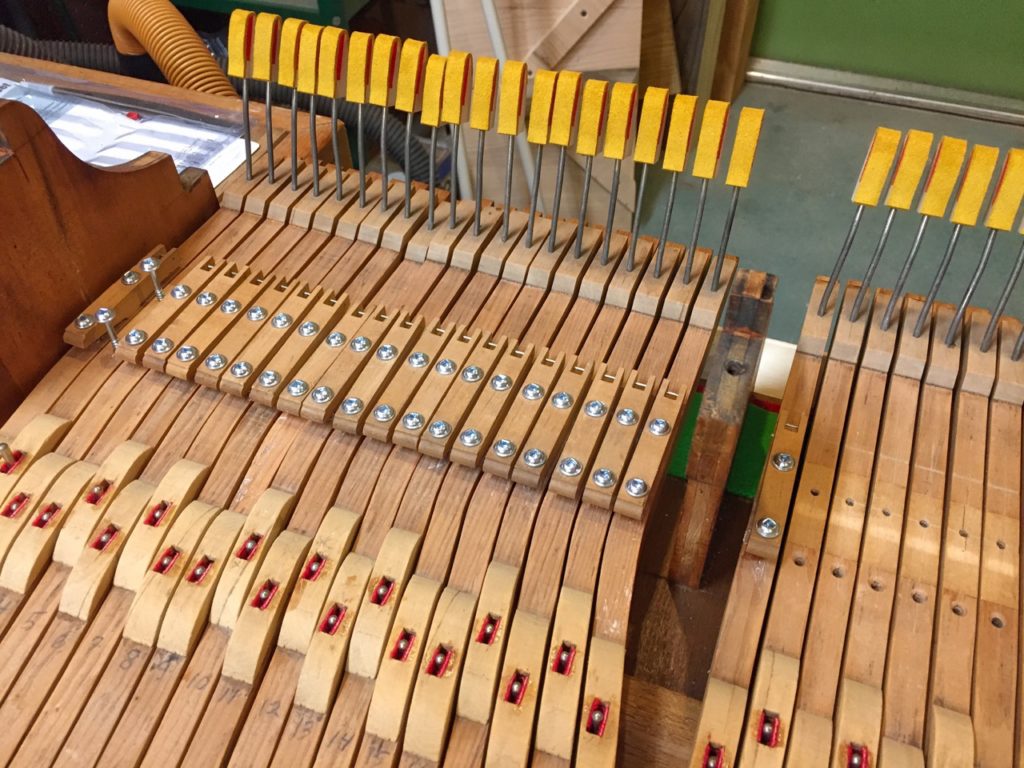
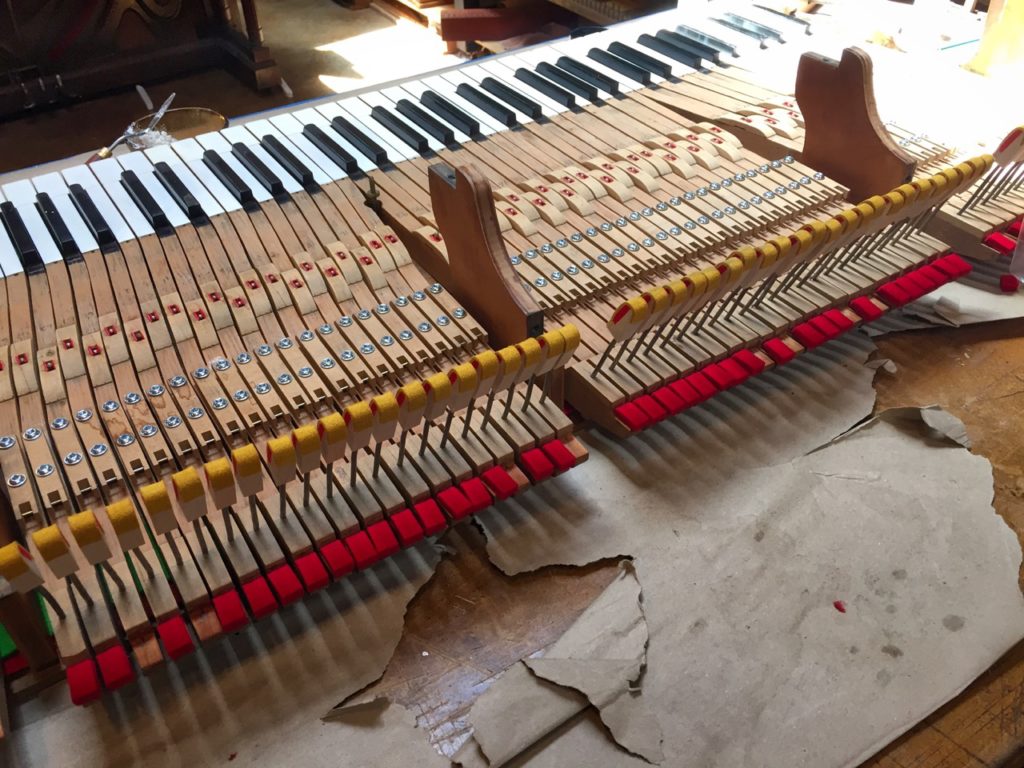
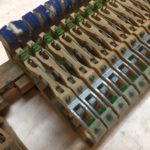
Next, Bernard discussed the wippens with me (#3 in the diagram, but also commonly includes #5, #9 and related parts). Bernard argued for the replacement of them with a more modern design, but this would have necessitated the replacement of the rocker capstans with capstan screws (#2) and a significant re-engineering of the action. Since the existing wippens are in relatively good shape and I wanted to preserve the period aspects of the instrument, my job would be to clean them, check for free motion on the various pivot points and replace insect-damaged hammer rests (blue felt in photo but shown as the red object in diagram between #3 and #10).
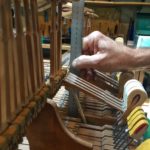
It is finally time to order hammers and shanks (#10) — new parts that will have a big effect on the quality of the sound! It’s more than specifying a model number though, especially for an old piano like the 1893 Weber. Ideally, the hammer should strike when the hammer shank is exactly parallel to the string. Also, there is a “sweet spot” for the hammer to strike along the string’s length. We started by test fitting a new shank in place of an old one to confirm the hammer flange (#6) size. Then we needed string heights and the distance from the action center (pivot point between shank #8 and flange #6) to the key bed, as well as the bore distance of each hammer. I measured the string height before we started the rebuild, but we carefully measured each of the other dimensions. We confirmed the distance from the action center to the hammer as well — 5 inches instead of the more common 5 1/8th inches.
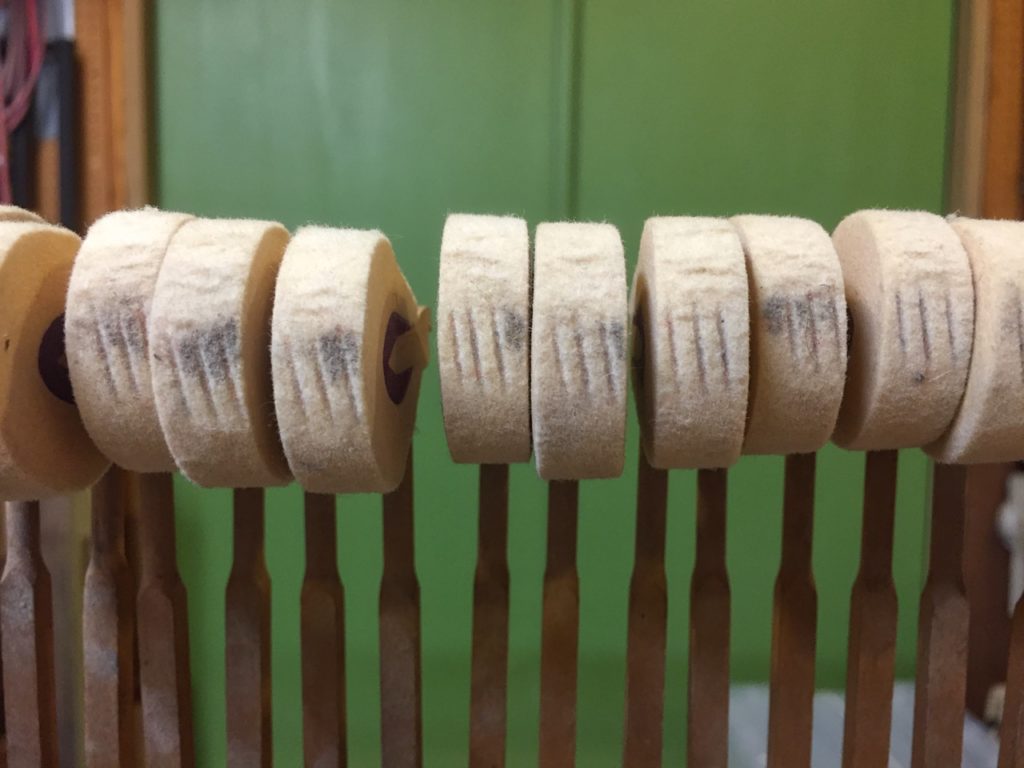
In most pianos, strings are not all parallel to each other, but instead cross to conserve space. In the Weber, the longer bass strings from notes 1 to 20 cross the remaining strings at about a 25º angle. This means the hammers must also be angled on the shank for the hammer to be parallel with the length of the string. We measured the angle for each section of the piano using the cut marks in the old hammers. Surprisingly, the hammers from note 21 to note 60 were not angled, and were not hitting the string in parallel. Did this explain some of the “tubbiness” in that range of notes? Might angling them properly further improve the piano’s tone? Perhaps. With all the measurements in hand, Bernard ordered hammers and shanks. The finale of the action rebuild is a little nearer . . .
Pingback:Weber Piano Action Rebuild – New Hammers! | Roy Creek Ranch
Pingback:Weber Piano Action Rebuild – Keyframe with Refurbished Keys | Roy Creek Ranch