Weber Piano Action Rebuild – Keyframe with Refurbished Keys
I’ve been making progress on the Weber Project, but with a trip to New Mexico and various Spring activities, the pace has lagged. We’re back on track though. I mentioned in the last post that more work was needed on the bushings — they were too tight for the keys to move freely in the keyframe. This was because I had used too much material in each mortise, and it was binding. Initially we thought I might be able to cut some of the excess material away, but after struggling with it for a while, I decided to remove the new bushings and start over. Since I had done it once already it should go faster, and I wanted them to be right. With reasonable care and a little luck, they might not need replacement for another 100 years!
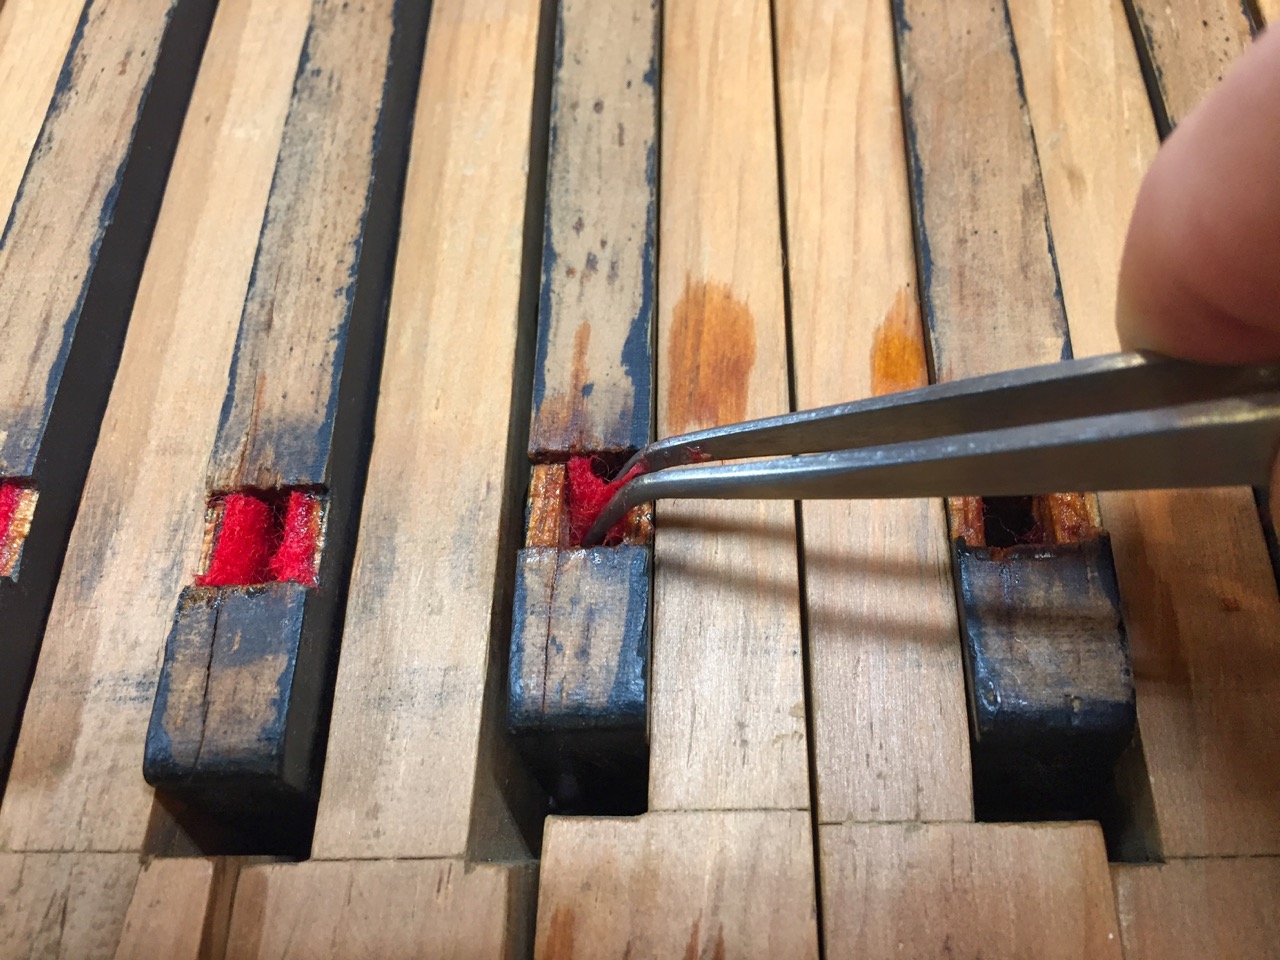
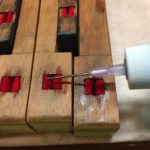
This time I used the Windex method to remove the bushings instead of steaming them out. Taking a section of keys and clamping them together, I used a craft glue applicator to dose each bushing with a little Windex. It dissolves glue in a few minutes, and they pull out easily. This is much faster and easier than using steam.
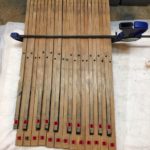
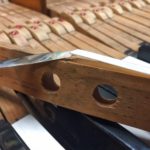
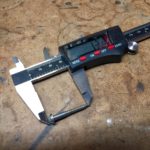
Bushing thickness varies from piano to piano, determined by the mortise and pin sizes. We found that two pieces of bushing felt (one for each side of the mortise) should be .072 inches. I had used all of the .036 inch bushing felt in my first attempt, so we decided to substitute two uneven sizes: .045 and .027 — totaling .072 inches. The other main difference with the first attempt was making each bushing as long as the width of the mortise — about 1/4 to 3/8ths of an inch. With the keys clamped together just like the removal process, the installation went very fast. I could complete 20 keys, both balance rail and key pin mortises, in about an hour. What a difference a little practice makes!
It takes a little time for the hide glue to cure, so I let them rest for 15-30 minutes before trying the keys out in the refurbished keyframe. At first, the installation was disappointing because the keys seemed just as stiff as the first time. They began to loosen as the glue continued to cure however, and by the next morning, most of the keys moved smoothly and easily within the keyframe. When I returned to Mollberg’s shop a few days later with all the keys installed, I was relieved to hear both Bernard and Celeste pronounce the work good enough and within “easing” range on the few sticky keys. The re-bushing was finally complete.
Next, I re-laminated the plywood supports for the wippens and hammer rails using cyanoacrylate glue and accelerator. CA glue is perfect for this purpose as it easily penetrates the separated wood layers and cures almost instantly with the accelerator.
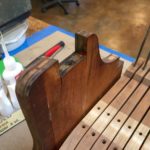
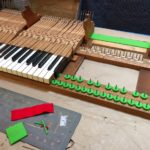
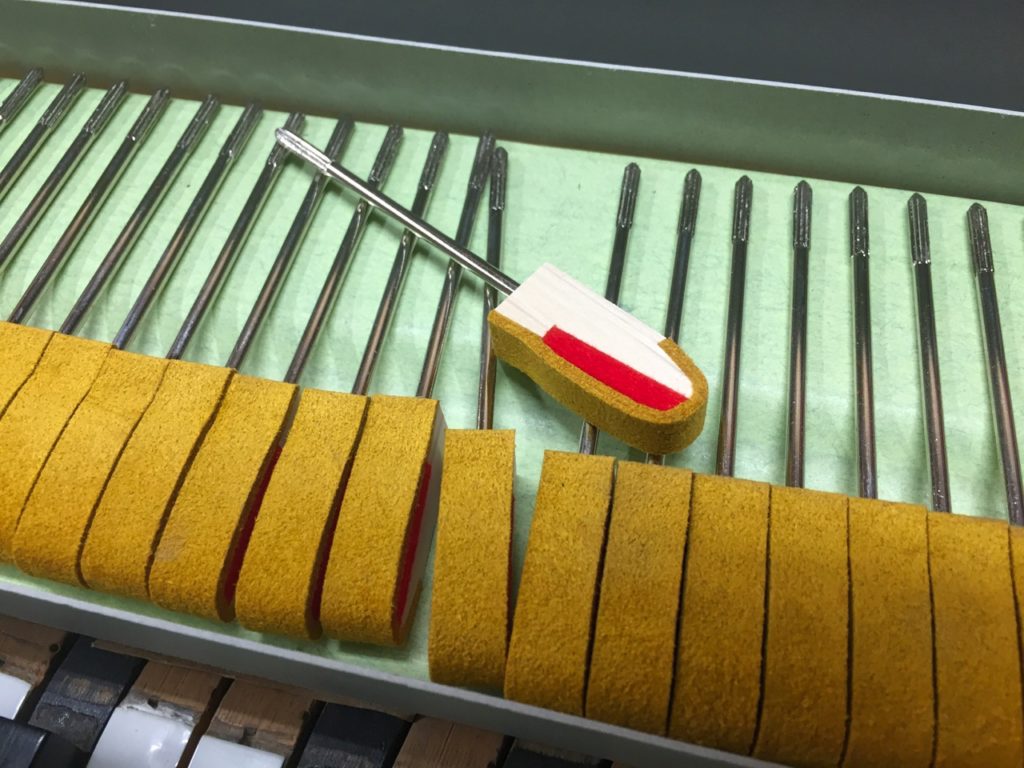
With the danger of dripping CA glue past, I applied new lime-green back rail and red underlayment felt. The red felt lays under the back rail felt which is attached with a single line of glue along the front side of its length. Using hide glue makes this replaceable.
Before installing new key end felt, Bernard advised me to test fit the keyframe in the piano and confirm the spacing between the key end and the damper lever. With a sample of key end felt in place, the key should move about a third to a half of it total travel before engaging the damper lever. Changing the key end felt thickness is the easiest way to use the existing damper adjustment and thus simplify the damper timing regulation. Also, with the keyframe in the piano, I can confirm the fall board and end block clearance and that the keyslip covers an appropriate amount of the front ivory. If they don’t, I can change the balance rail punching to correct the key height on a few sample keys.
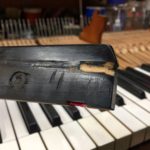
Finally, some cosmetics. A few of the sharps have divots where the soft wood below the ebony has been damaged, and these will be filled with a colored epoxy.
Next, a few loose ivory veneers will be repaired using hide glue with whitening. Finally, the keys will be treated with wood bleach to remove the age darkening. No one will see this but me and a few other technicians, but hey, I’ll enjoy stripping away the years. I’ll also clean up and bleach the wooden rocker pieces.
Lastly, I need to order replacement screws for the rockers. They were originally installed using #8 by 1 1/4″ round head slotted screws, and these are very difficult to adjust in the tight clearances of the piano action. Spax makes a torx-drive cabinet screw that looks promising. I’ll order some to try. If they fit well, they would be a real improvement and greatly simplify the regulation process.
If I have time this week, I’ll also install the new back checks. The keyframe and keys are nearly done. Next, we move on to the wippens rail!
Pingback:Weber Piano Project – Keyframe Cleanup | Roy Creek Ranch