Weber Piano Project – New Bushings!
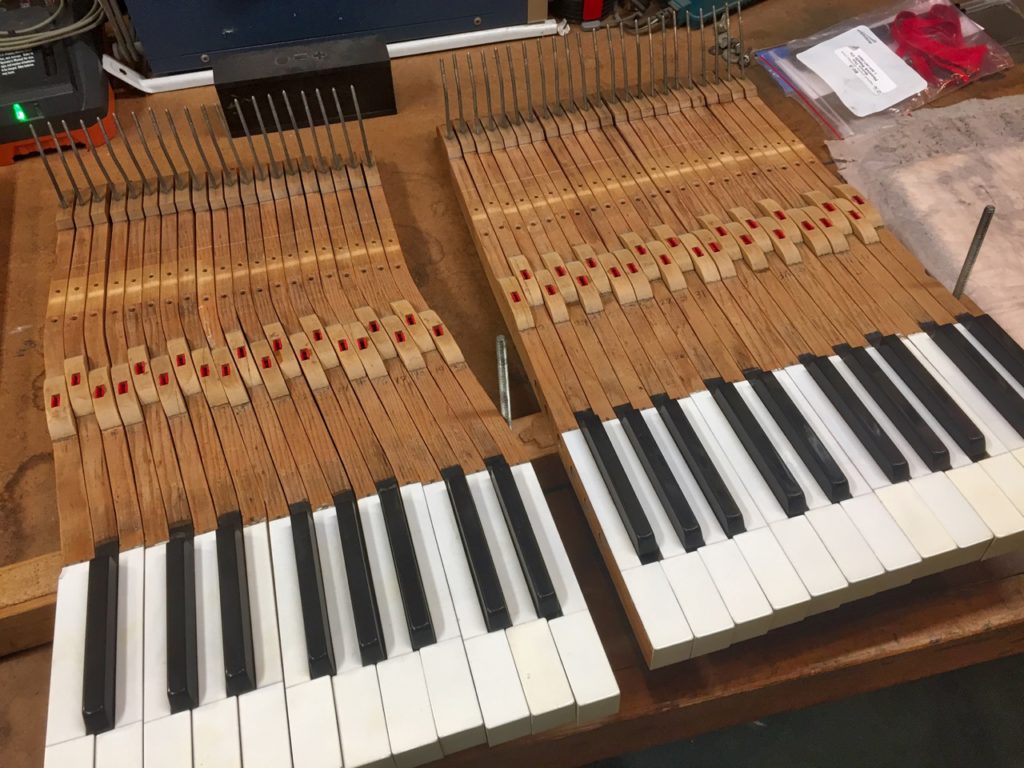
So far, we’ve removed the action from the piano, disassembled, and cleaned it. There’s a surprising amount of effort involved in just those steps, and it was great to finally make progress in the rebuild.
Make no mistake, the disassembly and cleaning were necessary steps. After all, the piano is over 120 years old, and has probably never had any sort of comprehensive rebuild. Finally putting new materials in rather than taking old materials out. Feels Good!
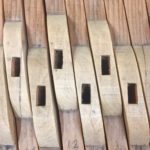
As Celeste explained it, the goal is to place new felt bushing material in each mortise consistently to a certain specification. After all, you want each key to respond the same as all the other keys. Simple, right?
First, we had to get the bushing felt thickness right. It comes as a ribbon in various thicknesses and it’s not really surprising that there isn’t a standard for old instruments like mine. You just have to try a size and see how it works. With her practiced eye, Celeste thought that .036 inch thickness might work, so she applied pieces to either side of one balance rail mortise. When we tested it on the keyframe, she thought it had about the right amount of friction for the key to rock back-and-forth smoothly without any side-to-side wobble. This is where having access to a real expert is invaluable.
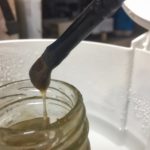
I’ve gotten used to commercial wood glues, cyanoacrylates and other wonders of modern woodworking. Pianos, and much older furniture for that matter, use something called animal hide glue. This is a very old technology and although largely abandoned by modern makers, has some real advantages. It’s water soluble, so clean up is easy, and best of all, it can be released with steam or Windex. In spite of that, it’s very strong and long-lived. It does require some different skills. I’ve read about it, and watched some YouTube videos on its use, but this was my first experience working with it.
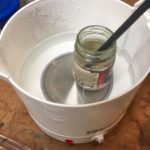
To get me started, Celeste provided several small jars of pre-mixed glue. This was a help, because animal hide glue normally comes in dry granules that must be first hydrated and then heated to a specific temperature for use. It can be mixed to various consistencies depending on the intended use, and this way I got a head start.
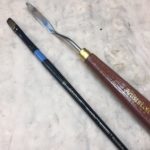
I needed a few more tools as well. There are commercial hide glue pots and warmers available, but it’s just as easy (and a lot cheaper) to but a “hot pot” to heat small jelly jars. You also need a brush to apply the glue, and inexpensive artist watercolor brushes work fine. Horsehair bristle acid shop brushes also work.
One last tool: an artist’s pallet knife. The keys have real ivory for keytops and a few of them have partially separated. One of the hide glue samples had “whitening” added, and I was to use a pallet knife and carefully re-adhere the loose ivory to the keytops. The thin blade of the pallet knife would allow the application of glue with only minimal flex of the very thin and fragile ivory. We’ll see.
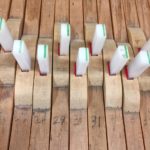
I started with the balance rail bushings. The process is simple. Apply glue to one side of the bushing felt, push it into the mortise, and secure it with a nylon caul until the glue sets. Finally, remove the excess felt by cutting it off against the flat side of the caul using a single-edge razor blade. The glue sets in a few minutes, so by the time I had done 20 to 30 keys,
I could go back and do the other side of the same mortises. The process is the same except you use a slightly narrower caul. This makes sense because the first felt bushing makes the mortise .036 inches narrower. The process for the front rail mortises is exactly the same. As the video shows, I replaced all the bushings in three sessions totaling about 8 hours. Once again, a good audio book helps pass the time. Just in time for my next session at the piano shop, I was ready.
Next: Cleaning up the Key Frame!

Pingback:Weber Action Rebuild – Key Cleaning Update | Roy Creek Ranch
Pingback:Weber Piano Project – Keyframe Cleanup | Roy Creek Ranch