Weber Piano Project – Keyframe Cleanup
With key bushings installed, it was back to the piano shop. In order to test the work, we would need to try a few keys in the keyframe and see they fit. First though, a little cleanup was in order. Earlier, we removed the main action rail (hammers and shanks) and the wippens rail. The upstop rail also was removed. With that done, it was time to clean and service the exposed keyframe.
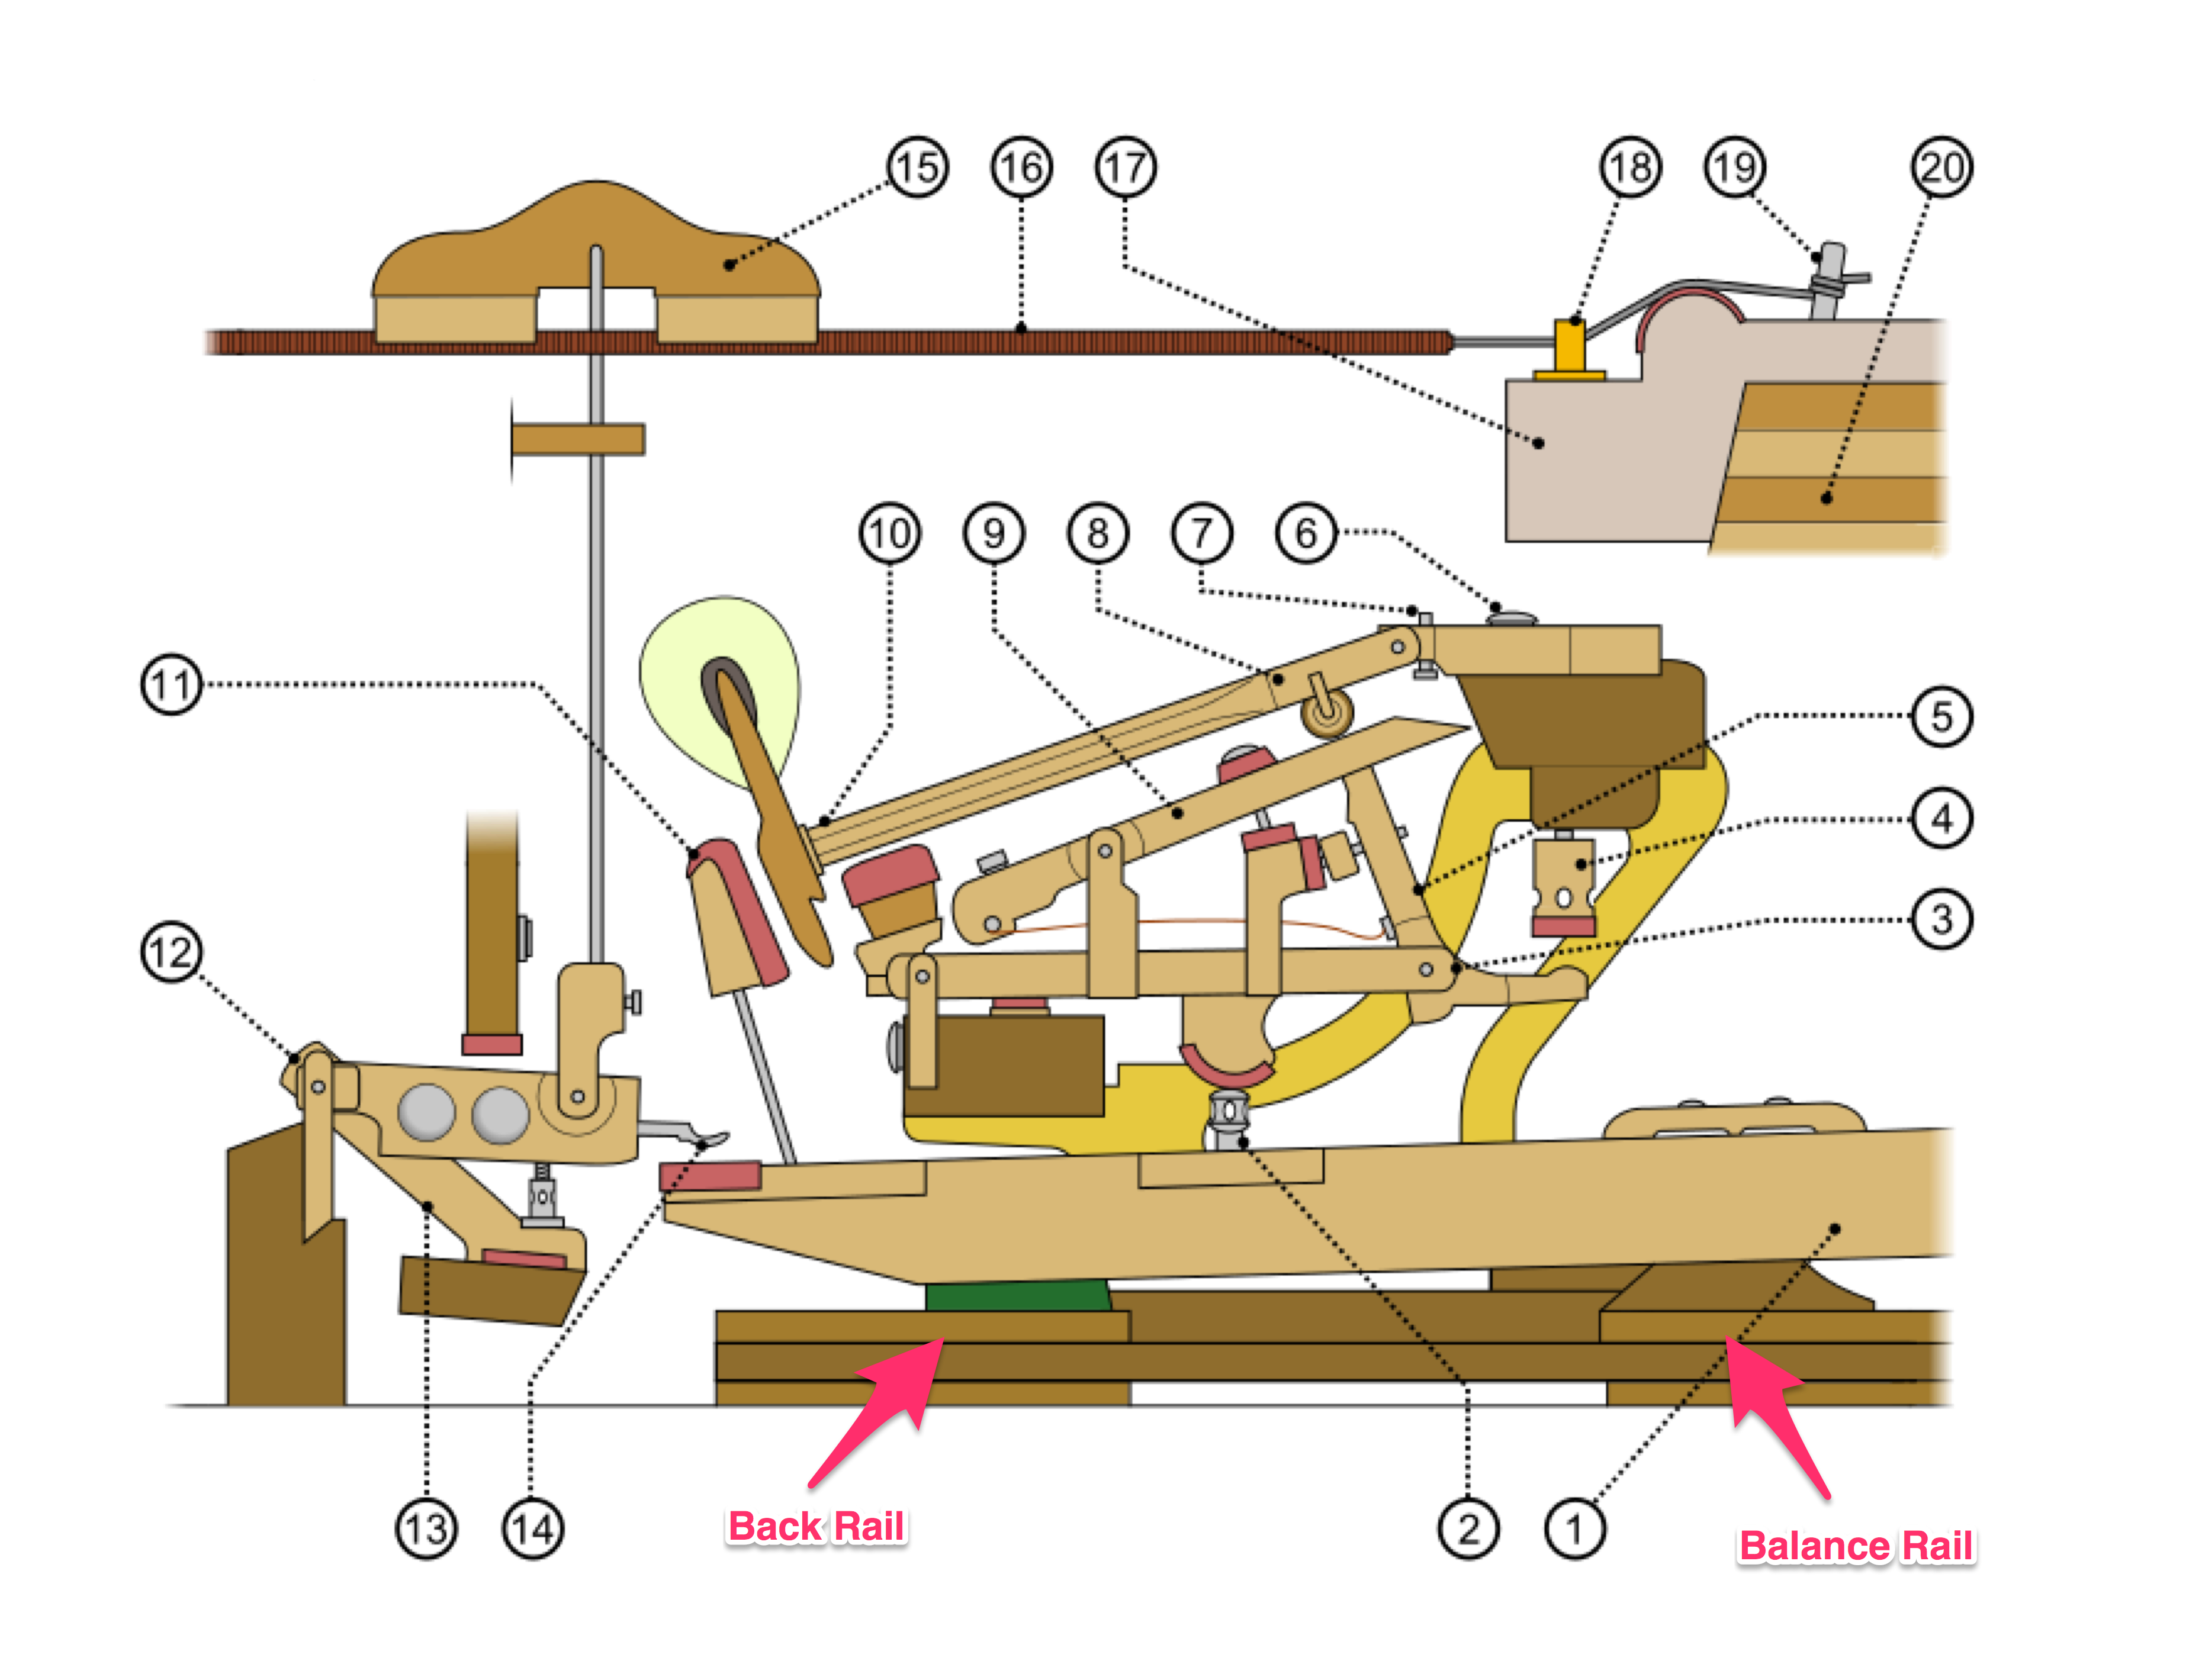 The keyframe is the foundation of the action. It includes the front, balance and back rails as well as the action brackets. The keys rest on the rails and the action brackets support other rails that mount the wippens and hammers. Front rail key pins and balance rail pins also attach to the keyframe.
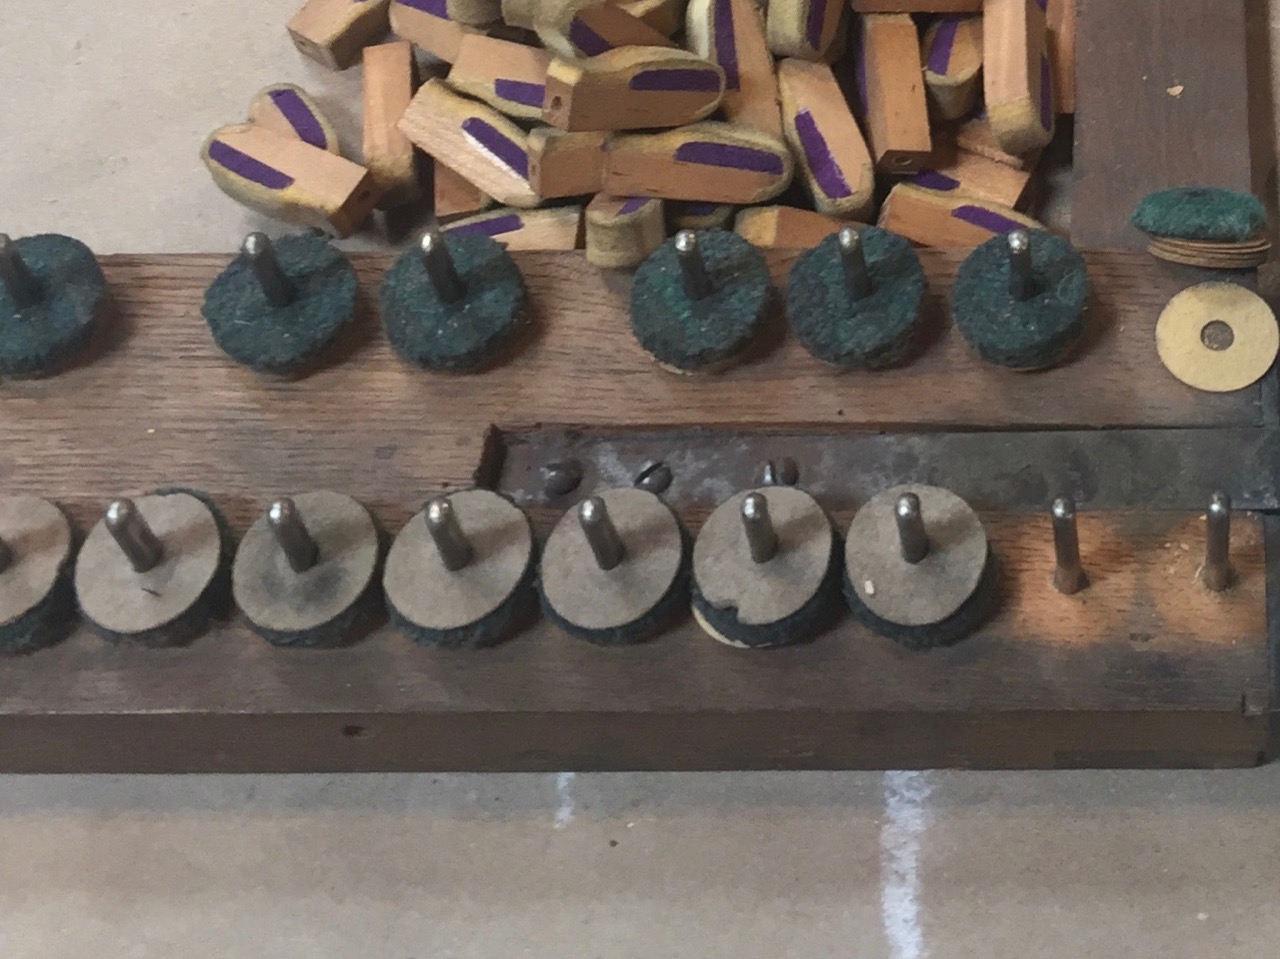
Punchings on front rail key pins
The first step is to remove all the punchings from the front rail key pins. These are used to level the keys and will be replaced with new ones. A piano punching lifter is very helpful in this process.

Cleaning the pins is important because we want them to have as little friction as possible. A product called Flitz Polish is recommended, because the pins are nickel-plated brass or steel, and abrasives will remove the plating. Celeste, a piano shop technician and action mentor, provided a shop-made tool made from a block of felt that chucked into a drill, and worked wonderfully. A dab of Flitz on the pin tip, a quick spin with the felt polisher, and a wipe with a soft cloth to finish.
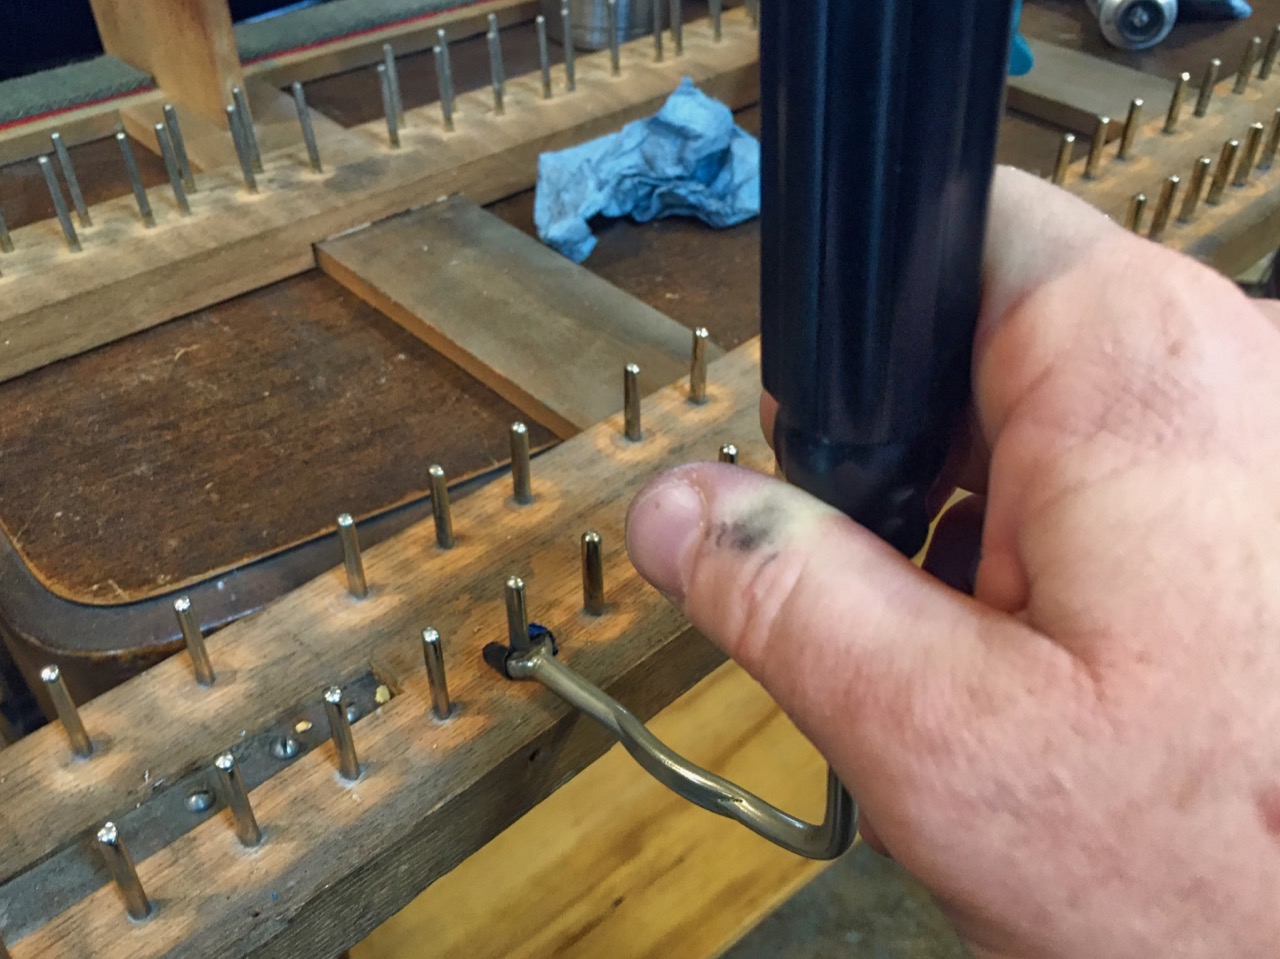
Straightening the front rail key pins
The front rail key pins are oval-shaped in cross-section. By turning them slightly, a small amount of side-to-side key play can be taken up as the key bushings wear. Since the keys got new bushings, it is important to center them back up. Celeste got me the clever tool used for this purpose. She also recommended covering the now polished and centered pins with ScotchBlue Painter’s Tape for protection while sanding the dirt off the keyframe.
Next, it was time to remove the back rail cloth. In this case, there were two layers, as if a second layer had been added later. They both peeled off easily, leaving a residue of red felt and animal glue. An application of Windex, followed a few minutes later with a sharp chisel easily removed the residue. One has to be careful though — you don’t want to gouge the wood underneath the cloth. Finally, the entire keyframe got a light sanding with 220 grit sandpaper to remove the years of glue, grime and funk.


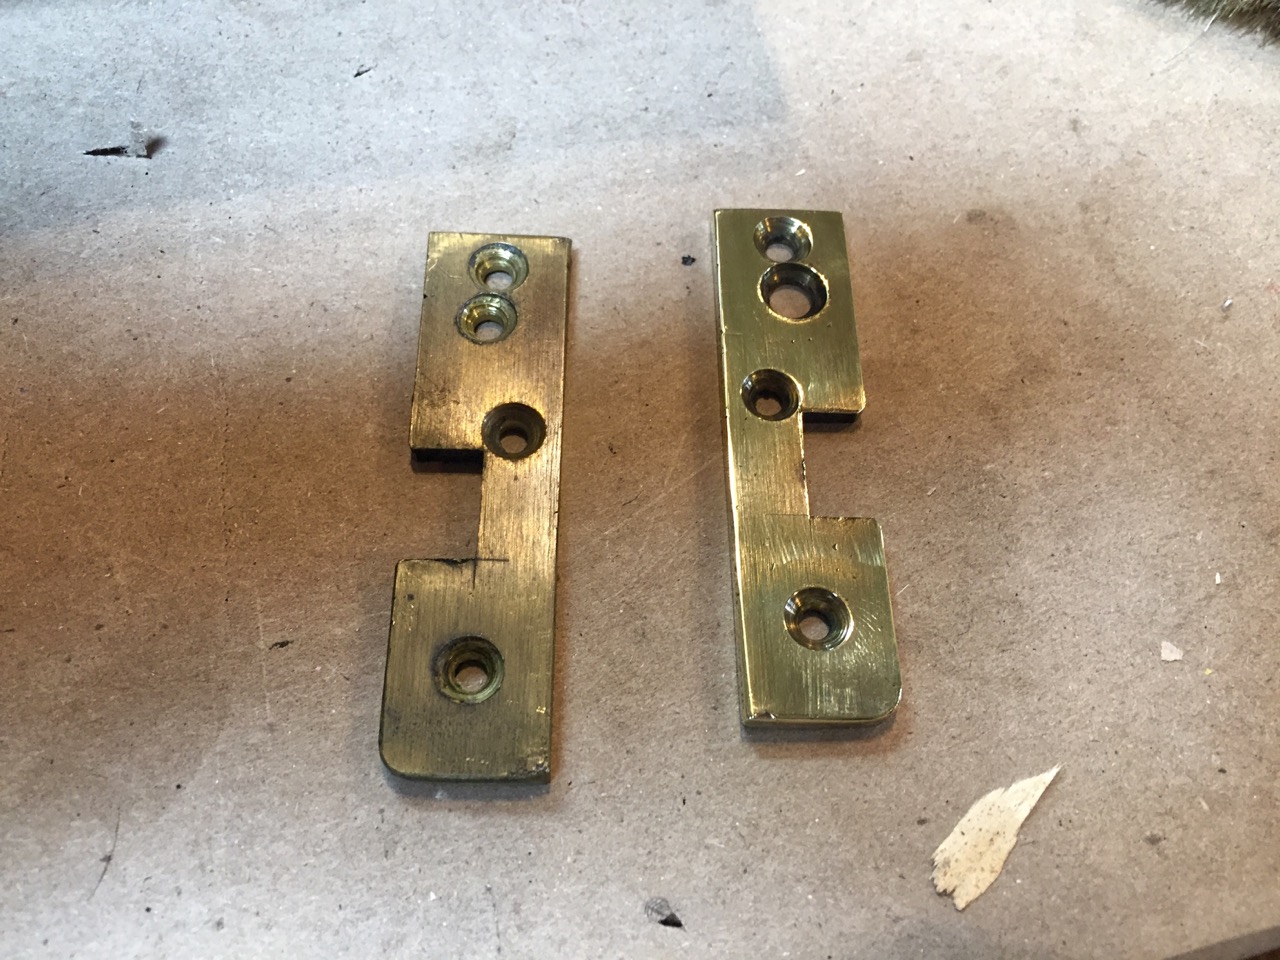
Brass end plates before and after buffing
On each end of the keyframe, is a spring-steel bar and brass end-plate. These slot into the cheek blocks and hold the action in place in the piano. I removed these parts, gave them a quick polish on the buffer, and applied a coat of spray lacquer to the now-shiny brass. No one will see it but me, but hey, why not?
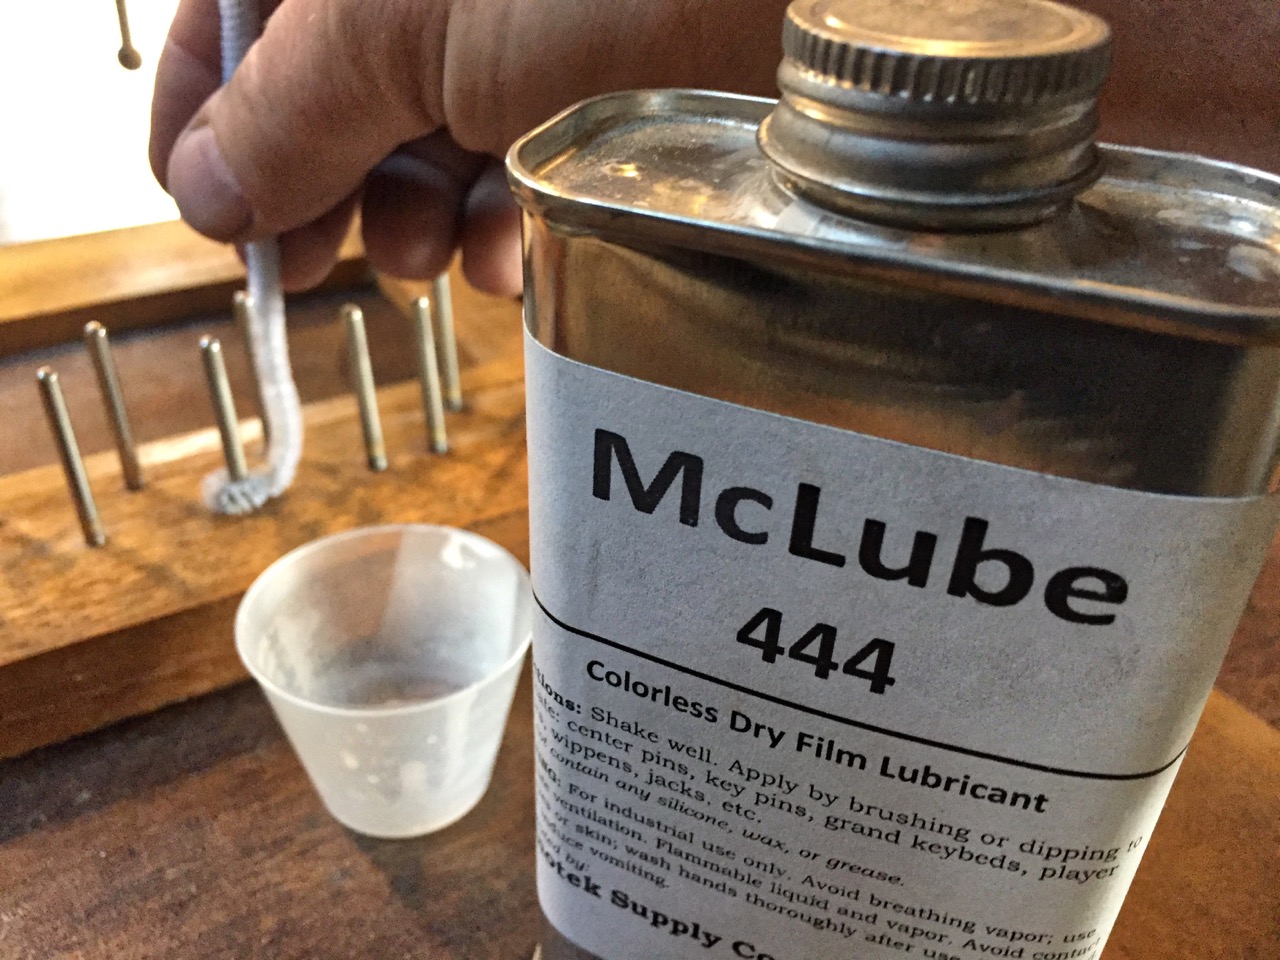
The secret to frictionless pins
Normally, the action brackets are made of metal. This old keyframe has laminated wood instead, and the laminations have small gaps at the top. I’ll repair them with gap-filling cyanoacrylate glue a little later. For now, a coat of shellac will finish the process and voilà, we have a reconditioned keyframe! As a last step, I applied a coat of McLube to the key bushings. This is applied with a pipe cleaner and will reduce the pin friction even further.
Finally, we tested my bushing work on the keyframe. A little disappointing. I had applied bushing material too deeply into the mortises and it was binding. Too much friction. Celeste thought the problem could be remedied by cutting the excess material out with a scalpel, so I guess I will be spending a little more time on the key bushings. After all, it was my first attempt! Next: the keyframe and keys near completion . . .
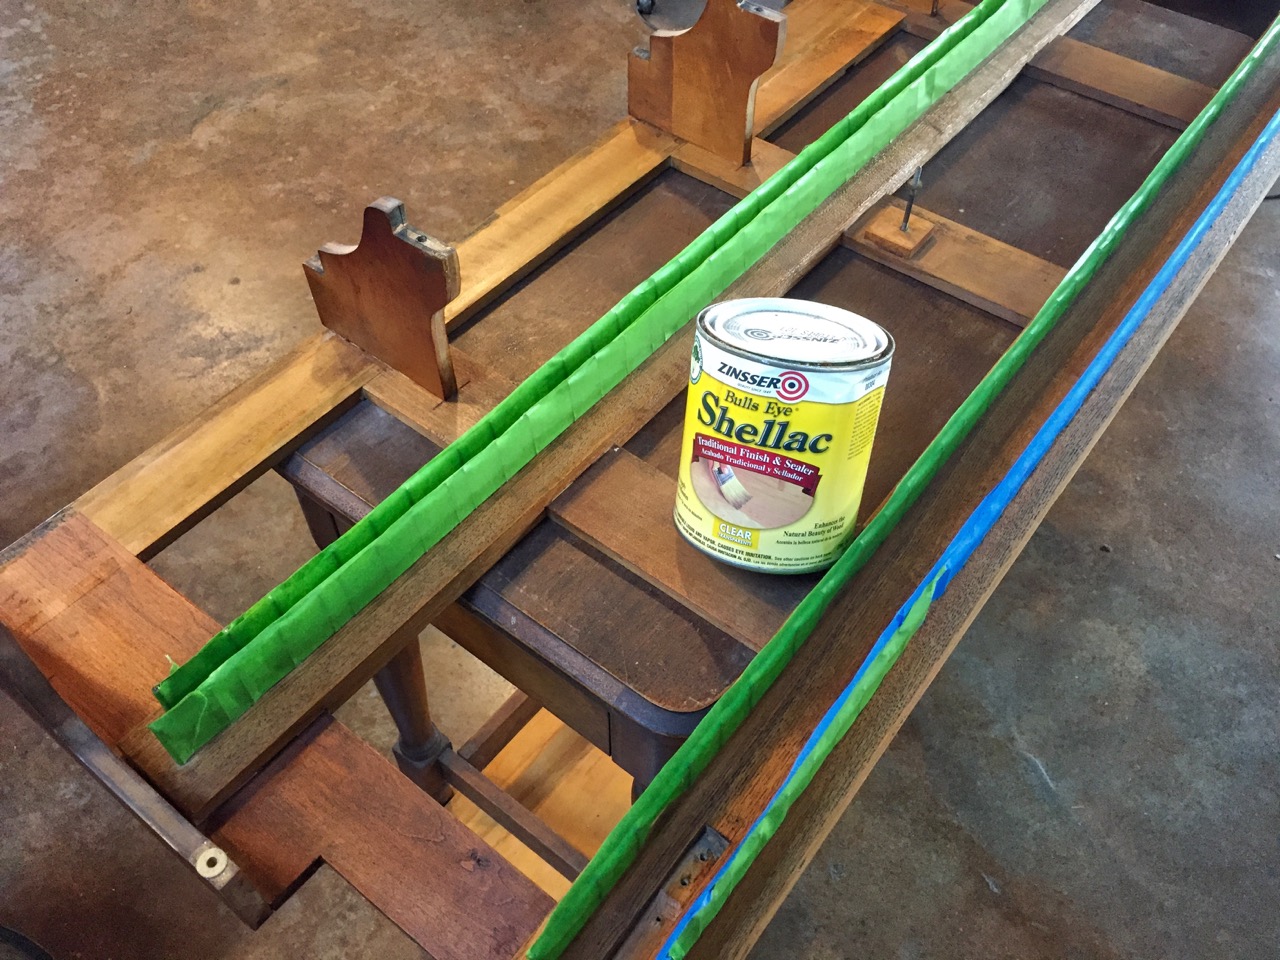
A coat of shellac works wonders

Pingback:Weber Piano Action Rebuild – Keyframe with Refurbished Keys | Roy Creek Ranch
Pingback:Weber Piano Project – New Bushings! | Roy Creek Ranch