The Shed Roof — Storing Lumber in the Shop
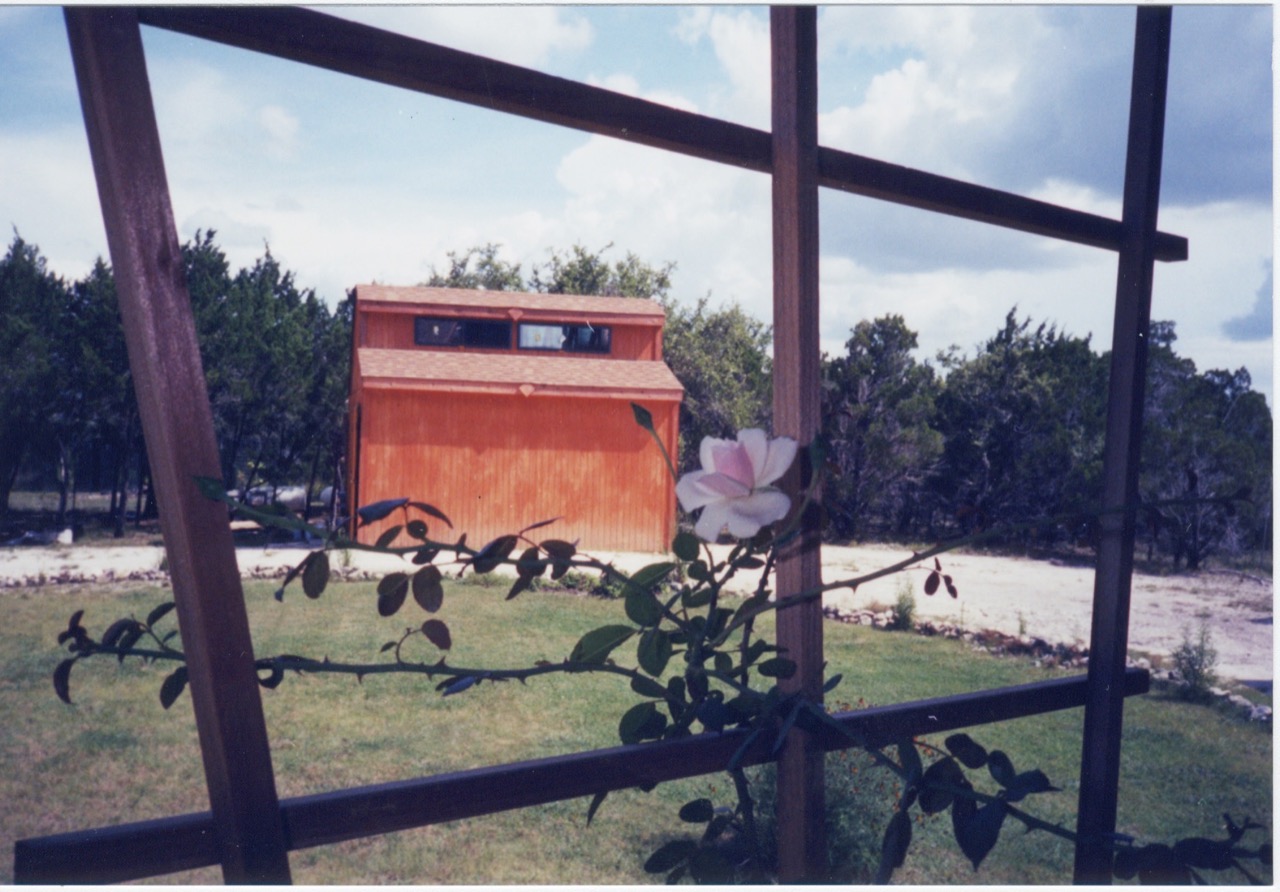
I built the shop at least 15 years ago, and it’s been one of the most useful projects here at the ranch. Originally, I was imagining a woodworking shop, and I even built a large, low bench and acquired some tools for that purpose. There was never enough time for all the other necessary projects at the ranch though, and the shop was quickly overwhelmed with the bits and bobs of those projects that there just wasn’t time to put away. At times it looked more like a storage locker than a shop. Dreams of a dedicated space for woodworking receded into the future.
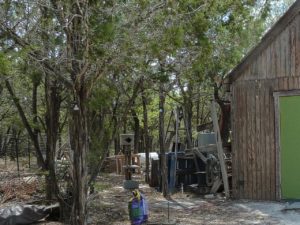
Similarly, the space behind the shop collected the unused materials and debris from the many other projects. My friend Joe euphemistically called it my “lay-down yard” — a place where leftover materials went to die. Years before, in an effort to organize, I had constructed a wooden rack behind the shop, where I could store some of the more useable lumber. A decade or more of sun and rain had damaged much of it past usefulness, and I began think about extending the shop roof a few feet and cleaning up the lay-down yard. I needed a place to keep the rain and sun off the new lumber I planned to produce with the chainsaw mill.
The cleanup occupied most of a weekend. Any lumber that wasn’t damaged beyond use was stored off the ground and out of the way. I dismantled the wood rack and tossed the rotted pieces into the burn pit. Old wood pallets were either dismantled for pallet wood projects or returned to businesses that could use them. An old water heater, a tire and other debris went to the dump. It was starting to look more presentable.
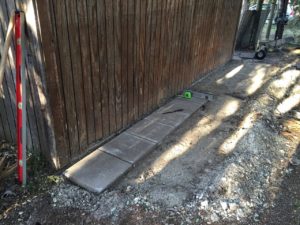
To keep the new lumber rack from deteriorating, I decided to lay concrete pavers 32 inches deep across the width of the shop. Below a thin layer of topsoil, the ground here is limestone caliche — dig-able with difficulty to a white, powdery substance that rehardens with water and compression. Perfect for laying paving stones.
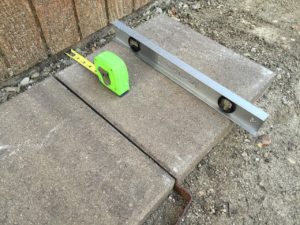
Using a scrap of steel to set uniform spacing, I laid each paver, one at a time, after flattening the underlying caliche. Apart from lifting the 16 x 16 inch pavers, it wasn’t too hard, and was complete in one weekend.
Now for the extension. The shop is way overbuilt. I originally purchased paper plans from a long-gone home improvement store and followed them to construct the 12 x 16 foot structure. They recommended 2 x 6 rafters and joists on 16-inch centers. Having only limited carpentry experience at the time, I didn’t realize this was overkill. Nice racket: sell project plans that recommend excessive overbuilding to sell lots of lumber. Smart. My master carpenter friend Joe, would always rib me about my tornado-shelter of a shop. We agreed that extending the rafters with 2 x 4’s to support the roof extension would be plenty strong.
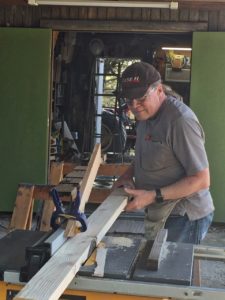
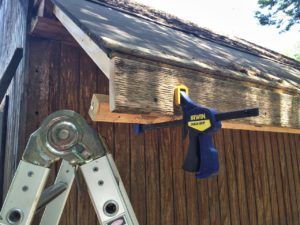
I removed the bird-blocking to reveal the rafters at the back of the shop. There wasn’t quite enough room to slide a 2 x 4 between the roof sheathing and the top plate, but ripping the 2 x 4 down by a 1/4 inch or so solved the problem.
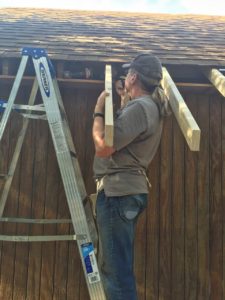
The new lumber extended along each existing rafter as far as I could shove it — leaving about three feet outside of the building. The ripping and fastening of the extensions took the rest of the afternoon.
The chipboard with metal foil sheathing was next. Two sheets, with about a foot ripped off one side were quickly attached to the extensions with short deck screws. I had just enough roofing felt leftover from an earlier project to cover the sheathing. By attaching 2 x 2’s along the extension ends, I was able to pull everything into alignment and establish a straight line. Finally I trimmed the ends to produce a place for the facia. It was really starting to look like something.
Time for trim. When digging into the old lumber behind the shed, I discovered a 16-foot rough cedar 2 x 4 leftover from the original house construction nearly twenty years ago. Although it had some rot and bug damage, most of it was still usable and would work great for the facia. My table saw won’t quite rip a 2 x 4 in the tall dimension, so I ripped one side and then flipped the board end-for-end and ripped the other. Voila! 32 feet of cedar 1 x 4.
Cutting around the damaged parts, I was able to attach a 16-foot facia with quite a bit left over for each side of the roof extension. I had to build out the sides first though. 2 x 4’s made most of the depth, and I corrected any discrepancies using shims so that the final trim would match the existing siding.
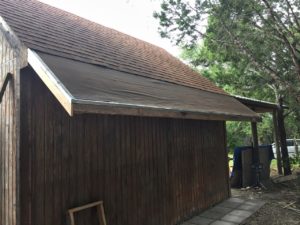
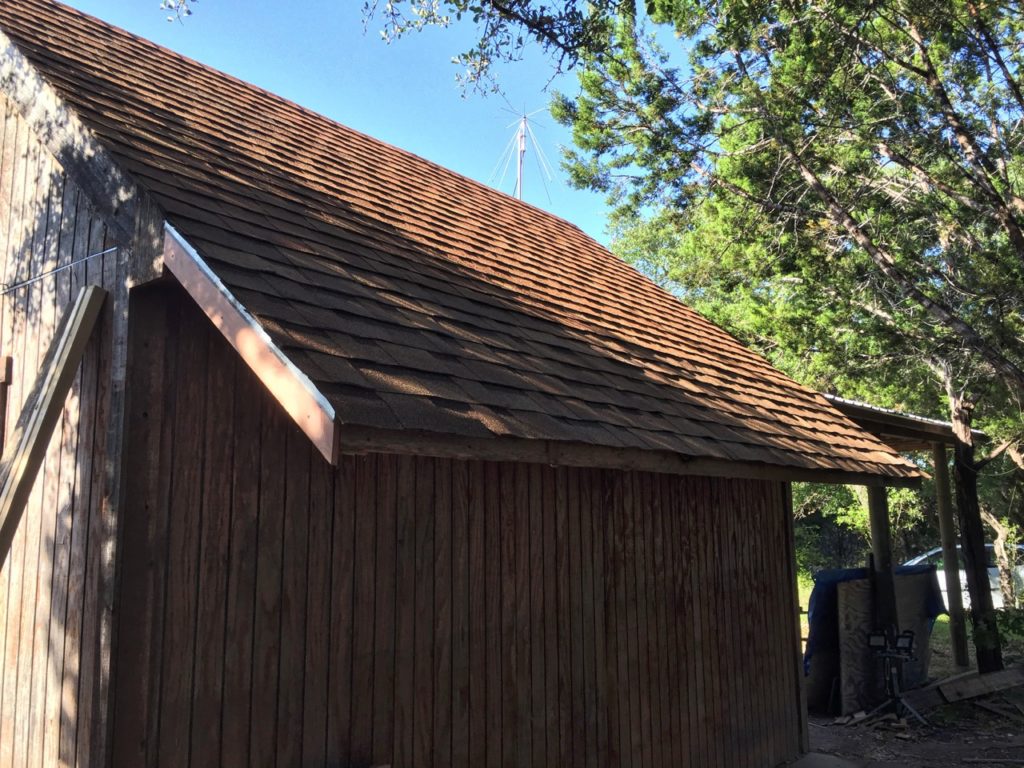
Finally, it was time for drip edge and shingles. Demonstrating my “waste-not, want-not” motto once again, I discovered an ample supply of steel drip edge material in the lay-down yard. I even had matching shingles leftover from the original house construction. This was a long shot.
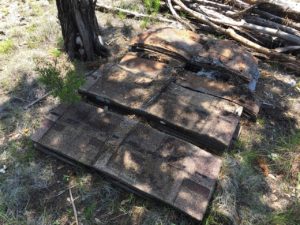
They had been sitting outside in a pile for nearly 20 years and I expected that they would be beyond use. Instead, they separated easily, and though a little brittle and would work fine. The protective tape on the the adhesive strips even peeled off. I guess that shows just how toxic asphalt-based shingles are — nothing will eat them!
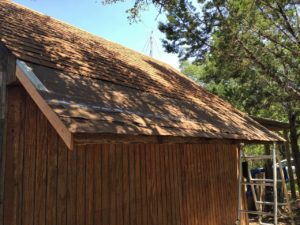
Carefully laying out the first course of shingles at the edge of the roof paid off. Ultimately I laid six courses of shingles using the roofing nails I had (also left over from the shop project) before getting to the seventh and last course. I couldn’t bend the old shingles up enough to nail underneath the former last shingle course so, what to do? A little rumaging around the shop turned up a partially-used tube of roofing cement from a project to repair the roof on the house last year. To my surprise, it was still viable. A line of the cement applied just below the former last course, and I could shove the seventh and last course of the new shingles under, glued in instead of nailed.
Of the materials used, I only had to purchase 15 new 10-foot 2 x 4’s, and 24, 16 x 16 inch cement pavers. I still have to put the bird-blocks back in, but I’ll reuse the wood that was already there trimmed to fit the added 2 x 4’s. The rack is next, but before building something new I think I’ll see if there’s anything that might serve on Craig’s List. You never know. And finally, I’ll have a relatively safe and attractive way to store my materials backstock. Success!
