The Tiny House Door
Originally, Lisa and Alva were planning to purchase a commercial door for the tiny house. It made sense since door and window manufacturers can produce excellent products at reasonable prices. Or so we thought. As it turned out, the odd size of the tiny house door (78 by 27 inches) amounted to a custom door, and only one manufacturer offered any product — at nearly $1400 per door. Not a very practical option. We began discussing alternatives, and this was to be my re-entry into the world of woodworking and finish carpentry.
I’ve only pursued woodworking sporadically over the last few decades due to the pressures of a professional career. By the time I put 60 hours a week into my job and provided routine care for the ranch, there was little time and energy available for hobbies and projects. Coupled with my wide-ranging interests (some would say lack of focus!), and woodworking got only minimal attention. That could change now.
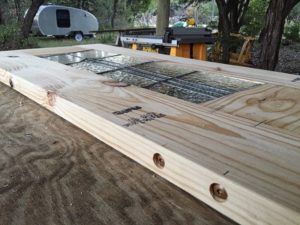
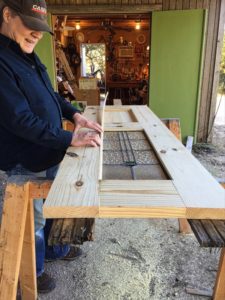
A search online produced a wealth of information on door construction. In order to gain experience, we decided to build a mock-up with SPF dimensional lumber before making the finish door out of more expensive wood. The best plan we found involved edge-gluing the rails and stiles together to form the door and then reinforcing joints with lag screws that were long enough to go through both from the door edges. Wanting an excuse to buy the biscuit jointer, I suggested we also use biscuits to make the gluing alignment more foolproof. With the lumber purchased, Lisa and I set to work. Cutting the rails and stiles to size went quickly, and cutting slots was a piece of cake with the DeWalt biscuit joiner. In the space of a couple of hours, we had the main part of the door completed.
This left two rectangular openings. Lisa and Alva had been shopping for windows and I suggested they look for some antique stained glass. I had driven by a place on Old Bee Caves road on my many trips to The Natural Gardener that seemed to have a lot of old stained glass on display in the woods. A little research revealed the business as Angela’s Antiques, and they set off to investigate. The next day, they had not one, but two nearly identical windows that would be perfect for both the the front door and one of the sliding barn doors. They were old and a little fragile, so they went to Blue Moon Glassworks for some refurb. Now repaired and reinforced, we could get a good measurement for the window opening, and use a router to cut a ledge. Trim would be used to build out to the door surface and further reinforce the window. A similar strategy would be used to mount a simple wood panel in the opening at bottom of the door.
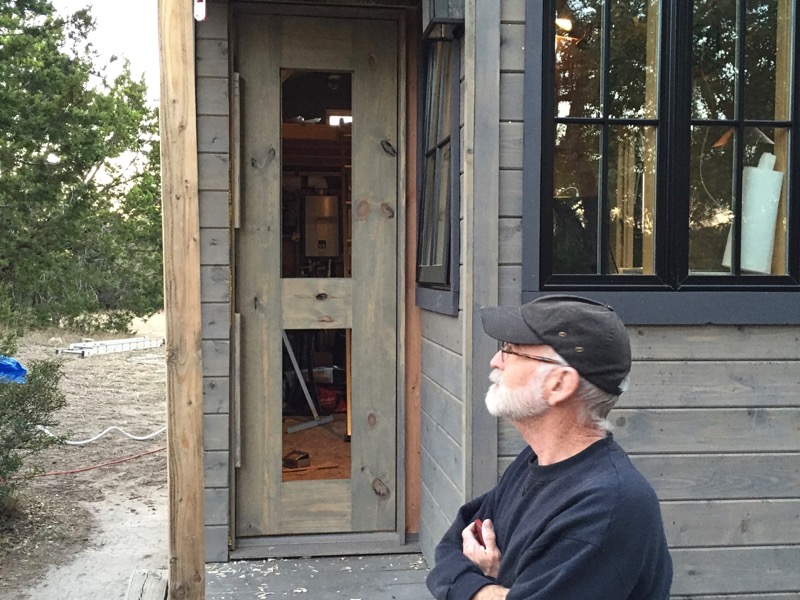
With the mock-up done, we began to reconsider our plan to build a second door out of better wood. Lisa and Alva felt that the mock-up looked pretty good, and would match the style of the rest of the tiny house well. They also loved the rough and knotty nature of the wood. Perhaps Alva would build a new door out of better wood in the future, but this would be fine for now. Stained to match the other finish surfaces in the tiny house, Alva and I were ready to mount the door.
Part of the reason commercially-made doors are attractive, is that they are already mounted in a frame with hinges and a threshold. I’ve installed a number of these “pre-hung” doors, and they do save time. I was also under the impression that a custom frame and threshold were beyond the ability of the average woodworker — mainly because of the tales of door-hanging angst I’ve heard over the years. Our experience was just the opposite.
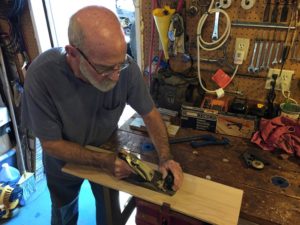
To start, Alva looked for a manufactured threshold, and was disappointed with what was available. We decided to take two pieces of oak, and shape them as needed. An hour or two with a table saw and hand plane, and we had a very professional-looking result. Not so hard. Next, we cut the pieces for the door frame, and trial-fit them into the opening. So far, so good. Now we needed to cut hinges into the doorframe and door. There are a variety of gadgets that are intended to make mounting hinges simple, but to my eye, they looked more complicated than simply using a hand chisel. Some careful measurement and chiseling, and the hinges were installed in the door. Somewhat more difficult (mostly because the frame was already mounted in the opening and my body doesn’t bend like it used to) was cutting the hinge mortises in the frame. Still, not too bad.
Time for the moment of truth. Resting the door on a block of wood to roughly match the height of the opening, Alva screwed the hinges to the doorframe. Perfection. The door swung freely, and did not “fall downhill” one direction or the other. There was an even gap of 1/8 inch all around the door, ready for trim and weatherstripping. This is hard? We decided the key is to measure carefully, and make sure that everything is kept square. That done, the door will work.


