A Tankless Water Heater
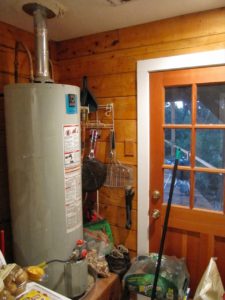
As houses age, repairs are needed. I have been living in the Log Home for nearly 14 years, and it is no exception. We originally installed a propane water heater reasoning that we would have hot water without electricity, and modest amounts of electricity could be generated for lights, pumping water and a little heat — making the house livable during a power failure. Good thing since the power was out for nearly a week the first month we lived here!
The old conventional water heater was trouble-free up to now, but it is showing its age, and I don’t want to be dealing with it in a rush when it fails completely. I have been thinking about a tankless water heater for some time, and it seems like the perfect time to try one. I got bids from three different plumbers, and was shocked that they varied from $2400 to as much as $3500! This seems ridiculous since I can get a conventional water heater for less than $700, and a tankless one for around $1000. Can I install it myself?
But there’s a problem. All of the tankless manufacturers recommended a 3/4-inch line to supply gas, and our propane supply comes into the house on a 1/2-inch line. Thinking about it, I wonder if gas lines are like electrical wire. Maybe smaller lines/wires can suffice for shorter distances. Charts of recommended gas line sizes found on the Internet seem to allow for this, and I decided to proceed. After all, the propane source is only about 10 feet away from the tankless location.
I assembled the parts. Home Depot had most of what I need, but some parts like the stainless vent pipe have to be ordered. Before long, I had everything, although one Home Depot employee was convinced that it wouldn’t work with 1/2-inch line — even with a short feed distance. I planned the installation for a weekend. There would be no hot water for at least 24 hours (assuming everything went well), so I took care to have all the parts and tools I needed on hand. I also moved everything I could out of the utility room in advance of the project so it didn’t take valuable time during the install.
Saturday dawned and I began work. First, I demoed the old water heater. It took a little while to drain the tank, and I disconnected the vent stack, gas line and water supply while that finished. After the last line was disconnected, it was time to move the old beast. It was resting on a 2-foot platform, and I had to wrestle it down to floor level and onto a dolly. Fortunately gravity works, and it didn’t matter if it broke on the way down. Within about an hour the space was clean.
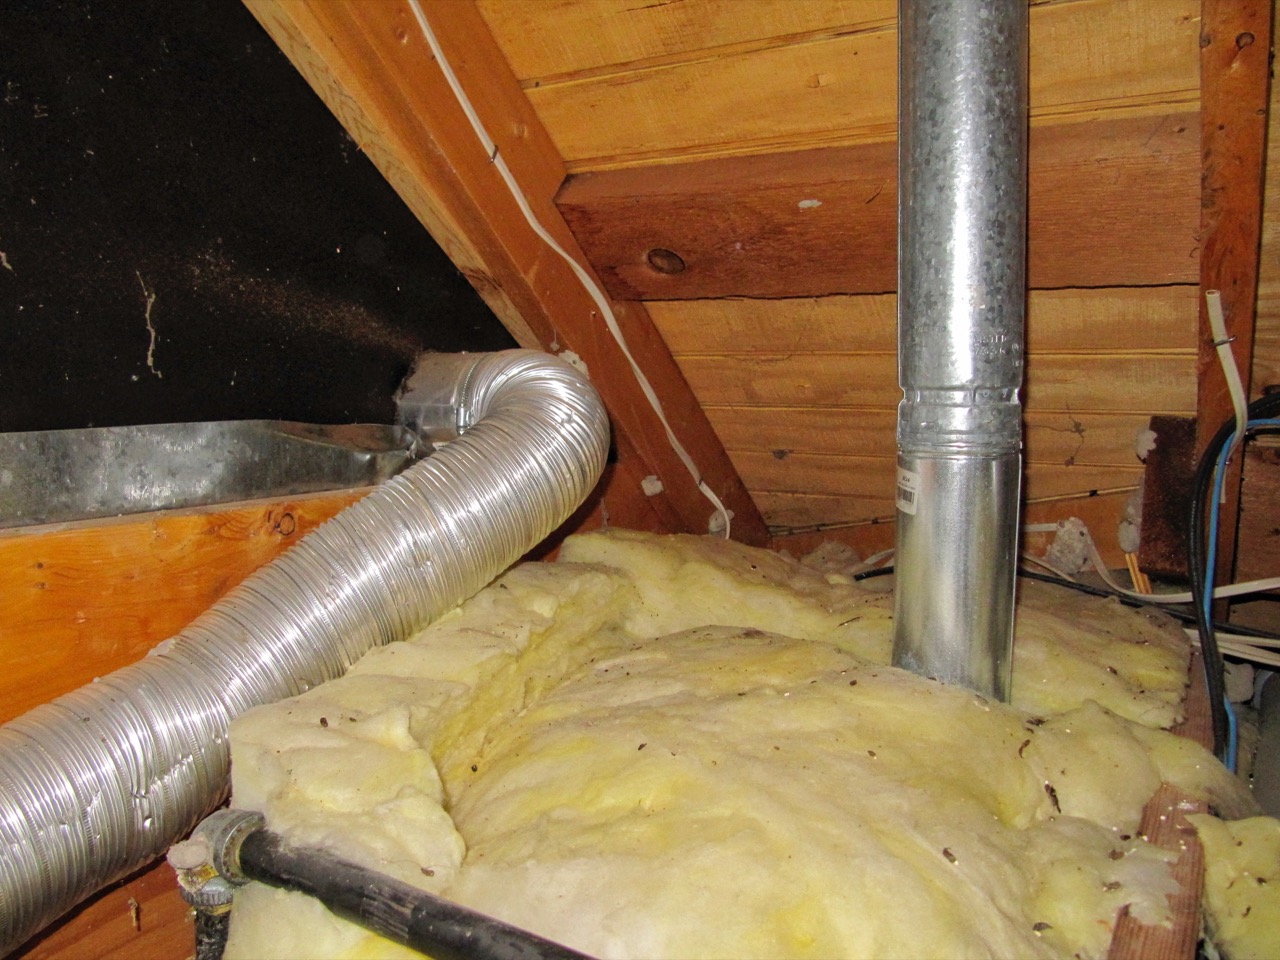
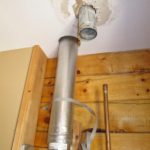
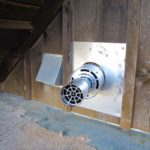
Installing the new vent was next. Gas-powered tankless water heaters use a clever coaxial vent arrangement with the hot exhaust gas pipe surrounded by the fresh air intake pipe.
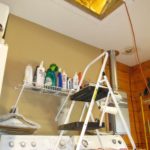
It can be right next to a wall since it never gets hot. The old vent stack could be removed and the ceiling patched. All of this meant quality time spent in the cramped space above the utility room. I had cut a hatch in the ceiling a few days before, but getting up there wasn’t easy. I was working by myself, and the tool I needed always seemed to be on the ground after I had contorted into the space to work. Nevertheless, the vent was in place by early afternoon.
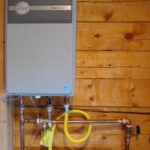
Mounting the new water heater was next. Although it is heavy, it has an intelligent mounting system and I had it mounted in no time. The trickiest part is mating it to the vent, and I was glad I had measured carefully. Once or twice more into the ceiling to finalize the venting, and the worst was over. I was beginning to think this might work.
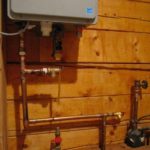
The final task was piping it up. This might seem complicated, but I’ve always enjoyed working with copper. It felt pro to design, cut and solder the pipes into place. There are four connections: cold water in, hot water out, gas and an emergency drain. I worked carefully, and had the hot water connection complete by the end of the day.
Sunday morning started with the cold water feed. This involved fewer connections, and went smoothly. Next, the gas connection. A flexible corrugated pipe, a valve and adapters were needed here and quickly installed. The emergency drain is a flexible plastic pipe that was directed to a drain below the platform. Finally, the tankless required a 120 volt connection.
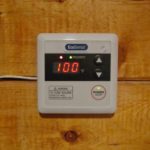
A small panel is provided to control temperature. You can purchase more, and they can be mounted in other rooms. By adjusting each remote panel, the temperature is determined by what was most recently requested, so each application (bathroom shower, washer, dishwasher, etc.) can have a custom temperature setting. Since I’m the only one living here, the single panel and setting is sufficient. Might be something to add later though. I decided to mount it next to the water heater.
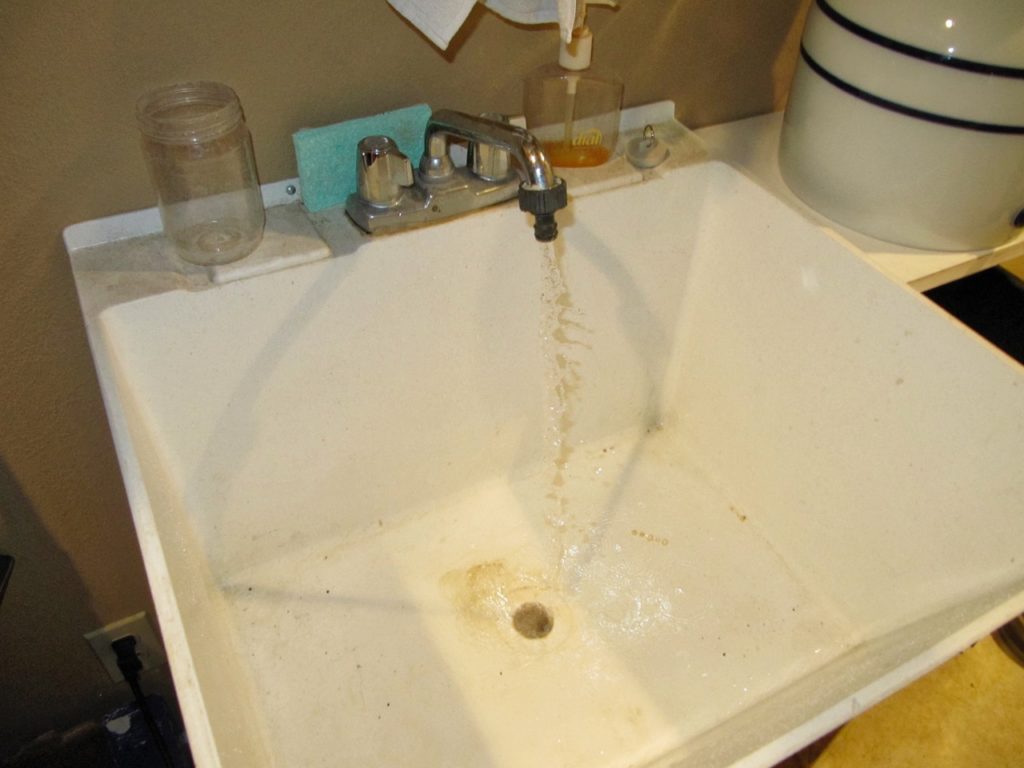
Time for testing. I opened the water supply valve and checked for leaks. Everything was tight. Opening the gas valve, I used a solution of soapy water to check the connections for leaks. Tight. Power was on, moment of truth time. Opening the hot water spigot on the utility room sink, water flowed and I heard the water heater start up. Internal valves opened and the fan started. Within about 15 seconds, there was hot water coming out of the spigot. Success!
Update: The question I’m always asked is: how is that tankless water heater? I’m impressed. I was using 100 pounds of propane every 6 weeks with the old water heater, and now use only 30 pounds every 6 weeks. A 70% reduction! It does take 10-15 seconds longer to produce hot water, but that’s the only downside. With all the space recovered, I installed a pantry. It was well worth the slight added cost and effort — I am very happy with my tankless water heater.
