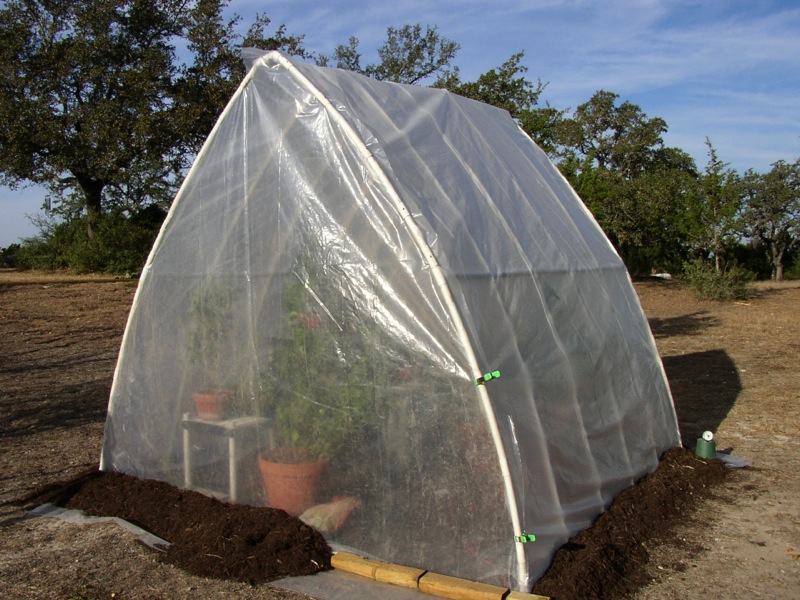
The Greenhouse (part 2)
Saturday dawned clear and warm. The perfect day for completing the greenhouse! I had a nearly square frame to use for the foundation, done the previous weekend, and now it was time to level the ground and anchor the frame.
The site was nearly level, so small adjustments would be sufficient. This is an important consideration in the Hill Country, since we have 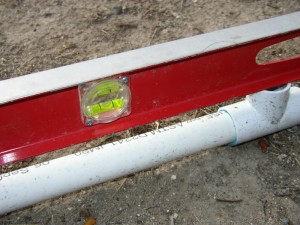 little top soil and digging in the “caliche” (a kind of soft limestone rock/soil) is difficult. I proceeded with an old-fashioned pick axe and a carpenter’s level.
Since the pick-axe blade was about four inches wide, the channel it cut in the ground made a perfect bed for the PVC frame, and I didn’t have to remove much caliche.
Next, I needed to fix the frame to the ground in some way. Since the greenhouse would be very light weight and covered with plastic, it would make an excellent “sail”. With the substantial straight winds we get out here, the greenhouse would simply blow away if I didn’t take precautionary steps. Also, I intended to flex the ribs in slightly when joining them to the ridge pole, and the PVC frame would bow out at the sides if not anchored.
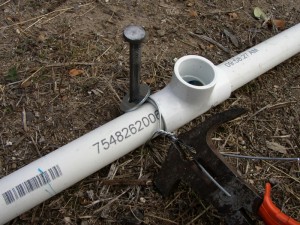
One of my many trips to the hardware store revealed a good solution — 12” spikes (essentially big nails), washers and “stretch” wire. The wire is commonly used in fencing around here, and can be twisted and bent into a variety of shapes. By sinking spikes at intervals along the PVC frame sides, and then twisting a piece of wire to join the pipe and spikes together, I was able to create a stout anchor system for the greenhouse. So far, so good.
Next, the sides. I started by cutting several lengths of PVC and laying them, along with the needed connectors, into the center of the frame. 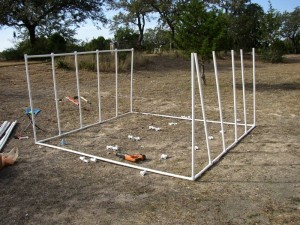 The length of the uprights wasn’t critical,I was just going for a pleasing shape when the structure was all done. Each pipe was then glued into one of the “T” joints in the frame using “wet/dry” PVC cement. There are several grades of PVC cement, and the “wet/dry” version (commonly colored blue) is easy to use because it doesn’t require the use of a “primer” (the purple stuff) to adhere to pipe. Using it reduces the gluing process to one step. Short horizontal pieces were added at the top of each upright using “T” and “cross” connectors to stiffen everything up. A structure was starting to emerge.
The “rafters” were next. This had been given a lot of thought, and using a single ridge pole with sections of pipe flexed 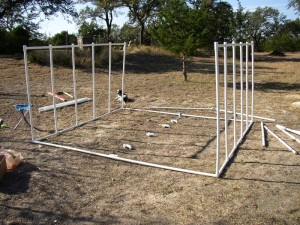 into it to create a kind of “A” frame shape, that seemed the simplest way to go. I started by laying all the parts out to make sure I had all the pieces. After cutting of the pipe, I started gluing each rafter together. It’s worth noting that the hardest part of all this is cutting the pipe. I recommend getting a good PVC tubing cutter, a pliers-like
 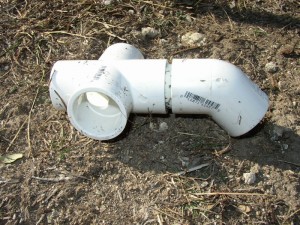 device that cuts PVC quickly and easily. It speeds up the entire project quite a bit and takes most of the effort out of what I consider the worst task.
Time to connect the ridgepole into the walls. My idea was to flex sections of PVC from the top of each wall upright into the corresponding ridgepole 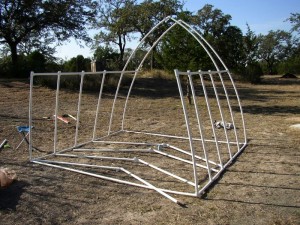 connector. The first couple of connections went pretty smoothly, but it was clear that I was stretching the pipe and connectors quite a bit. I would have to be careful if I wanted to avoid sudden failure of the ridge joints. A bit more work and I had it. The structure was complete, and ready for the plastic covering.
I was planning to use heavy(6 mil) plastic,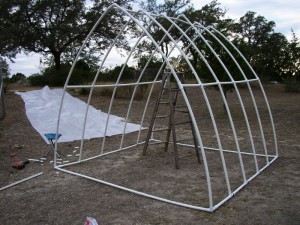 the type normally used by contractors for creating dust barriers on remodeling projects. It’s not very expensive, and can be replaced every season if necessary. Incidentally, I plan to replace the plastic in the spring with 50% shade cloth. That way, I can get double-use out of the greenhouse to provide shade and “harden” seedlings before transplanting them into the direct sunlight of the garden.
Attaching the plastic to the PVC frame proved a bit tricky. I had already thought of taking short lengths of 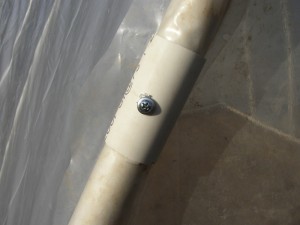 the thin-wall pipe, and cutting a small section lengthwise so that it could be flexed over the frame with the plastic trapped underneath. But by Sunday, I got up to discover that half of the plastic have worked it’s way loose in the wind, I knew some refinement was needed to my plan. Self-tapping sheet metal screws proved to be the answer, since they added that last little bit of strength to capture and hold the plastic to the frame. The screws can be added to the PVC easily since they will drill their own hole. One easy step!
I was nearly done. The addition of plastic to the front and 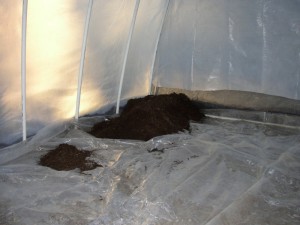 back followed by some “gorilla” tape at the seams made for a nearly air-tight structure. Since I was running out of daylight, and I needed to get plants out of the cold, I skimped on the door, opting instead for a “tent-flap” opening sealed with spring-loaded clamps. One last step: a plastic ground cover and a thick layer of shredded hardwood mulch on the floor and around the outside perimeter. Besides making a nice surface on the floor, it would help “seal” the greenhouse down to the ground. Incidentally, I left the plastic long on all four sides to that it draped the
 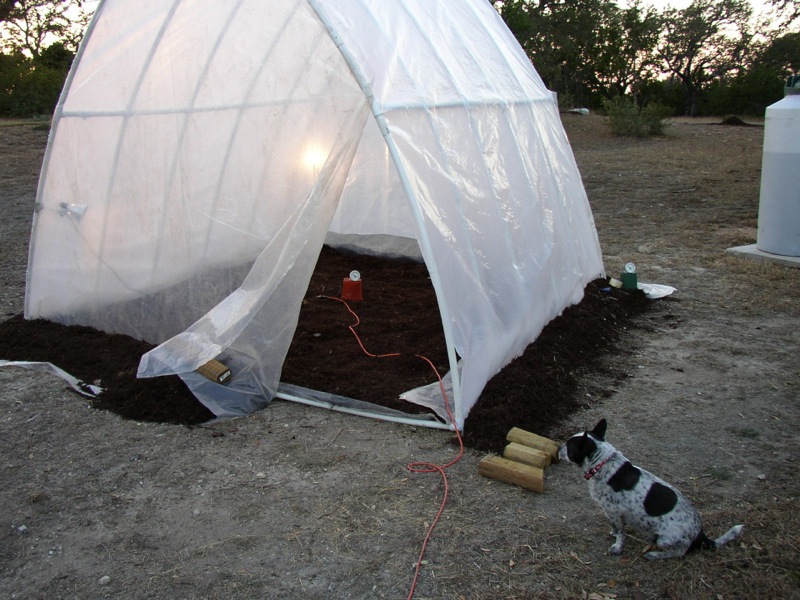 outside ground by about a foot — a place for the mulch to “anchor” the plastic to the ground. “P.T” made a final inspection of the project.
I was expecting cold, but not freezing weather that night. A good chance for a test! Some time before, I found a nifty “recording” thermometer at a surplus 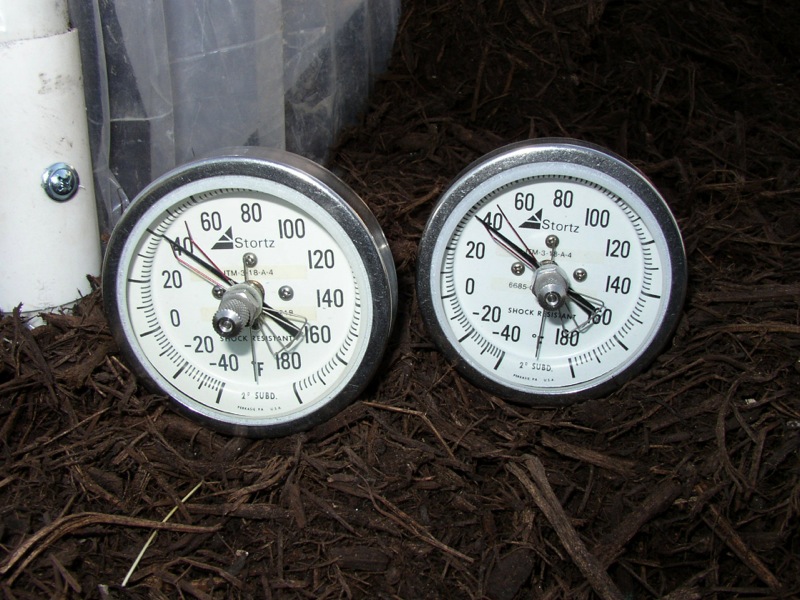 store, and thought this would be the perfect application of the specialized device. It consists of a dial-type analog thermometer with two additional pointers that can be adjusted. By placing them close to the actual thermometer pointer, they are moved along as the temperature varies leaving a record of the high and low extents. One would go inside the greenhouse and the other would stay outside
Time to move the plants inside. 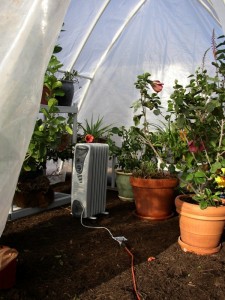 Some inexpensive plastic shelving multiplied the floor space and provided different levels for small and large pots. In theory, the warmest parts of the greenhouse would be off the ground, so I planned to favor the most temperature sensitive plants and put them on shelves ( or at least off the ground some). There were quite a few, so by the time I finished, the space was nicely filled. A 1500 watt, oil-filled, electric space heater completed the interior.
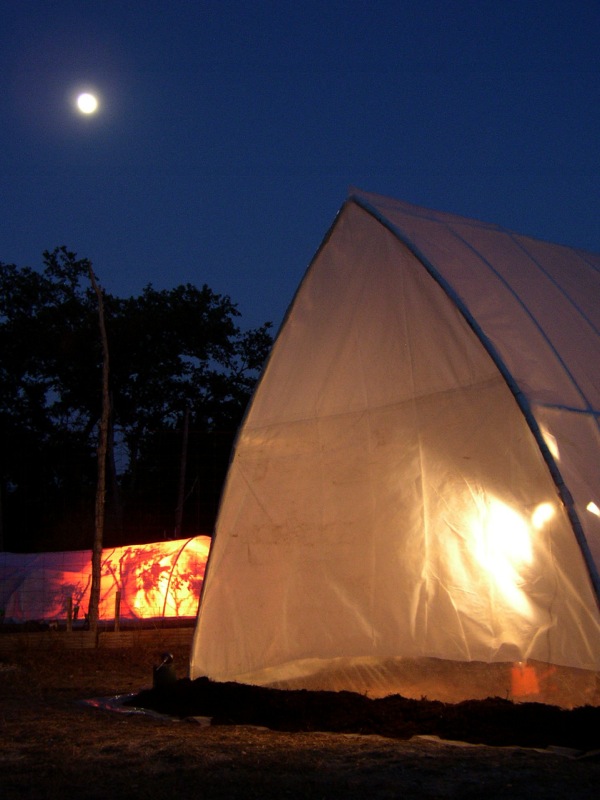
The following morning, I looked at the thermometers and found that a temperature difference of a few degrees resulted. Just enough for typical winter conditions around here. While this simple structure wouldn’t help those with extended below-freezing periods, it is just the ticket for protecting plants from the occasional freeze. Mission accomplished!

