The Greenhouse (part 1)
One of the problems we have periodically here in the Hill Country are hard freezes. Given the length and heat of the summers, it’s a surprise to some and it catches many off-guard. Folks with tropical plants in their gardens for example, might lose everything in a single night — one that is preceded and followed by warm weather.
This was a struggle at Roy Creek Ranch for years. The first couple of seasons, I resorted to heroic measures in an attempt to save this plant or that bush — eventually accepting that you can’t save everything. Perhaps there was a smarter way.
My friend Joe had the right idea. Having grown up in Indiana, he knew it would get cold, and that specific steps had to be taken to “winter over” a few prized plants. His solution was a simple greenhouse.
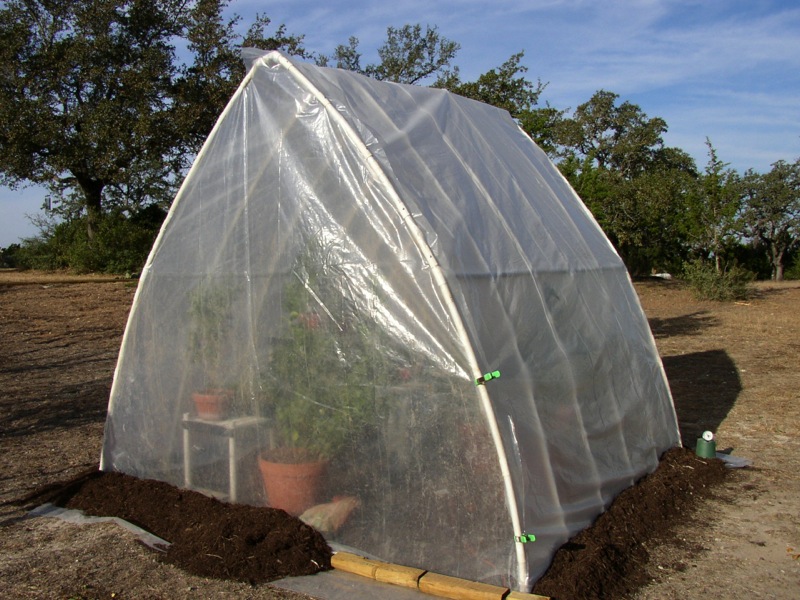
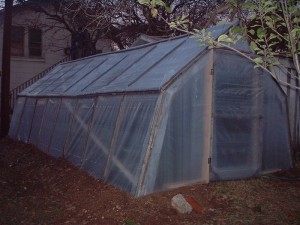 Greenhouses can be very elaborate, and I had looked into them from time to time. From my point of view, they were simply too extravagant for Roy Creek Ranch. Joe’s design was different however. He devised a simple “rib” design, one that could be duplicated easily, and connected several of them to make a “quonset hut” like structure. Not only that, but he covered his greenhouse with only heavy plastic. Because the freezes here tend to be short-lived, simple protection was sufficient. Now this was a practical idea!
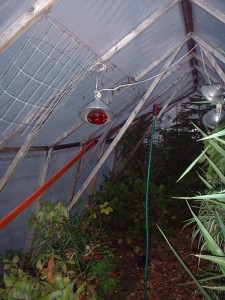 I began to give it some thought. The wooden rib design Joe used was more elaborate than needed — I wanted something that could be completed in a single weekend and at low cost. Finally, it occurred to me — PVC pipe! It’s easy to work with, low cost, and can be made in an endless variety of shapes. After experimenting with various sizes and thicknesses of pipe, I decided to make the greenhouse spine with 1-inch thin-wall (200 PSI) pipe. At about a $1.75 per 10 foot length, and with ample flexibility, it seemed like the perfect choice.
Next, I needed a plastic skin. A trip to the home improvement store revealed that the heavier plastics (6 mil) came in 10 foot widths and at least 25 foot lengths. These sizes would help determine the size since I wanted to have as few seams to seal as possible. I sketched a rough design on a piece of paper, made a bill of materials, and went back to the store. About $125 was needed to get the initial material.
Construction began late on a Sunday. We’d already had a hard freeze, and I was feeling some pressure to get it built since the plants I intended to keep all winter were sheltered on the porch surrounded with tarps, etc. They had survived the first freeze, but there was damage and I knew that another one would finish them off.
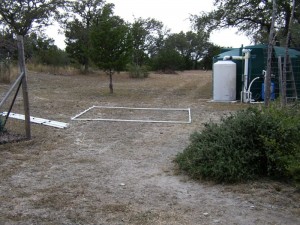
The first step was to lay out the “foundation” — a footprint of roughly 9′ 6″ by 10′ 2″. No special magic here — by keeping the depth less than 10 feet, I could use one piece of plastic to cover the roof and two sides. Given a bit more thought, I would have realized that the same thing applied to the width.
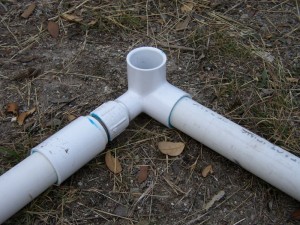
That way, it would have been simpler to cover the two ends. Oh well, a little improv is always good in a construction project. The corners were tricky. I stood in the plumbing aisle for quite a while looking for a PVC part with three connections that would work for the corner. Finally I spotted a “corner tap”.I glued up the four sides of the foundation and called it a night. Salvation for the plants would have to wait for one more week.

